Building a Charming DIY Picket Fence

Building a Charming DIY Picket Fence

Fences
Outdoor and Gardening
Outdoor Additions
By Contractors.com Team July 13, 2021

An Easy and Comprehensive Guide to an All-Time Classic 

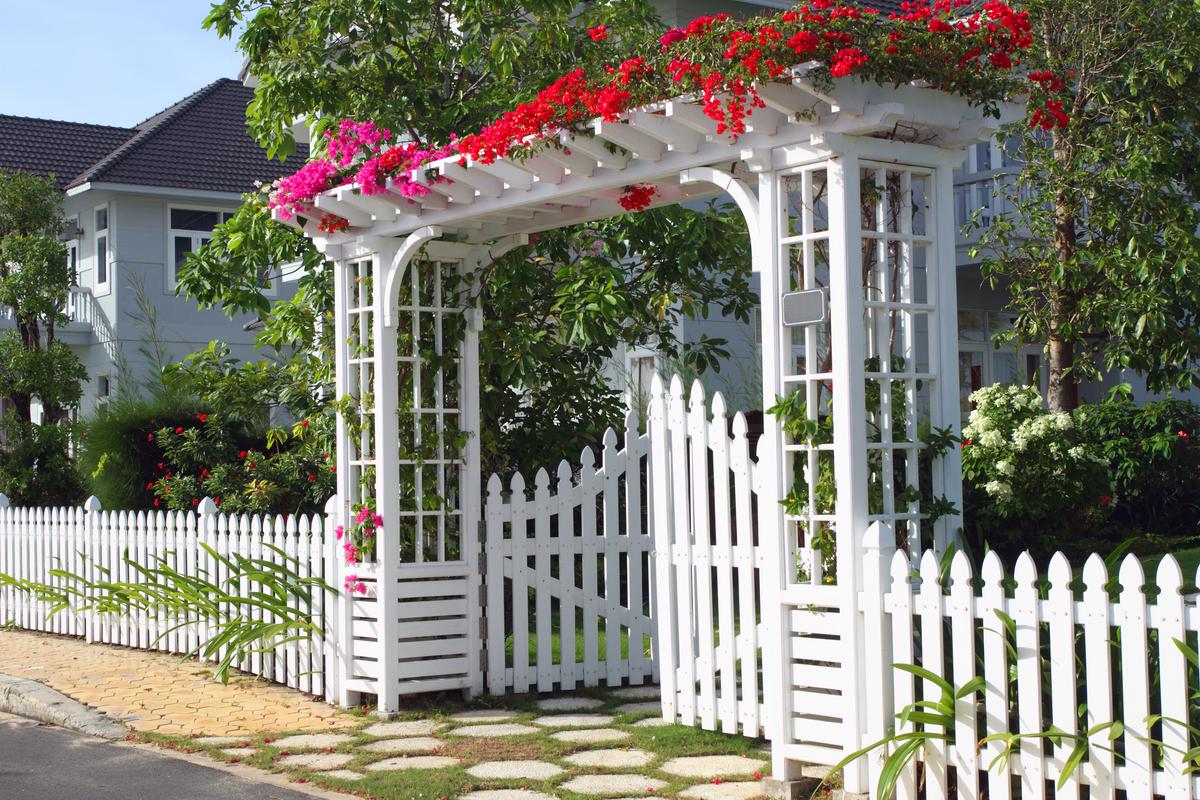
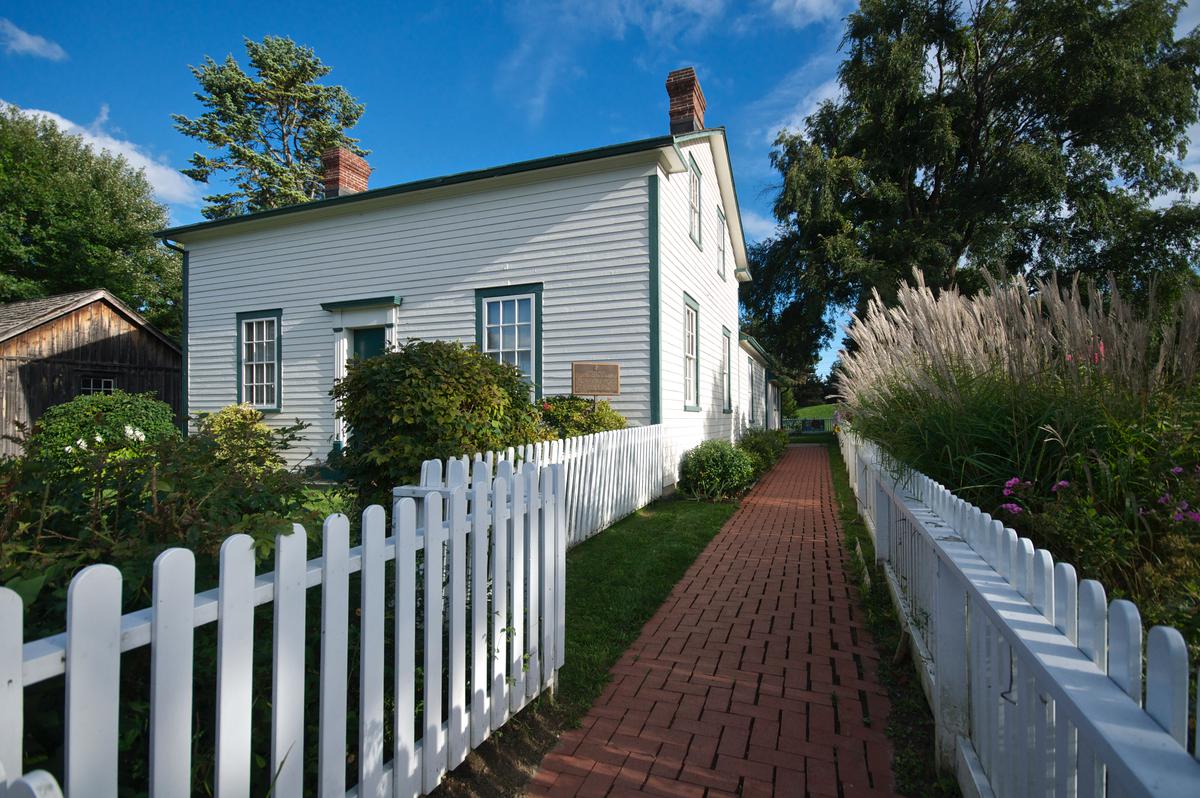
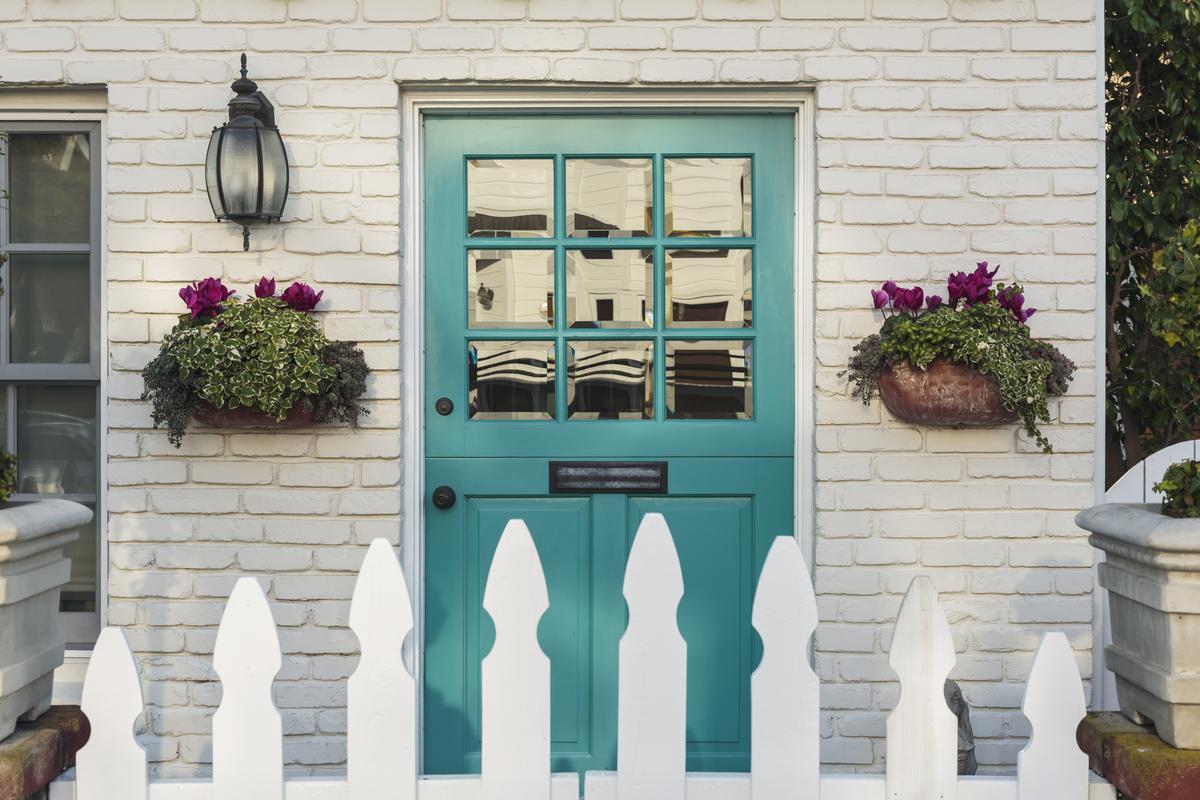
A picket fence is a classic way to add charm and security to your property, create an inviting exterior, and improve curb appeal. While we have long since moved away from white pieces of wood defining our satisfaction with life, the white picket fence remains a fixture of happy American suburbia.

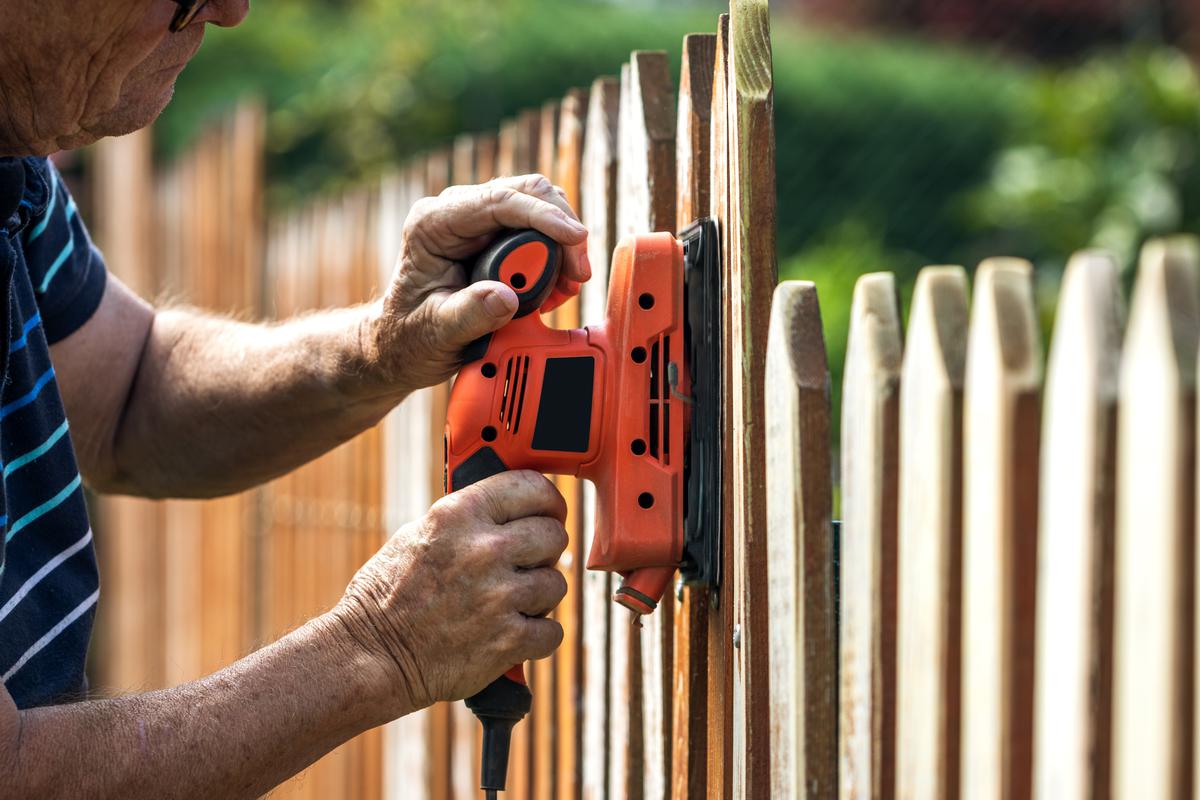
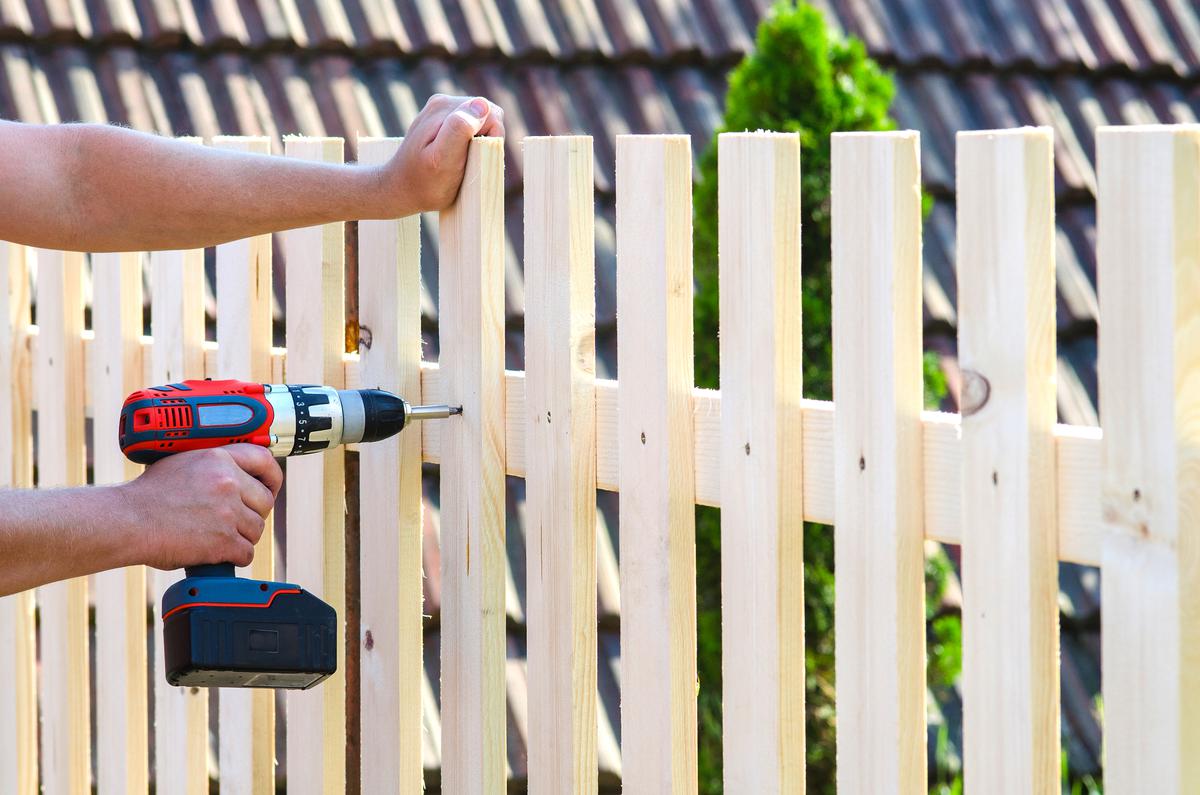
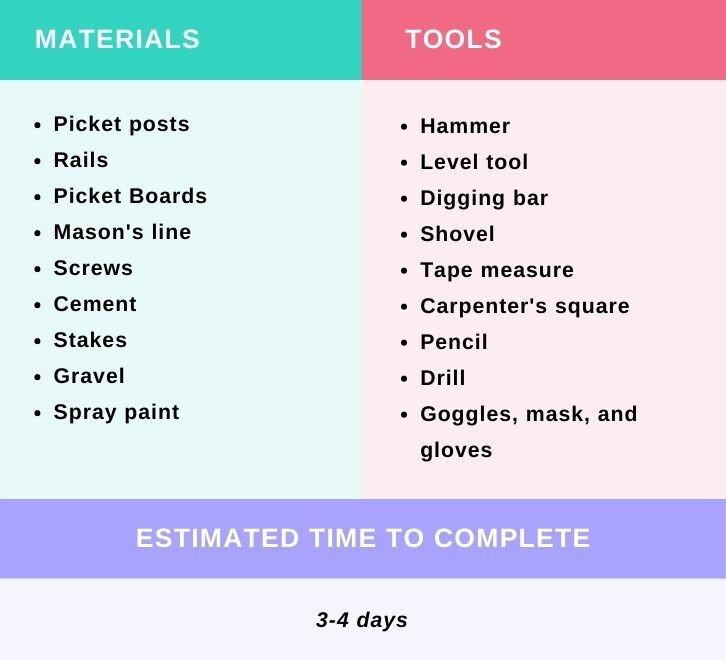
If you happen to crave that now almost-retro traditionalism, you’ll be happy to know that it is also relatively easy to build your own picket fence. All you need is to have all the picket board pieces, posts, and rails ready to go to begin. For the handypeople, carpenters, and landscape designers in all of us, a DIY picket fence is a perfect project to work on without having to find professionals online

The steps to making a picket fence are relatively easy to follow, though it will take some time for you to finish the project, especially if you have a lot of space to work with. While the national average for the length of fences (regardless of type) is around 200 feet, you may be working with far more or far less than that. This is why accurate measuring is a crucial initial part of building a picket fence. There are plenty of other more complex DIY picket fence ideas out there to try out, but even a simple white picket fence can make for the perfect summer project.

Picket Fence Designs That'll Scratch Any Hardscaping Itch

Picket Fence Designs That'll Scratch Any Hardscaping Itch

Measurements and Punctures (5-7 hours)

As with any other DIY project, you should start with measurements. The standard spacing between picket fence posts is 4, 6, and 8 feet. To get the optimal number of posts, you will need to have the diameter of your property and plan out the spacing according to these measurements.

  • Mark the post locations using a hammer, stakes, and spray paint. Drive the stakes into the ground where the posts will be and use spray paint to mark their location.

  • Dig the post holes in the designated spots and make the holes at least one-third the length of the posts themselves.

  • Mark the rail locations using mason’s line reels. This will also give you a better idea of the distance between each post and whether they are lined up. 


Pro tip: If you are working with a dry patch of land or live in a rainy climate (in which case spray paint may not be viable for marking the ground) leave the stakes in place until you dig the holes to avoid losing your marks. 

Getting the Materials for Your Picket Fence Ready (6-7 hours)

  • Sand the picket boards and give them a coat of primer. Some boards come sanded and primed by the manufacturer; so if that is the case and unless you are looking to add your special coating there is no need for this step.
Tips and Tricks to Matching the Fence to Any Home's Exterior

Tips and Tricks to Matching the Fence to Any Home's Exterior

  • Paint the posts, rails, and picket boards before attaching them to the fence. It is better to have them painted thoroughly and dried separately than to paint them on the spot after they have been built. If you paint them after installation, you may get paint on the surrounding paver, which is only going to add an extra chore for you to take care of.

  • Leave the painted wood to dry overnight. Keep them in a well-ventilated area such as the garage, but make sure the room is closed off. This will help prevent loose dirt particles, leaves, and other particles from sticking to the painted surface.

  • Mark the posts using a pencil or other writing utensil as a point of reference for how deep the post should be. Use a measuring tape to get the most accurate measurements so the posts are all of equal height when placed in their holes.

Post and Rail Installation (1-2 days)

  • Place the posts into the holes and fill them with concrete. Ensure that there is also concrete at the bottom of the hole, so the post does not sink or slump. 

  • Pour gravel into the hole once the cement slightly hardens and use a steel tamper to push all the gravel into place. As you do this, use a carpenter’s corner to see that the post is upright and not leaning.

  • The pencil marks should be lined up with the ground level of the hole as this will ensure that all the posts are the same height.

  • Waiting for the cement to dry can take one or two days. However, before the cement dries and hardens completely, you can take a few extra measurements to make sure that everything is leveled and all the posts are the same height. 

Pro tip: Have someone helping you hold one end of the rail in place while you hold the other and place it against the posts. This will allow you to see if the posts are angled correctly before attaching the rails. Ideally, you should have the posts facing the same direction with the flat edges lining up.

Ways to Hone in on Your Woodworking Skills

Ways to Hone in on Your Woodworking Skills

  • Attach two rails to the posts by drilling them into place using the manufacturer’s pre-made pocket holes. In case there aren’t any, simply drill them in yourself. Use a leveling tool to ensure that the rails are being attached straight.

  • Regularly check the sturdiness of both the posts and the rails. These must be consistent with all the posts throughout your landscape. Uneven placement can not only result in less structural integrity but is pretty easy to catch with the naked eye.

Attractive Home Exterior for that Gorgeous Curb Appeal

Attractive Home Exterior for that Gorgeous Curb Appeal

Wood Pickets

  • Install the picket boards after you are confident that the cement has dried up and the posts are sturdy and even. The rails should also be as firm as possible before the picket boards are attached.

  • Use the screw pockets provided by the manufacturer to drill the wood picket board into place. Ideally, there should be four screws on each board; two for the top rail and two more for the bottom.

  • Check to see that the picket boards are aligned even if you are using the screw holes already in place.

Pro tip: Work in one direction as you install the picket boards. This will allow you to proceed evenly from one side as opposed to working from two different sides and ending up with lopsided boards in the end. Use each previous board as a reference to see how evenly the boards are being installed.

  • Measure out the space between each board using a spacer. This will keep the slits in between each picket board evenly spaced.

  • Your homemade fence is finished when all the picket boards are installed, everything is matching, and all the boards are evenly spaced out. Even a simple picket fence is a very fun and rewarding DIY project and can significantly improve your home’s exterior. 

Loose Tips and What to Avoid

While it is very much advisable to paint all the materials before attaching them, you can apply the last coats of varnish or lacquer after the picket boards have been installed.

Best Paint Finished for Your Picket Fence

Best Paint Finished for Your Picket Fence

  • Have a level and square ruler on hand as this will serve as a reminder to measure all your installations regularly. It is very easy to overlook certain measurements and cut corners in certain areas thinking it won’t cause any problems. However, even a little deviation can create very unattractive results, with lopsided rails, uneven posts, or picket boards of different lengths.

  • You always want the color of your picket fence to speak to the exterior of your home, including structures like decks and porches. But if the result does not come out exactly how you wanted, you can always repaint the fence any color that you want.

  • Keeping the picket fence paint fresh is always very important, but do not forget about resurfacing. Through constant exposure to the outdoor elements, wood can and will start to chip, break, mold, and even rot. Remember to regularly resurface and repair the fence, as simply painting over the damage is not going to do the trick.

  • Most picket fences are manufactured using either pine, cedar, or redwood, all of which are quite sturdy but very susceptible to corrosion. Pine is a less costly material to build a fence with but is susceptible to chipping and termite infestation. Cedar and redwood, though more expensive, are much more termite resistant, which means less maintenance in the long run.

  • If you have some experience working with wood you can make your own picket board shapes instead of using pre-manufactured ones. Most picket boards come in the following shapes: spearhead, dog eared, round, and gothic, but you can get a lot more creative with the designs.

  • Reuse any old wood if possible. Building a DIY picket fence from pallets is a very popular project with those looking to reduce their carbon footprint and make the best use of what they have available.

Tools and Equipment You'll Need for Exterior Woodworking Projects

Tools and Equipment You'll Need for Exterior Woodworking Projects

Written by
Contractors.com Team

Written by Contractors.com Team

Welcome to the Contractors.com Team, a group of passionate individuals dedicated to helping homeowners achieve their dream home through the best-in-class service providers and inspiring content.


We believe that every homeowner deserves to have a home that they love, and we're committed to making that a reality. Whether you're looking to remodel your kitchen, renovate your bathroom, or build your dream home from scratch, we've got you covered.


When it comes to creating content, we take a multi-faceted approach. We gather insider tips from experts in the home service industry, and do our own thorough research to write informative and engaging articles that are tailored to our readers' needs. At the same time, we harness the power of A.I. and GPT-3 technologies to generate titles, headlines, and even entire articles that are optimized for SEO and designed to provide value to our readers.


We're committed to providing the best possible service to our readers, and we're always looking for ways to improve. Whether you're a homeowner looking for inspiration or a service provider looking to join our network, we're here to help you achieve your goals.

comments