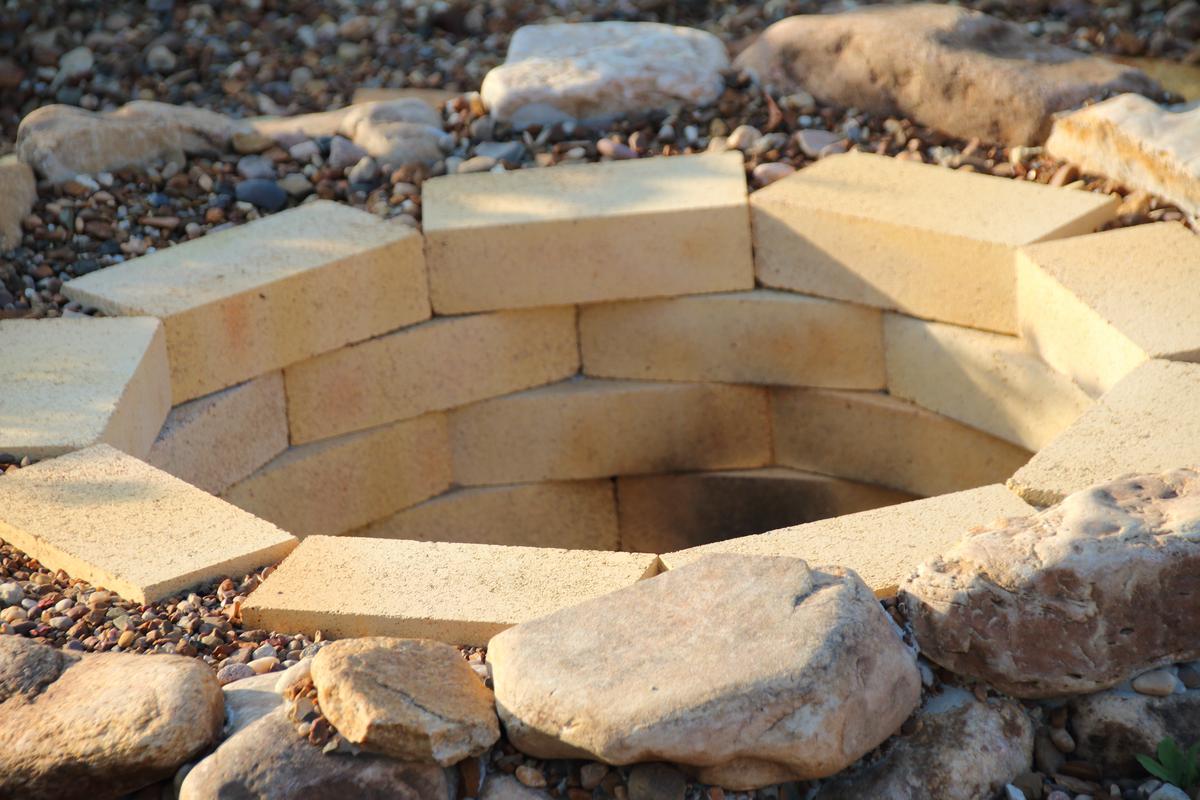
Lay the half-bricks with their broken-off side facing the inner firebrick layer. Using a masonry trowel, apply a smooth surface of mortar to place the bricks next to each other and continue doing this in one direction.
For best results, divide the fire pit circle into three nearly equal sections and work on them one at a time. By the time you finish with one, the other will have set and toughened up. As you lay the bricks, use the handle of the trowel to lightly tap the half-brick into place and let the mortar do the rest. Tapping too hard may risk breaking the handle or even the brick itself.
When you press down on the bricks, some mortar may ooze from between the half-bricks, making the surface of the fire pit a bit messy. To clean this up use a jointer to press against the excess mortar and keep it from spilling out. Don’t be too forceful as it could push the brick out of place. Give the mortar a gentle push with the jointer and it should recede into place.
Step 6. Finishing the Top
Finally, we have the top lip, which is the top-most surface of the fire pit. Using the same bricks used on the external layer, place full sized bricks on top of the half-bricks and firebricks. The top lip bricks are placed perpendicular to those in the two rows beneath them so that their lengths cover the top of both these layers.
Put mortar on the sides of the bricks that have the holes going through and lay them next to each other. As you lay down the bricks, some of the mortar may spill out or create gaps. It is wise to fill these gaps before the mortar hardens yet. Using a tuck pointer and trestle, fill the gaps with extra mortar and scrape away any excess mortar that spills out.
You will slowly notice how structurally stable the fire pit gets, although, as with all the other steps, you will need to give it some time to harden completely. With the top lip completed, you are nearly done. Smaller details may need touching up, such as cleaning up mortar spills, fixing the dirt around the fire pit, or washing up the bricks to bring out their color from under the dust.
Some Embellishment to Consider
While you can leave the fire pit as it is and call it finished there are some other additions you can make to add more functionality or style.
- For greater heat absorption you can use a steel camping fire pit. It is, most commonly, circular steel plating that is typically used for camping as a temporary fire pit. By installing it into the interior of the fire pit you can have significantly better insulation.
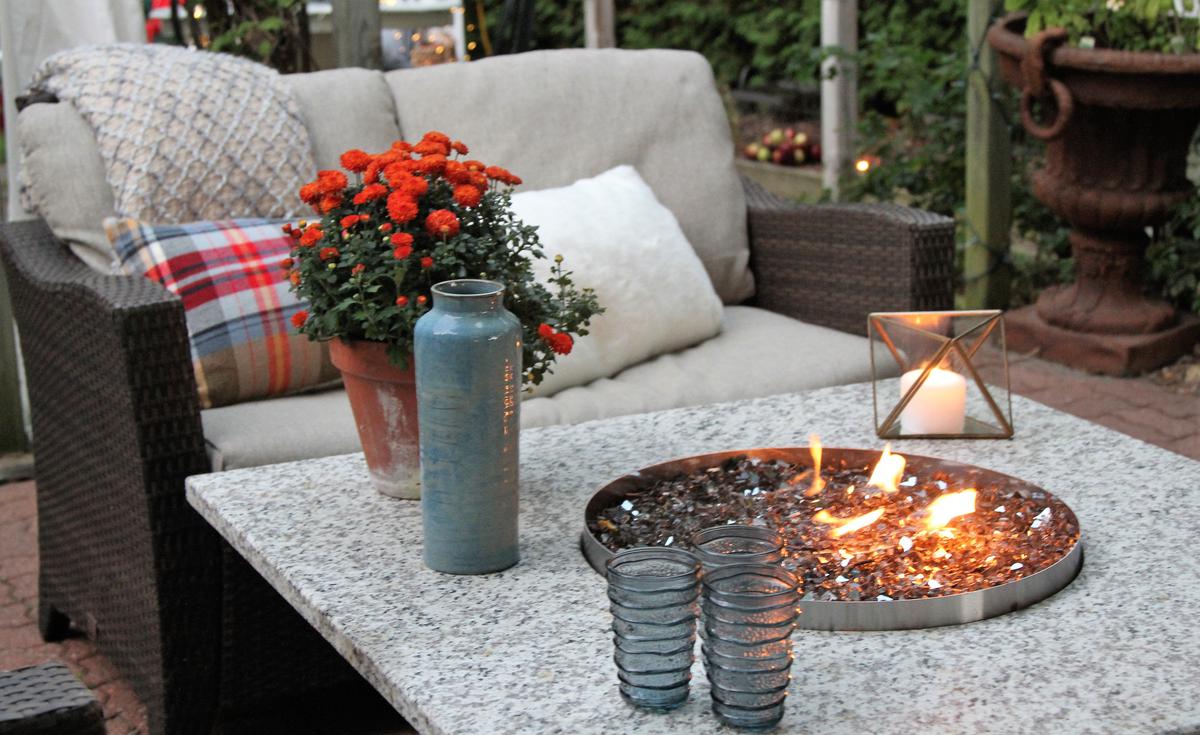
- DIY smokeless fire pits are a popular project with homeowners looking to have their own backyard coziness — minus all the smoke in your eyes and its stubborn smell on your clothes and in your hair. Smokeless fire pits can be bought in many stores across the country and are generally priced around $300 to $400 depending on the size and manufacturer. However, these are often portable fire pits. For a permanent installation, you can speak with countless professionals online and ask for their advice on building a smokeless brick-and-mortar fire pit.
- Solo stove fire pits are great for homeowners looking to host cookouts and BBQs more than once a year. They are smaller in size but offer all the convenience of any other portable fire pit.




comments