The transformation of a room often comes down to the details. Nay, it's always about the details. One thing homeowners and DIY enthusiasts commonly sort of struggle with is the transition between tile and drywall. It might seem trivial, but a flawless tile-to-drywall transition can be the difference between a professional-looking project and a DIY disaster. Let's dive in and explore how to perfect this transition and why it's so essential.
Understanding the Importance of the Transition
Before we jump into the how-to, let's clarify why the tile-to-drywall transition is such a big deal. The transition plays a pivotal role in:
- Aesthetics: The eyes are drawn to lines and intersections. A jagged or noticeable transition between tile and drywall can disrupt the visual flow of a room.
- Functionality: A poorly managed transition could result in moisture seeping into the drywall, causing potential damage over time.
- Resale Value: Buyers and appraisers notice the little things. A clean transition could bump up the perceived value of your home.
Tools and Materials You'll Need
- Tile trim or edge (like bullnose or Schluter strips),
- Tile adhesive or thin-set mortar,
- Silicone caulk (color-matched to your tile or grout),
- Caulking gun,
- Trowel,
- Tile cutter or tile saw,
- Drywall compound,
- Sandpaper.
Mastering the Tile to Drywall Transition: Step-by-Step
- Planning & Measurement: Start by planning the design of your tiled area. Decide where the tile will end, ensuring that the tile's edge won't interfere with outlets, switches, or any other wall features.
- Choosing the Right Trim: This is where aesthetics come into play. The trim's primary purpose is to provide a smooth transition between the tile and drywall. You might opt for a bullnose edge (rounded finish) or a Schluter strip (a metal or plastic edge trim) based on your design preference.
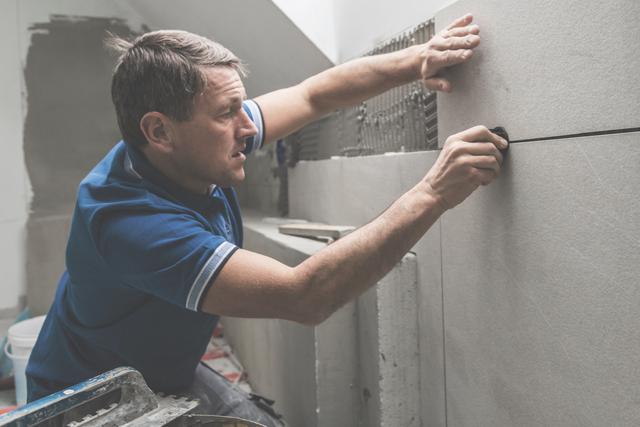
- Tile Installation: Apply adhesive to the back of the tile using a trowel, then press the tile into place. Place the trim tiles or Schluter strips where the tile meets the drywall, ensuring that it sits flush against both surfaces.
- Drywall Preparation: Once tiles are set, apply a thin layer of drywall compound to the drywall area adjacent to the tiles. This will help smoothen any inconsistencies between the two surfaces.
- Caulking: After the drywall compound dries, sand it for a smoother finish. Then, using a caulking gun, apply a bead of silicone caulk along the joint where the tile trim or Schluter strip meets the drywall. This seals the transition, preventing moisture infiltration.
- Painting: Once the caulk is dry, paint the drywall as desired, taking care not to get paint on the tile or trim.
Tips for a Seamless Transition
- Always take your time when measuring and cutting tiles. Precision is key.
- When choosing caulk, opt for a mold and mildew-resistant variety, especially in moisture-prone areas like bathrooms.
- If you're unsure about the transition look, test different trim options before finalizing your choice.
The Art of the Tile-to-Drywall Transition
Perfecting the tile-to-drywall transition is both an art and a science. It demands attention to detail, the right tools, and a bit of patience. But the rewards—a beautiful room and the satisfaction of a job well done—are well worth the effort. Whether you're sprucing up your home for yourself or for the market, never underestimate the impact of that little line where tile meets drywall.


comments