Simple DIY Clothesline Ideas - Dry Your Clothes the Old Fashioned Way

Simple DIY Clothesline Ideas - Dry Your Clothes the Old Fashioned Way

Small Projects and Repairs
Cleaning
Handyman
Outdoor and Gardening
Outdoor Additions
By Mateos Glen Hayes May 03, 2021

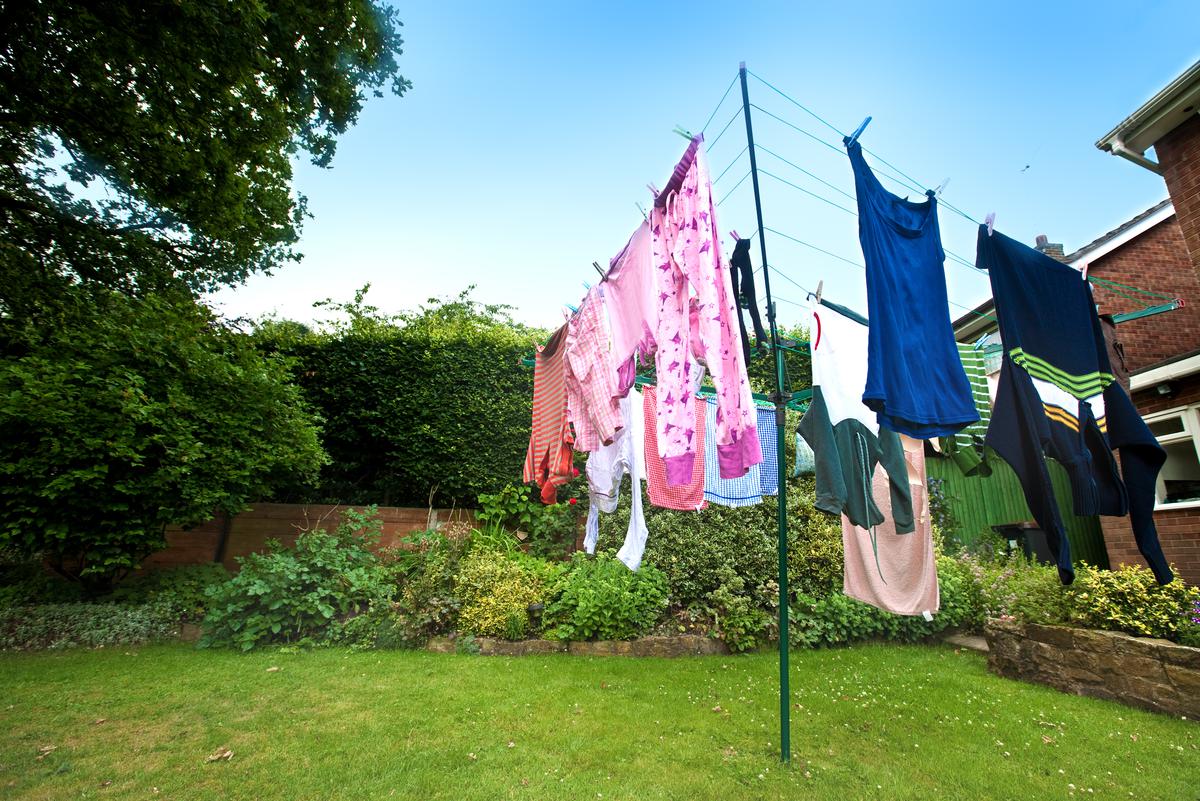
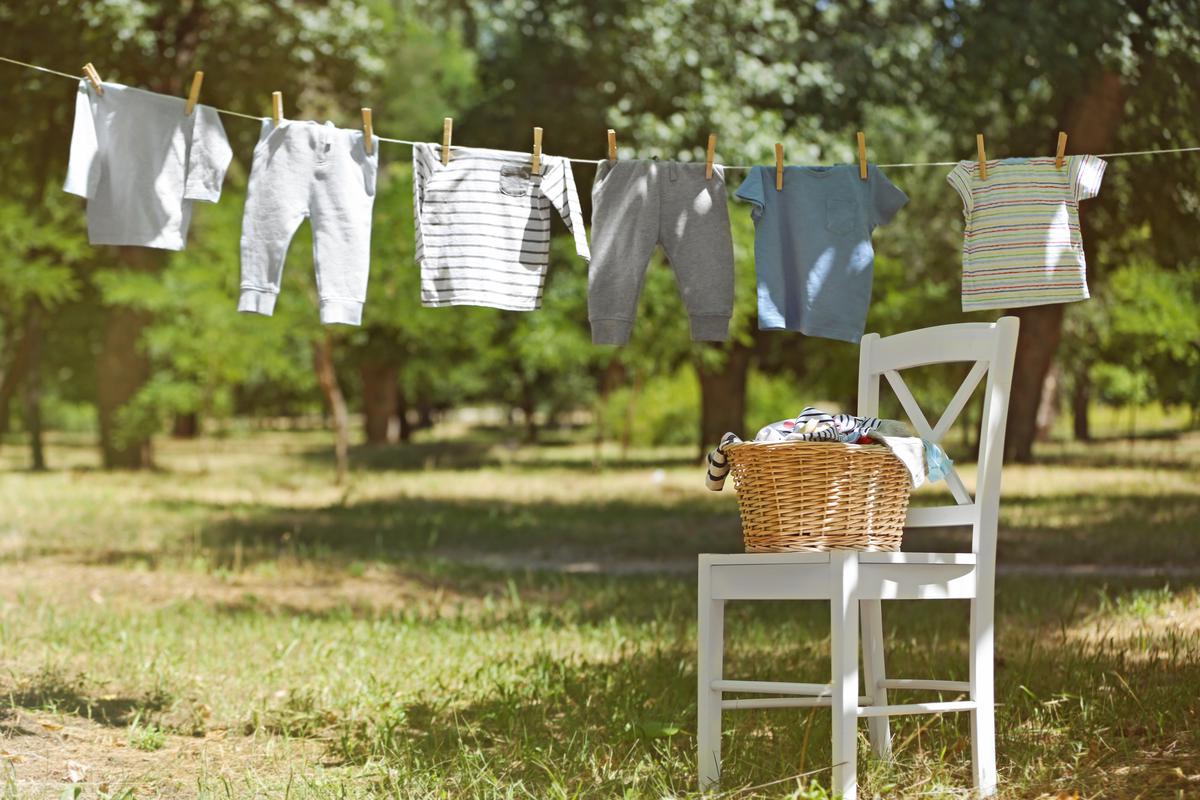
Many of us have forgotten the days when you’d take your laundry out to the yard to hang them on a clothesline. Many more of us have never even had to do this thanks to the presence of electric and gas dryers in basically every home. But as national hanging out day rolls around, it pays to take a moment and rediscover what was once a common chore in every household. After all, there are quite a few benefits to sparing your dryer by letting your clothes air dry. The most obvious plus is that you save energy and save water, and get to reduce water bills and waste as well. This makes air-drying a great option for anyone who wants to embody a more eco-friendly lifestyle.

But air-drying has other perks, too. Drying your laundry on a clothesline will make your clothes last longer since they aren’t exposed to the thrashing of a dryer. Air-drying laundry also prevents your clothes from developing static cling, which attracts lint. To top it off, letting your clothes dry in the open air will give them that fresh clean smell without the need for dryer sheets. 

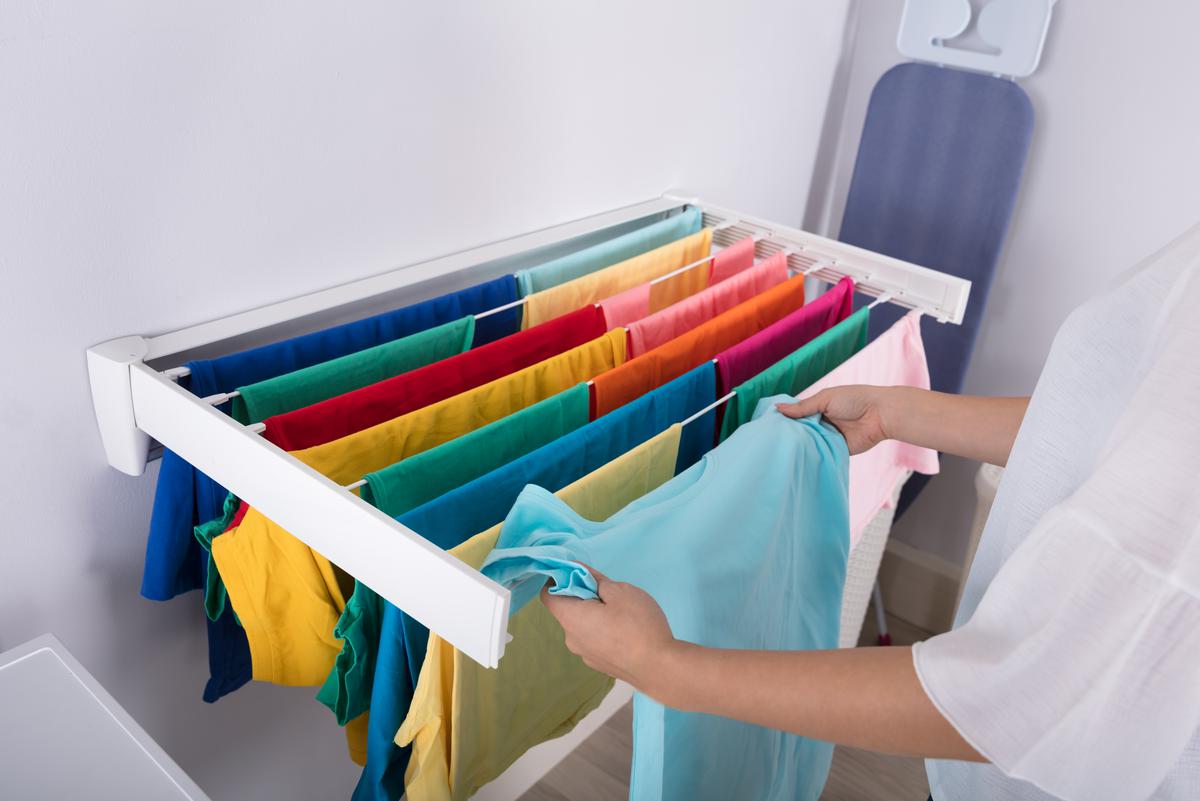
Of course, you can always air dry without a clothesline, and just hang a few items of clothing on outdoor (or indoor) furniture and fixtures. However, wood fixtures can warp if you put wet clothes on them, and metal ones can rust. So if you want a more holistic and sustainable approach to healthy and efficient drying, it’s a good idea to think about having a purpose-built clothesline.

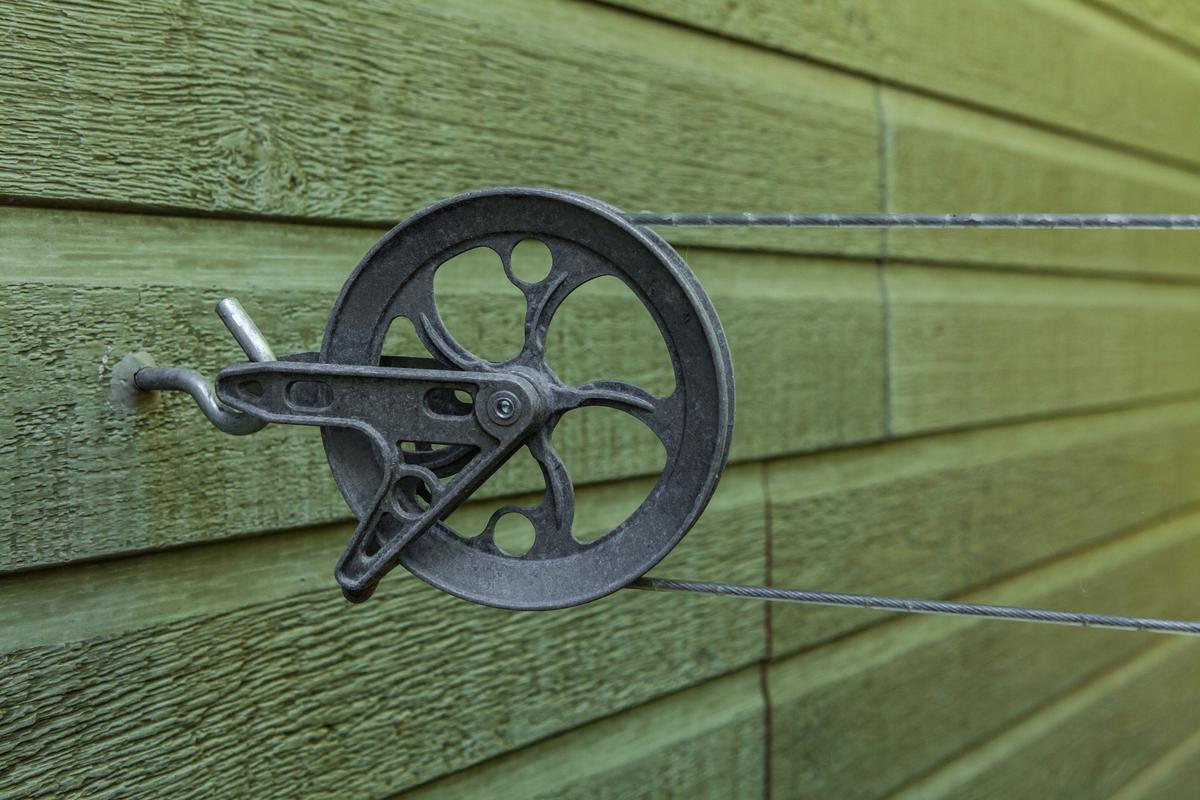
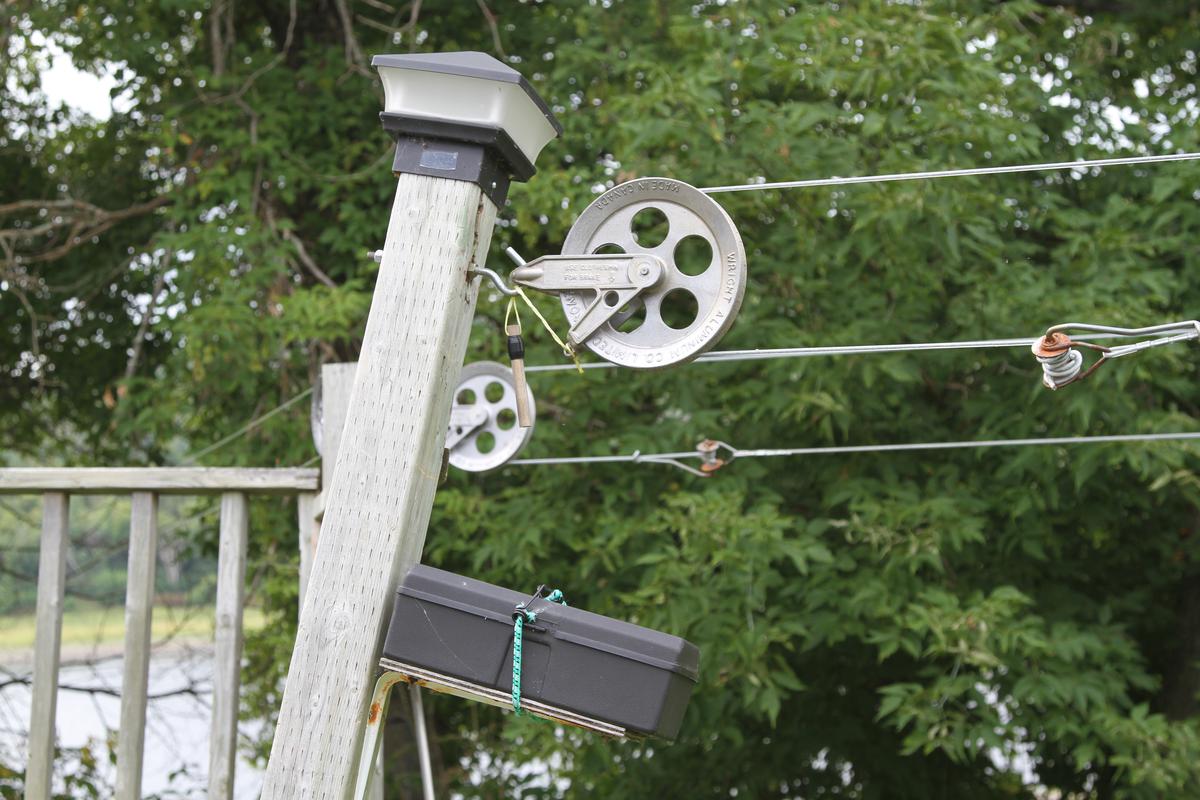
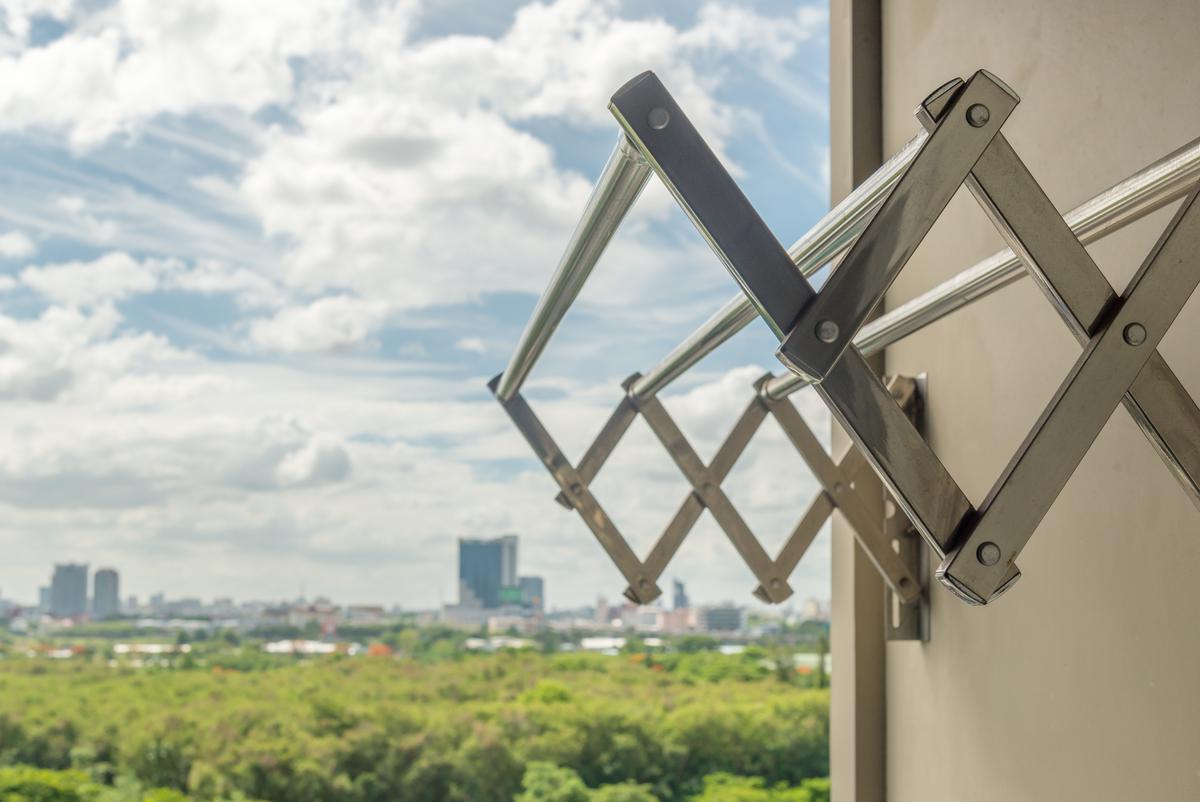
Luckily, building your own clothesline is a simple and fun DIY project to take on over the weekend — no need to consider buying a standard clothesline with no character. There are many DIY clotheslines to choose from, each tailored to the unique configurations of various homes. Are you aching for convenience, lacking in free space, or just want a stylish clothesline? If so, your future clothesline just might be on this list...    

How to Build a Rotary Clothesline 

How to Build a Rotary Clothesline

How to Build a Rotary Clothesline

This is one of the smartest vintage clothesline designs. It’s a clothesline that maximizes capacity while minimizing volume. In other words, you can hang up a lot of clothes without having to put a space-hungry clothesline to do it. Rotary clotheslines are hugely convenient. They rotate so that you can easily get at all your clothes, and they can fold away when you are done with them so the wind doesn’t tear them up.

Rotary clotheslines are a bit fancier than your run-of-the-mill clothesline, and that makes them a bit more challenging for a DIY project. It’s still doable though, and you can build a rotary clothesline with some basic hand tools, clothesline, 2x4 lumber planks, cement, ball bearings, and some screws:

  1. When designing the rotary clothesline, be sure to allow for the clothesline to turn freely. After cutting the wood to the dimensions you want for the pole and “top part”, your top part (frame) of the rotary clothesline should make a plus sign. 
  2. Run concentric circles with the clothesline wire on this plus-sign frame; it’s up to you how many rows of wire you put. Just make sure there are at least 4 inches between the rows. 
  3. You also want to pay attention to the foundation of the rotary clothesline. Make sure the place you choose for the foundation isn’t in the shade of any trees. When digging the foundation, you’re aiming for 1 foot in depth and 1 foot in diameter. Watch out for utility lines. 
  4. When filling in the hole with cement, fill it up one-third of the way, insert the pole, and then fill it up the rest of the way. Be sure to keep the pole straight and upright during this process.  

How to Build a Clothesline with Pulley System

How to Build a Clothesline with Pulley System

How to Build a Clothesline with Pulley System

Maybe you don’t want something small or circular. Maybe you want a clothesline with some aesthetic style, something even more vintage than those pedestrian rotary things. In that case, a clothesline with pulleys is what you’re looking for. It's made up of two posts and two to three pulley-mounted cables. This design is convenient because it allows you to move the cables and therefore easily put clothes on or take them off without moving about too much yourself. You can just move the pulley cables away from you as you hang up clothes, and pull them towards you as you take clothes off. This one takes a bit more time to build, but it isn’t too difficult: 

  1. You’ll use ½ x 3 pieces of lumber for the posts (the main post should be eight feet high), and 2x3 pieces of lumber for the support arms. After marking the spot where the horizontal post will intersect with the post, notch out about half an inch on the horizontal post with a chisel. Then, secure this horizontal post to the main post with bolts. This should make a cross shape. Repeat the process for the other post, and make sure the ends of the bolts face outwards (away from where the clothes will hang).
DIY Clotheslines For Lower Energy Bills

DIY Clotheslines For Lower Energy Bills

  • Then, use the 2x3s to make two support arms for each post (one for holding up each side of the horizontal post). Secure these support arms with nails. 
  • Now you can dig foundation holes. These should be two feet deep to keep the posts upright, leaving six feet above the ground. Set the posts into the hole and use quikrete (a quick working concrete which just needs you to add water) to secure the posts in the holes. It will take 48 hours for the quikrete to cure. 
  • Once both holes are done, you can install the pulleys using eyescrews and string up the clothesline. If you put old tin cans on top of the posts, that will protect it from rain and keep the wood from rotting.   
  • How to Build a Clothesline On a Wall

    How to Build a Wall-Mounted Clothesline

    How to Build a Wall-Mounted Clothesline

    Do you have no backyard, and would prefer your smaller home not be cluttered with a standalone clothesline? A clothesline on a wall might be just right for you. Mount this clothesline on the side of your house that gets the most sun, and then you can revel in the space-saving eco-friendly genius. This one is very easy. All you need to do is get some 2x4s, some clothesline wires, and some screws. You don’t even need power tools, though a power drill will make things go faster:

    1. When planning your building-mounted clothesline, take some measurements of the wall you want to put it on. You wouldn’t want your clothesline to block a window, so be sure to mark where the clothesline will go on your wall so you don’t get any unwanted surprises.
    2. After cutting your lumber to form a basic butt joint, you can install these joints according to your markings with screws. Then it’s just a matter of putting in the clothesline wire. 
    Simple Clotheslines You Can Build Yourself

    Simple Clotheslines You Can Build Yourself

    If you happen to have a discreet corner inside your home that gets a lot of sun, you can also use this clothesline design inside.

    A Single-Lined Clothesline

    Saving On Energy Bills is As Easy As Drawing Up A Clothesline

    Saving On Energy Bills is As Easy As Drawing Up A Clothesline

    If the wall-mounted clothesline design is too bulky for your taste, you can go for something even more compact. A single clothesline can be suspended from one surface (say, a fence) to another (your house’s wall) with some steel line tighteners. These devices hold the clothesline, and in turn, can be attached to eyescrews on any flat surface. With this design, there's no need to build any posts, assemble carpentry joints, or dig holes. Plus, the clothesline can be taken down when it’s not in use, so there's no cluttering in your small yard. All you need is some clothesline,a few basic clothesline accessories, and some hand tools. It's as simple as:

    1.  Measure the gap between the two points you want to hang the clothesline on, and order a clothesline at least ten inches longer than that. 
    2. Attach a steel line tightener to each end of the clothesline, and install eyescrews into the points where the clothesline will be suspended. 
    3. Attach the line tighteners to the eyescrews. 
    MG

    Written by
    Mateos Glen Hayes

    Written by Mateos Glen Hayes

    None

    comments