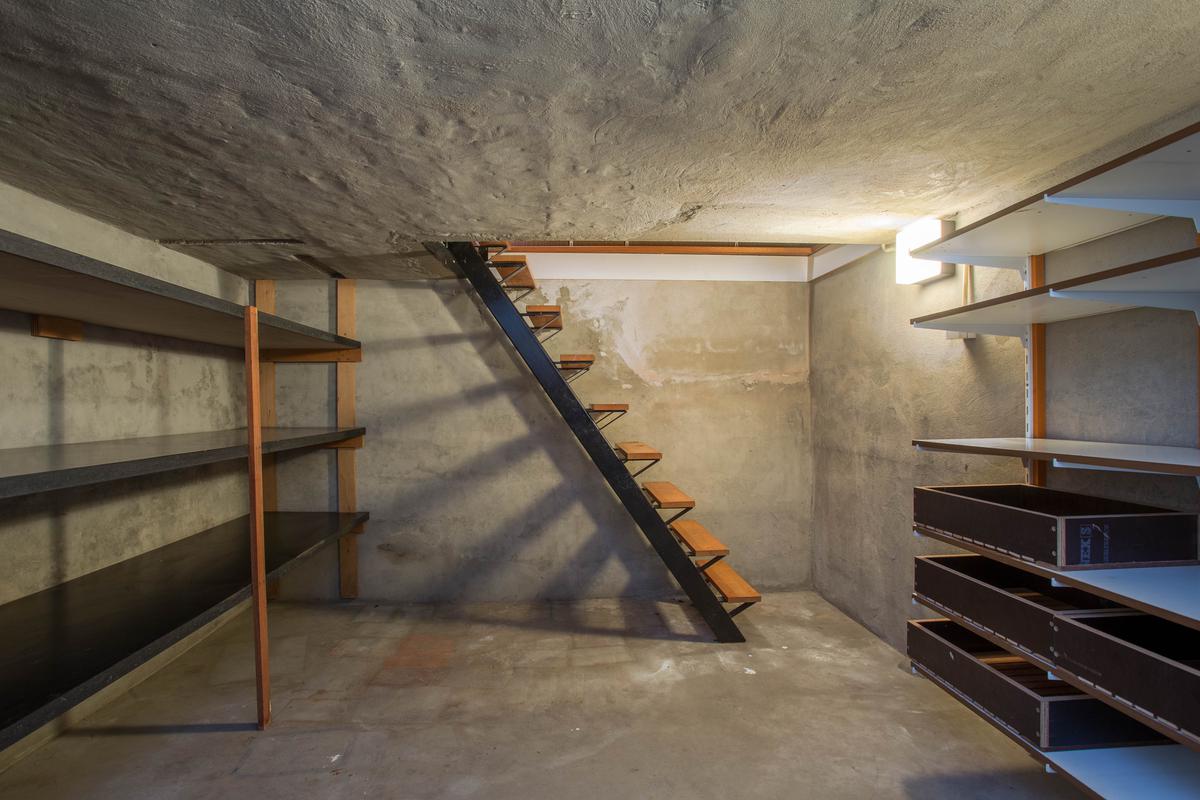
While most radon just comes out of the soil and goes straight into the air, some radon can make its way into houses and buildings via cracks and gaps. If you have a cracked foundation, this can be a vector for radon gas to come into your home, where it can then accumulate in a basement. If your home is well-insulated, this can cause radon to build up to dangerous levels so that it poses a greater health risk.
While radon is a naturally occurring gas, its heightened negative health risks are more of a man-made problem. Radon concentrations tend to be much higher indoors, resulting in radon levels that are higher than in the natural environment. If your home has multiple floors, you may find that radon levels are higher on upper floors than lower ones due to your HVAC configuration or updrafts.
What Are the Signs of Radon in the Home?
Because radon cannot be seen with the naked eye, the only way to detect it is via the symptoms it can cause. If you find yourself suddenly developing shortness of breath, a worsening cough, pain or tightness in the chest, hoarseness, trouble swallowing, or other respiratory difficulties, this may be a sign of radon. There are, however, no medical kits for testing radon poisoning, so the only way to know for sure that you have been exposed to it is to ask a doctor.
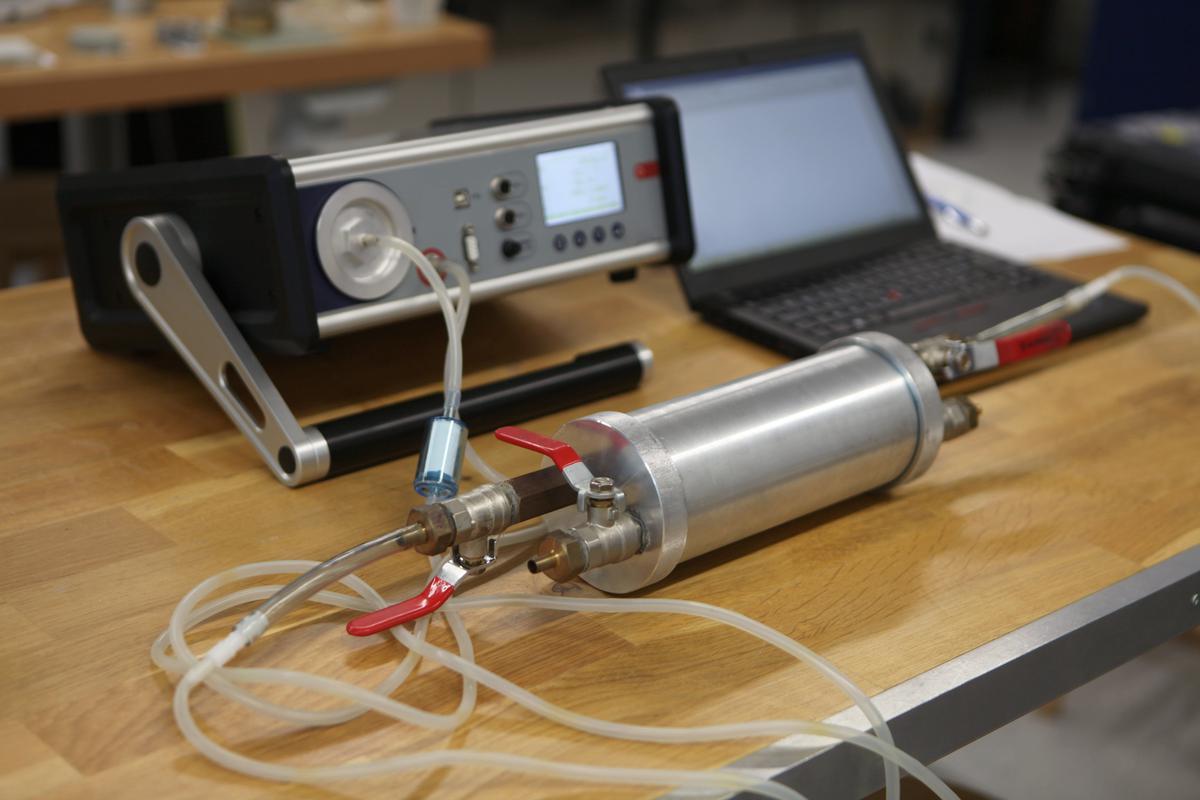
Likewise, the only way to know for sure that you have radon in your home is to test for it. While it is possible to get a radon specialist to do the test for you, a DIY radon test kit can also be bought online and at most big-box hardware stores. Testing for radon is a relatively simple procedure that can take anywhere from a few days to ninety days depending on how much data you want the test to collect.
How to Test for Radon
Testing for radon yourself is a simple 3-step process:
- Buying the kit.
- Set it up in the lowest part of your home.
- Send the results to a lab for analysis.
However, before you set up the kit, there are some things you’ll need to do to make sure the results you get are useful. The test can be done at any time during the year so long as it is not done during inclement weather. Close all external doors, vents, and windows at least 12 hours before starting the test to avoid an inaccurate result. Avoid using any fans while the test is in progress and be sure that your air conditioning is switched off.
Most tests have a minimum test period of two to five days, so make sure that you set up the kit in a place that’s out of the way. Ideally, you’ll want to hang the sampler in the middle of a room (from a light fixture for example) where it won’t be run into. In general, the kit should be kept away from drafts, openings, and vents. For the best results, avoid using the kit in an area with direct sunlight or high humidity. Once you complete the test, it's important to get the test to a lab as soon as possible, preferably in less than a week. However, it may take three weeks to get your results back.
How to Protect Your House and Family From Radon
The level of radon in a given space is measured in a unit known as picocuries per liter (pCi/L). On average, outdoor spaces have around 0.4 pCi/L, while indoor spaces have 1.3 pCi/L on average. According to the Environmental Protection Agency (EPA), any radon level higher than 4.0 pCi/L is something that requires immediate action. So, if you receive your test results with this number or higher, it's time to start thinking about radon mitigation. If you do get high radon levels in your test result, remember that this is not a cause for panic. Reducing radon levels in your home is a relatively easy task, and you can restore your home to lower radon levels in no time.




comments