And Enjoy Hours of Outdoor Fun
Tools and Materials for a DIY Cornhole Board
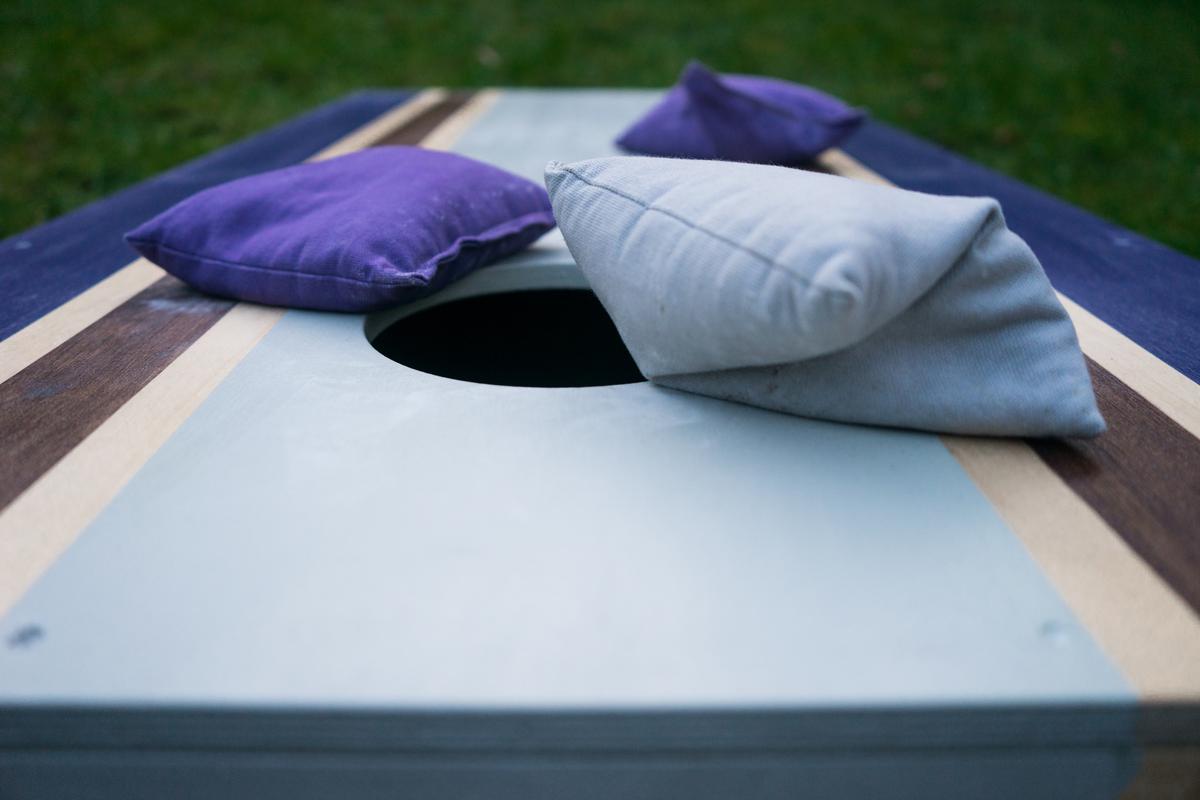
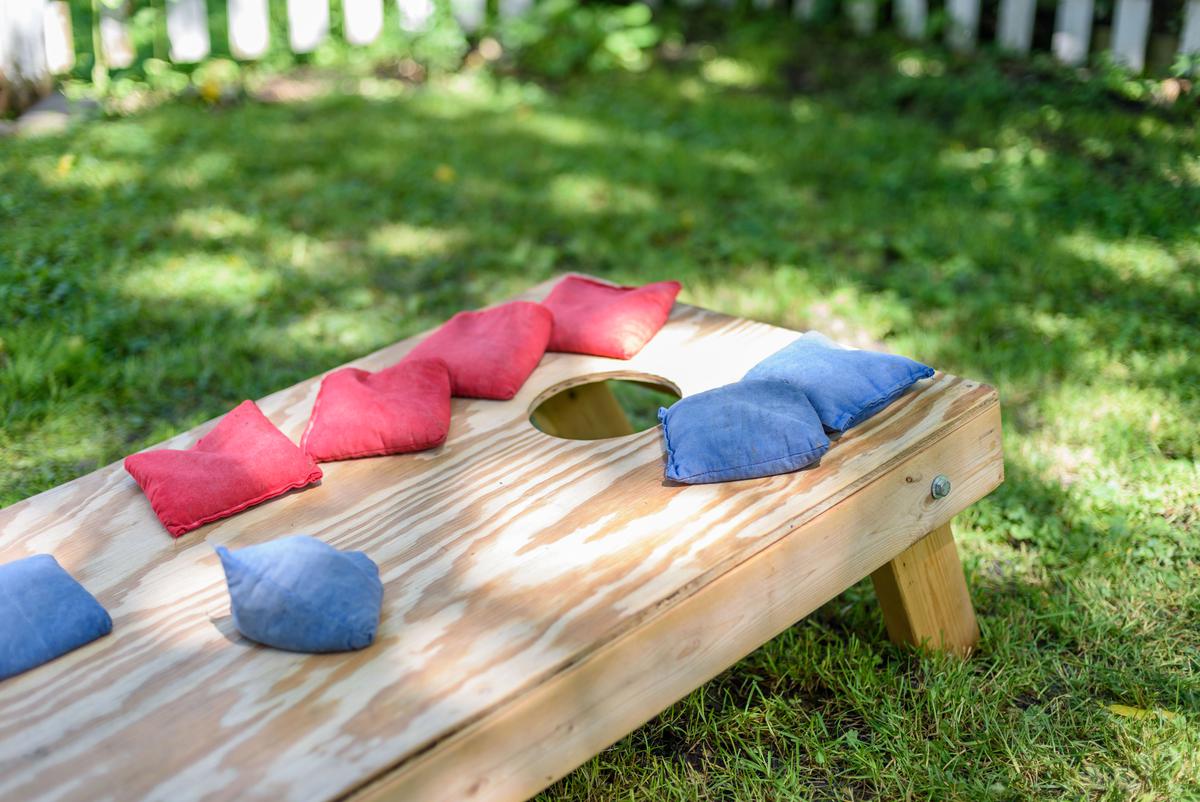
Cornhole tournaments are one of the iconic pastimes of American suburbia. It’s a fixture of tailgates, backyard parties, cookouts, Fourth of July parties, and did I mention cookouts? A beginner will find the game to seem simple at first, but cornhole quickly reveals itself to be a game that is both challenging, addictive, fun, and wholesome. As such, it is a perfect addition to any backyard. Indeed, making a cornhole board is a whole lot easier than mastering the cornhole game itself, but that doesn’t stop people from coming back to play again and again. As the warm months continue to roll, it’s important to have a variety of outdoor activity offerings to get the kids playing outside and enjoying the fresh air.
Fun and Easy Family DIY Projects
Building a cornhole board is an excellent way to do just that. You’ll also be thrilled to know that this is a summer DIY project that is affordable both in money and in time. Less than two hours is all that’s needed to build an American cornhole league regulation cornhole board.
Everything You'll Need for Small DIY Projects
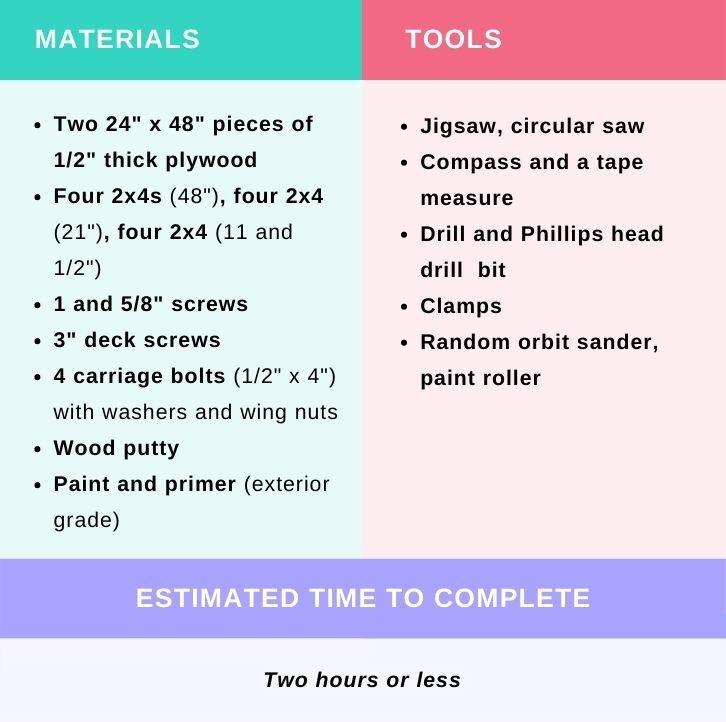
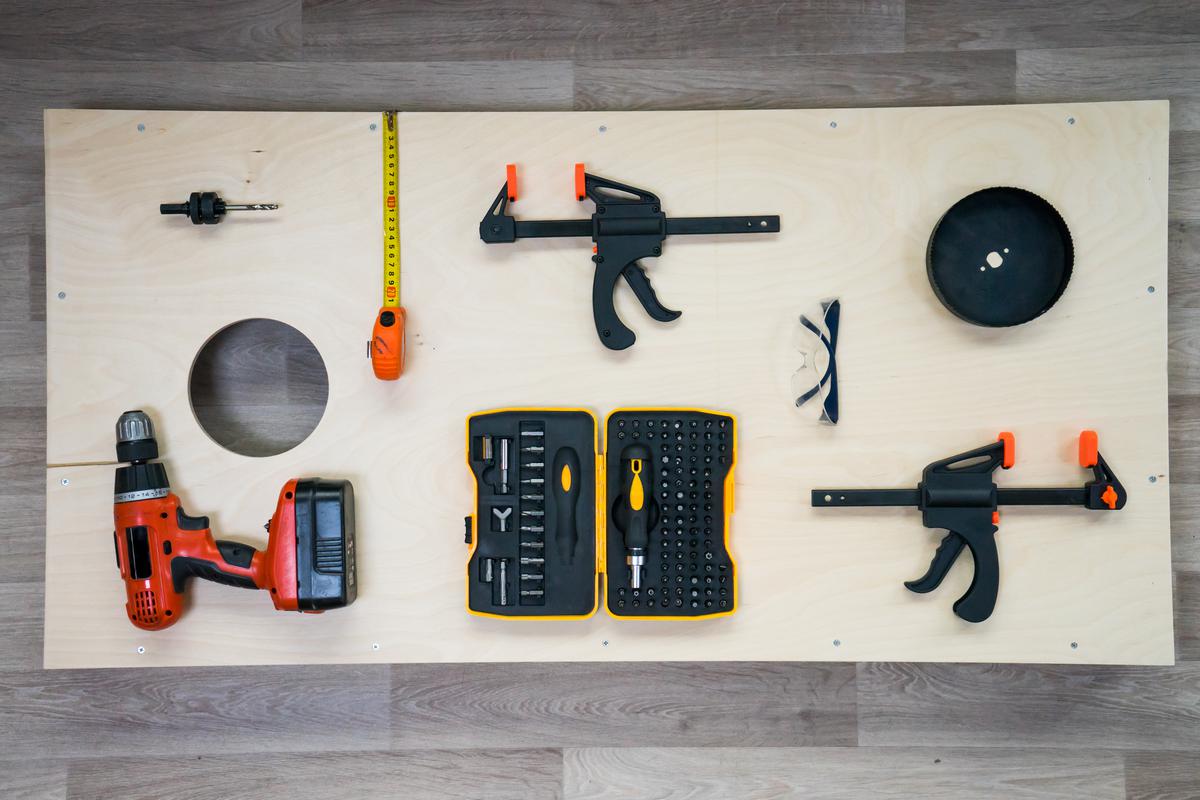
The tools and materials needed for this job are easy to find, and the process of construction is quite simple. Of course, while there are official regulations on the dimensions of cornhole boards and bags, it’s not required to adhere to those to a tee. The goal here is to build something sturdy that can give you and your family tons of backyard fun, so don’t worry too much about the little details. These instructions call for enough material for two boards so that there’s plenty of board to go around for family fun and bigger gatherings alike.
You can buy a set of cornhole bags (usually a set of eight) online for around $30. However, these can be easily made with some canvas and corn feed as well. The canvas bags are around six-inches square and filled with approximately two cups of corn feed. Whichever way you choose to get some cornhole bags, be sure to avoid getting them wet as water tends to mess them up.
Easy Projects to Developing Your Carpentry Skills
1. Build a Box
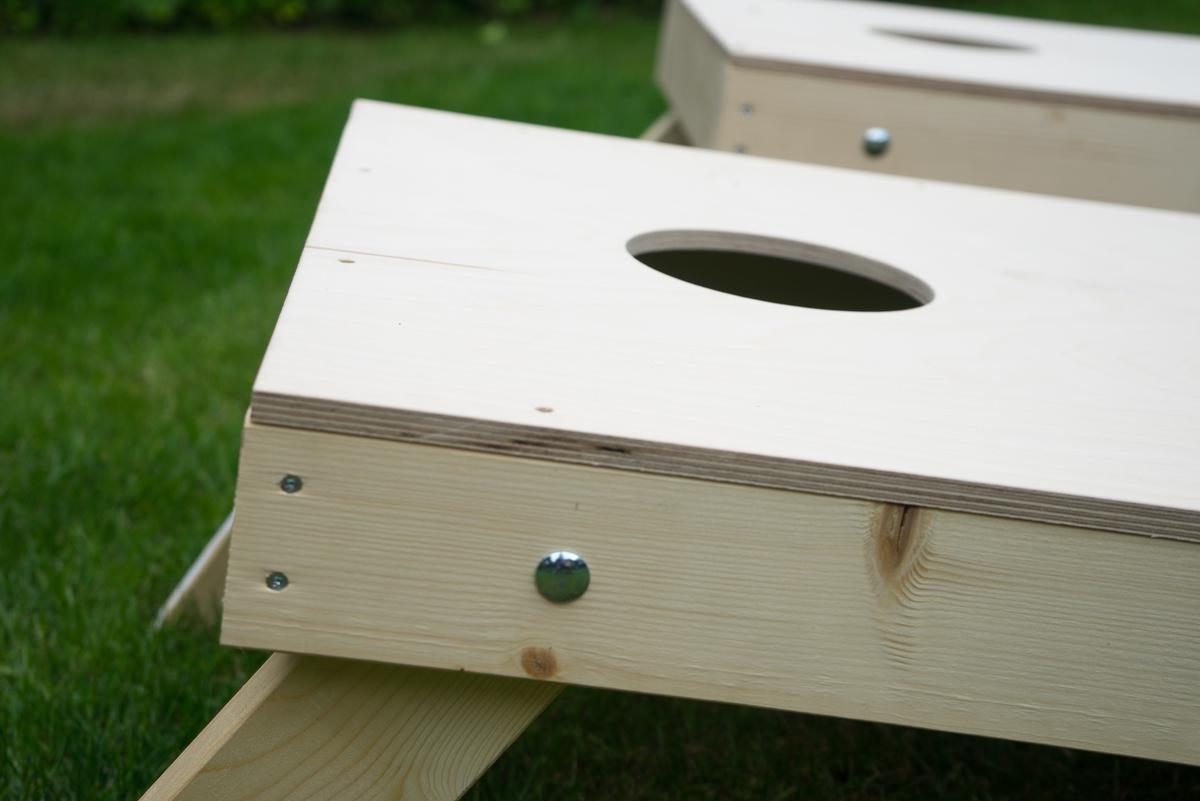
The first step is to build the frame which will support your DIY cornhole board. This will be a 2” x 4” rectangle frame made using the 21-inch and 48-inch 2” x 4” pieces. To build this, cut the plywood into 2’4’ sections, and assemble a rectangular frame where the 21-inch pieces are inside the 48-inch pieces. Then, attach these boards together with the three-inch Phillips-head screws. Use the drill to drive these screws home.
2. Attach The Top
Once your rectangle frame is assembled, all that’s left is to put the plywood top piece on top of it. This refers to the thick half-inch piece, which should be attached to the 2” x 4” frame with one and ⅝ inch screws. You should now have a completed rectangular box sitting in front of you.
3. Making The Legs
Take one of the 2’x4’ strips and cut it to 11.5 inches to make the four legs needed for the cornhole boards (two for each board). The legs will be mounted at the top corners of the board and will be retractable. So, they need to be cut in a half-circle shape at the top where they attach to the cornhole board. To do this, take a leg and measure 1.75 inches down its length and draw a line across it.
This is your radius line, and you should use it to center your compass and draw a half circle at that point. Once that’s done, use the jigsaw to cut along that half-circle and try to cut as close to the line as you can. A smoother cut will help make the legs work better when they are attached to the board. Repeat this process for the remaining three legs.
4. Attaching the Legs
Take your rectangular box and flip it upside down so that you can lay one of your newly-made legs flush up against one of the top corners (with the curved side touching the board). Once you have the leg in place, secure it with a clamp and mark the center of the leg based on the radius from the inside of the box. Then, drill a half-inch hole through the side of the box and through the support leg.
Simply, Yet Satisfying DIY Projects
Once the hole is drilled, it’s a simple matter of installing the carriage bolt through both holes and securing it with the washer and wing nut. To make sure you’ve gotten it right, test that the leg retracts into the box without getting stuck. If the leg seems to be catching on the box, try to sand down the curved bit of the leg so that it can no longer scrape against anything. Repeat this process for the other legs.
5. Trimming
Once all the legs are on, you’ll undoubtedly notice that they don’t sit level since the board is sort of “leaning” when the legs are extended. To fix this, flip the board right-side up on a table and place a bucket under the top part of the board to hold it at least 12 inches off the ground.
After setting it up so one of the legs dangles off the edge of the table, extend the leg and use the tabletop as an indicator of the angle that needs to be cut for the leg to sit level. Mark this angle and cut it with a circular saw.
6. How to Cut The Cornhole
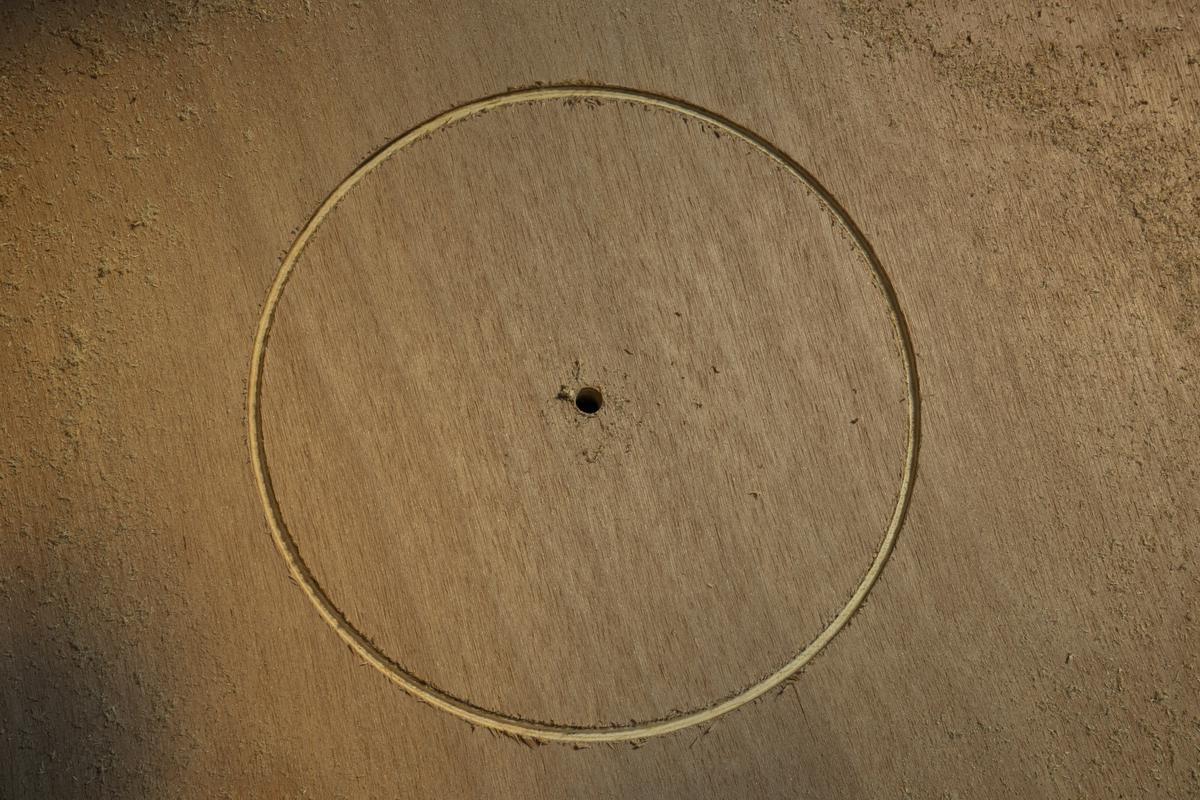
To cut a hole in the platform, you must first find the hole’s center point and mark it. This should be about nine inches from the top of the platform and 12 inches from each side. Once that center is marked, take out your compass again and trace a circle that’s at least six inches in diameter (if you want to follow the rules).
Reasons Why Woodworking is Such a Popular Hobby
This hole will be cut out using a jigsaw, but first, you’ll need to drill a hole with a half-inch drill bit near the edge of the traced circle so that you can stick the jigsaw blade through. Finally, cut out the traced circle with the jigsaw, and sand the edges of the hole until they are smooth.
7. Sanding
We’re getting awfully close to a complete cornhole board, but there are few more final touches left. First off, it’s highly recommended that you sand the entire cornhole board to remove any rough edges. This will help the primer and paint to better adhere to the surface of the board and will make it safe for curious youngsters to touch without getting a nasty splinter. A random orbital sander will get the job done nicely and in no time.
8. Primer and Paint
Prime the box with a roller and re-sand everything after the primer dries. When that’s done, wipe off the board with a damp cloth and get ready for the fun part: painting. This is the coolest step in the project because now you get to personalize the cornhole board. Plus, the luxury of having two cornhole boards is that you have more choice in colors as well. Get your kids involved in this step by having them vote on what colors or color schemes they prefer for even more family fun.
Tips and Tricks On Decorating Wooden Furniture and Objects
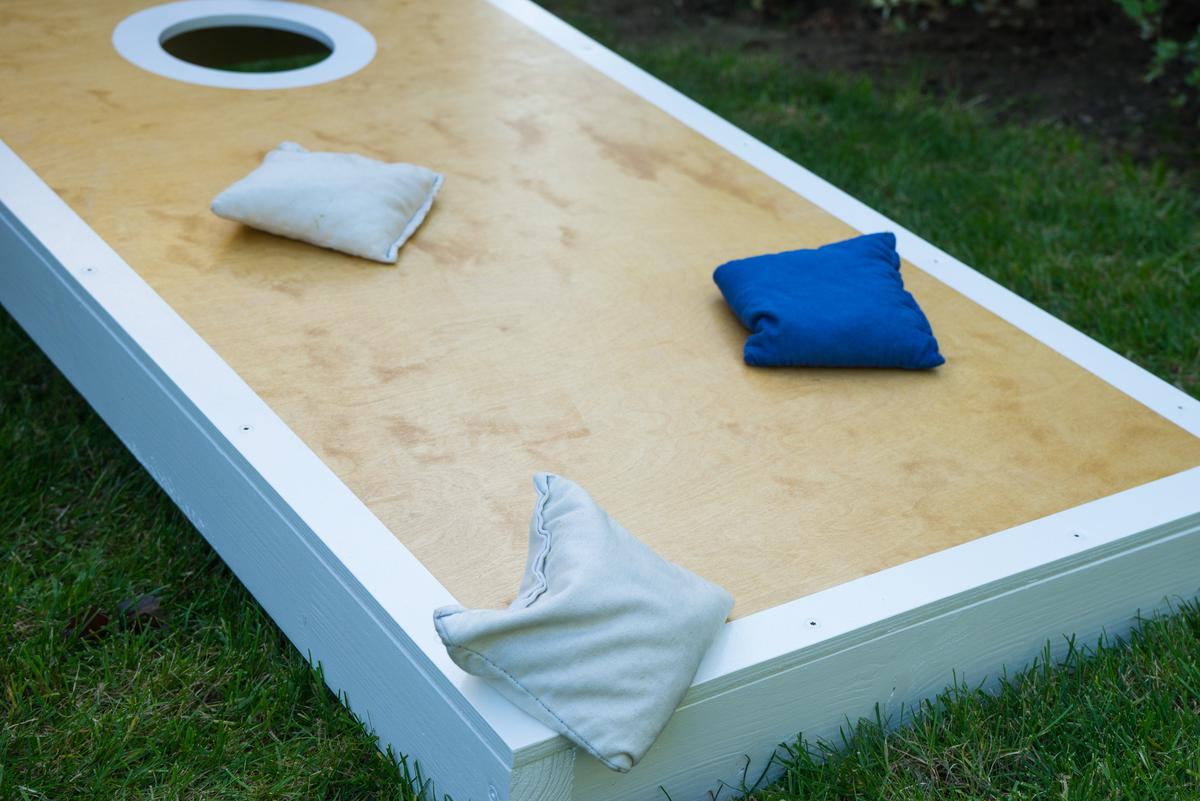
There are plenty of ways to shake things up with the painting scheme. Tape can be used to make shapes such as triangles or diamonds, and you can even have a plastic stencil custom-made with any design you can imagine and spray paint it on. You can also choose between various levels of gloss in paints.
High gloss paints will yield vibrant colors with more of a sheen, and low gloss paints will show more of the natural grain of the wood. In any event, it is best to choose an exterior-grade paint as this will also protect the wood from moisture, insects, and the elements.
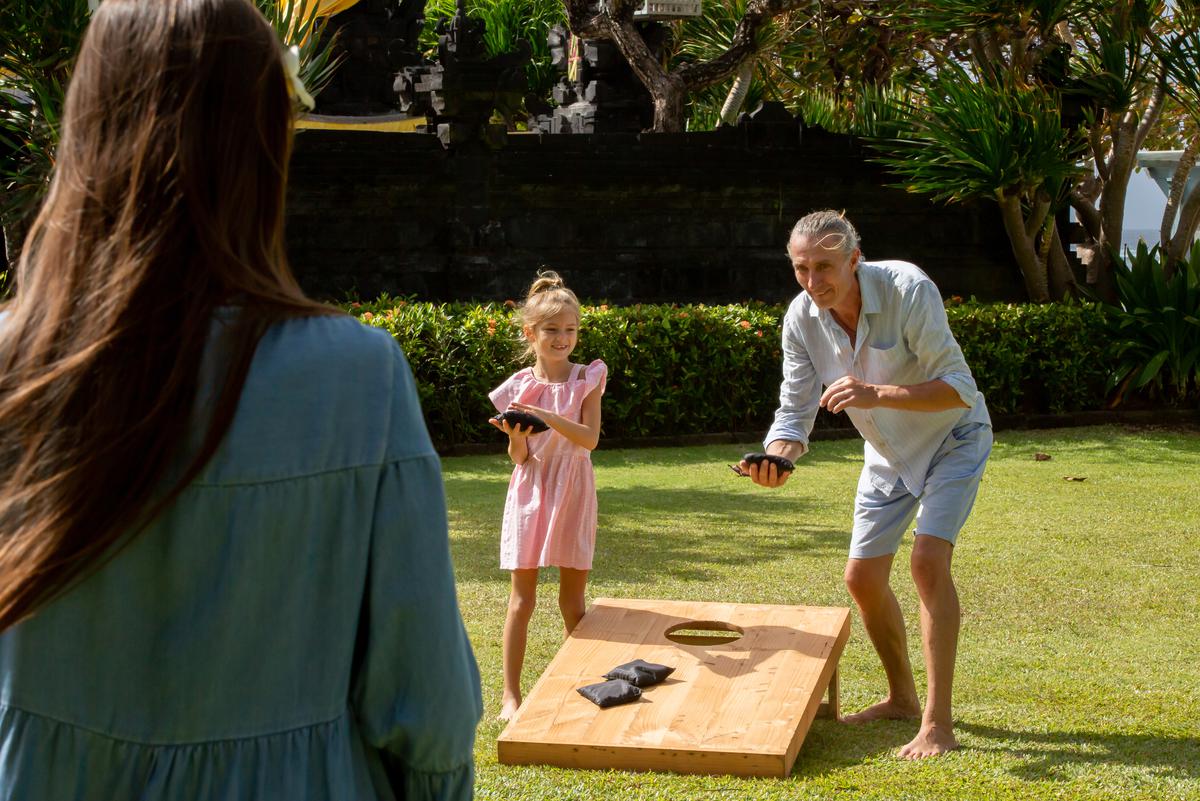
Once the paint has dried, your cornhole boards are all set for hours of outdoor fun. All that’s left is to start practicing so that you can be an ace by the time you host your next cookout at your outdoor kitchen. From football games to national holidays, American summers are chock full of outdoor parties that are all perfect opportunities for a game of corn hole, so enjoy!


comments