One of the great perks of having a house out in the suburbs is a large and luscious backyard. However, with cities growing and suburbs becoming more crowded, large yards are becoming something of a luxury. But having a small backyard doesn’t have to mean not having a greenhouse — or not being able to start your own garden, for that matter. Fortunately, there are still options for those of us who don’t have all the space in the world in our yards but still dream of having a nice wooden greenhouse. These garden structures come in all flavors. There’s a DIY greenhouse idea for every budget and every set of requirements. But all greenhouses have one thing in common: a whole bunch of compelling benefits.
Building your own greenhouse is a huge step towards leading a sustainable lifestyle.
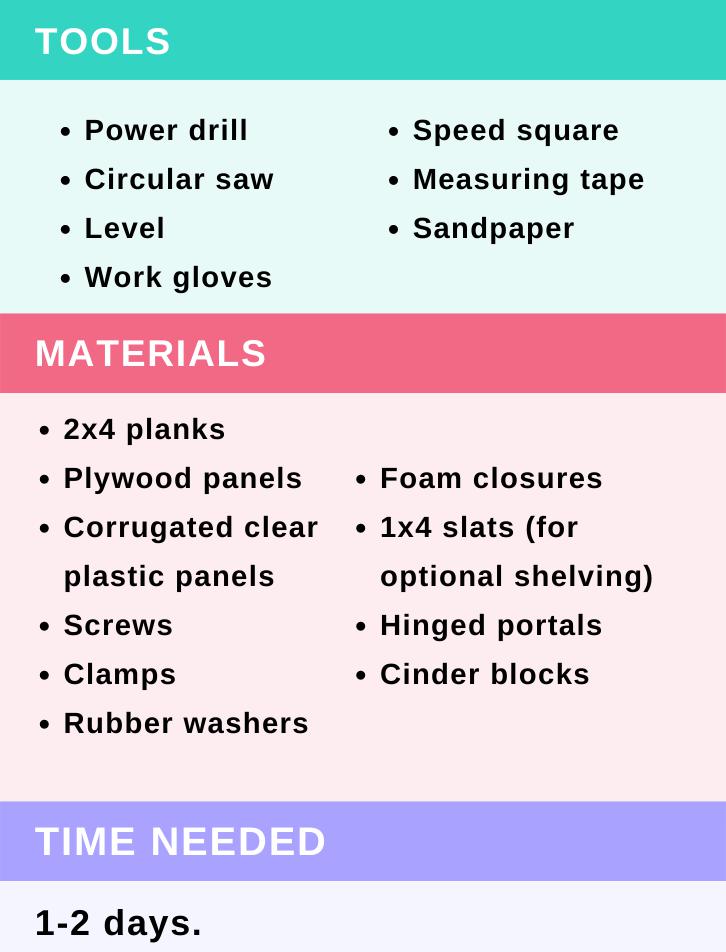
You may be wondering how much a small greenhouse costs, but you’ll be happy to know that they are very affordable. Most small DIY greenhouses will cost no more than $200 since all the materials needed aren’t too expensive. Of course, you can cut out most of the guesswork by just buying a palram greenhouse for the backyard, which will be premade and will only require some assembly work. However, these tend to be more expensive, starting at $400.
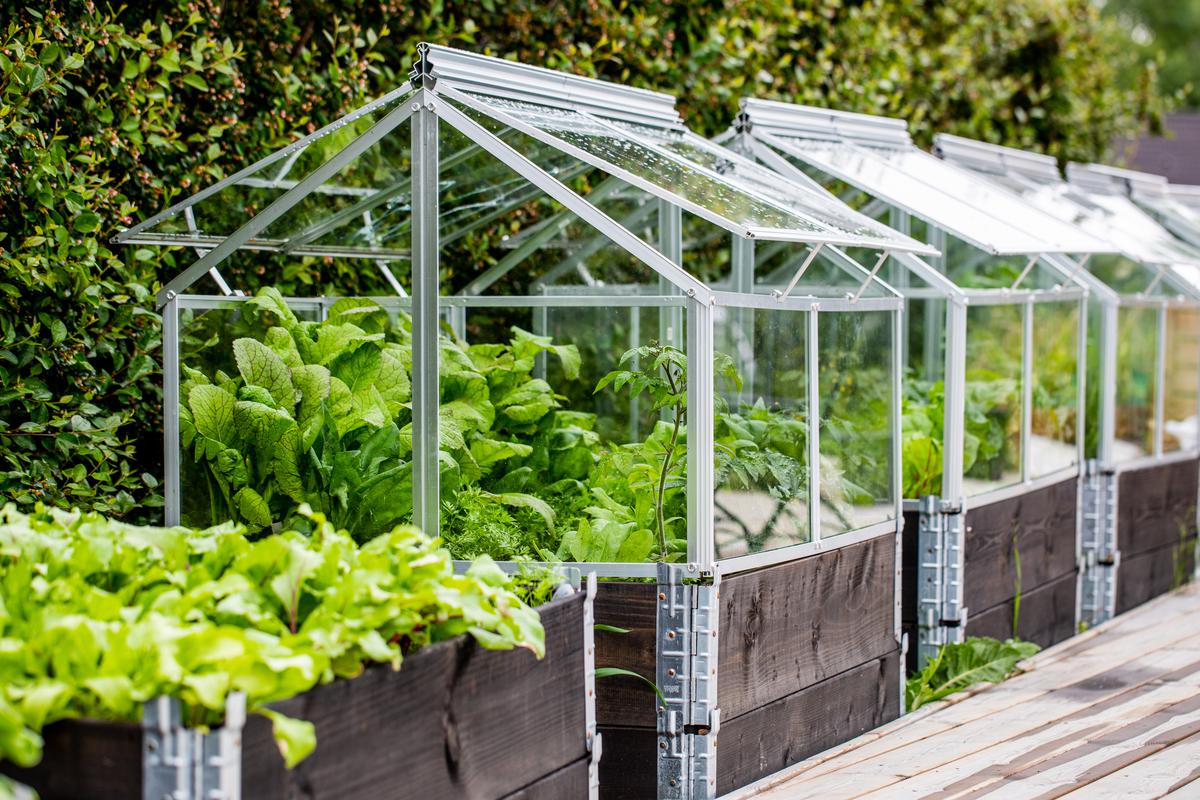
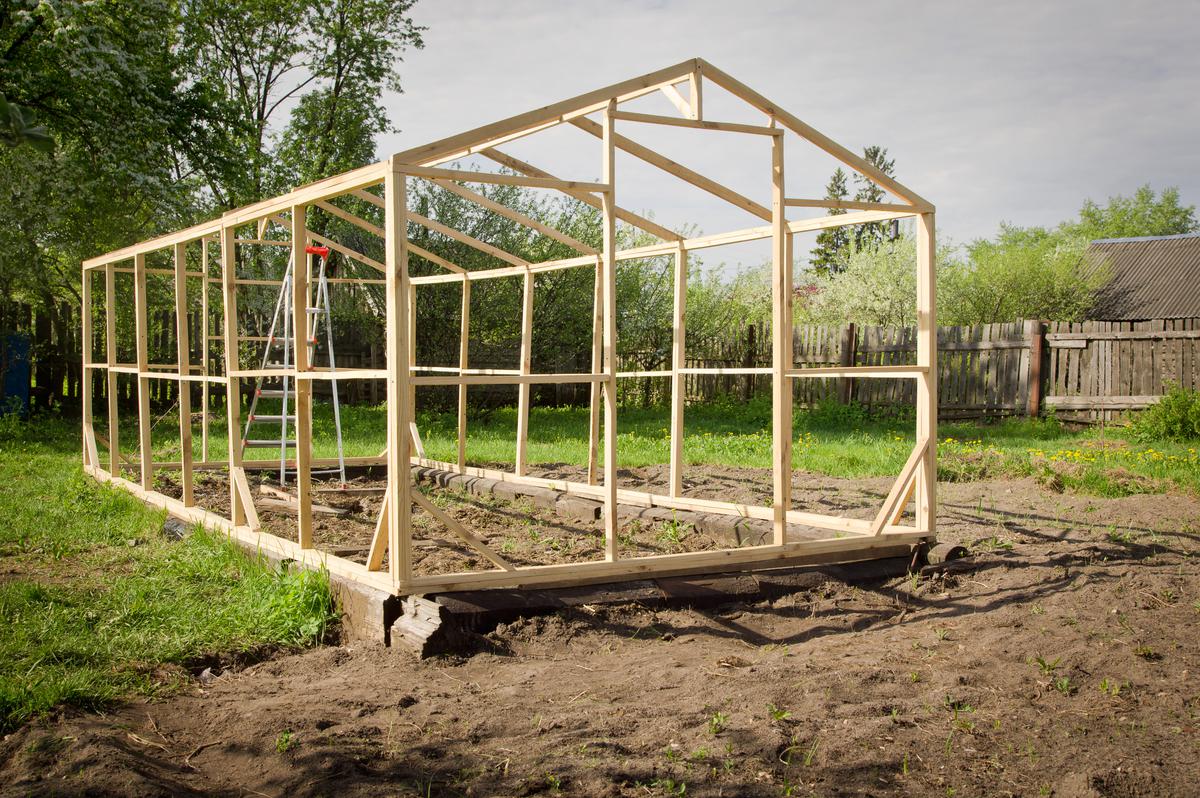
There’s one important thing to remember when building your small 6x8 A-frame wooden greenhouse: it’s easier than you think. One huge pro of having a small greenhouse is that you don’t need a pro to build it, and can even be a fun DIY project. A specialized contractor can be a big help, but anyone with basic handyman skills can build a greenhouse. This is only true with mini-greenhouses, which are either pre-made or can be made with basic materials. In this guide, we’ll show you how to build a greenhouse in nine easy steps.
1. Draw Up Your Plans
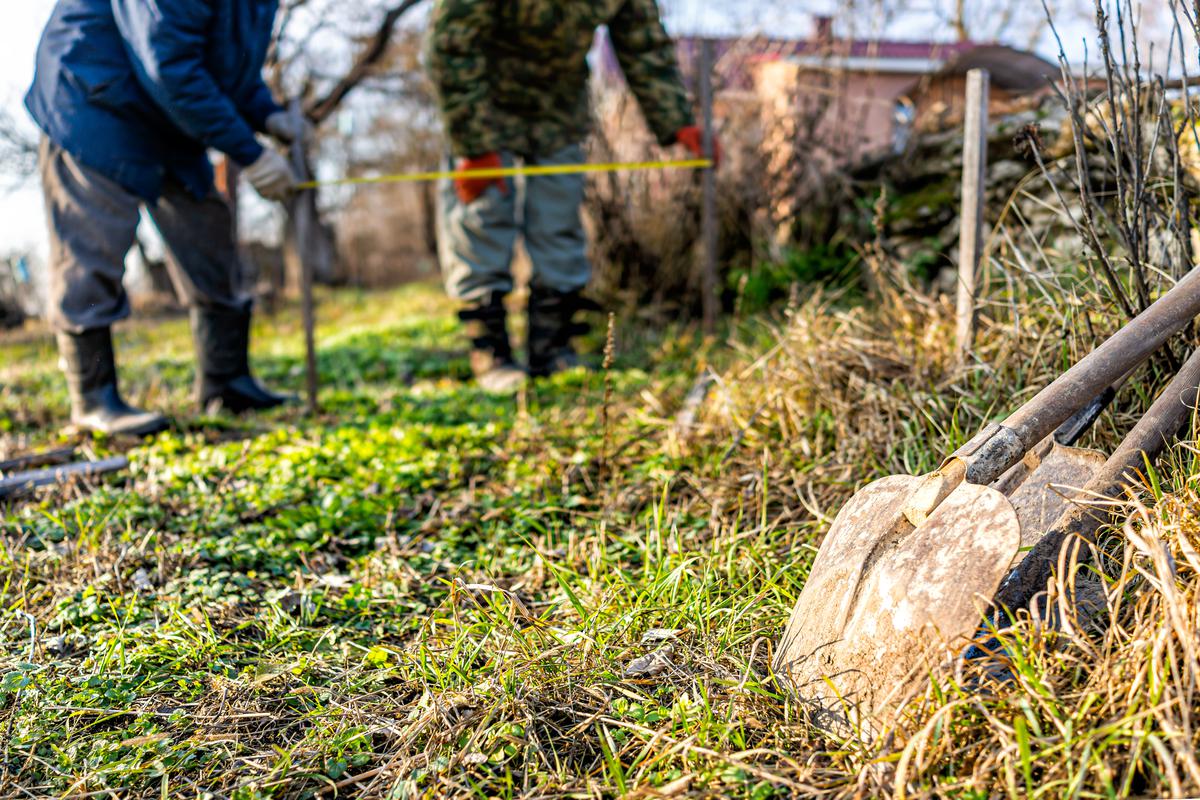
What is true for realtors is also true for those building a greenhouse: location, location, location. So put some thought into where you want your greenhouse to go. To determine the ideal spot for your wooden greenhouse, ask yourself: what plants do you want to grow? How many do you want to grow in a year? What are your gardening goals? For instance, some flowers, such as Jerusalem Artichokes, need more sun, whereas others, such as hydrangeas, prefer less sunshine.
When drawing up your plans, the main thing to consider is height. The average size of a greenhouse is 6x8, but a taller greenhouse will allow you to grow taller, more productive plants like tomatoes, cucumbers, and peas. A-frame greenhouses for the backyard will be the best design for reducing cutting scraps. This shape also mimics the shape of most houses, allowing your greenhouse to fit right in. You will also need to consider the landscape of your yard. When finding a spot for your small greenhouse, flat land with good drainage is what you're looking for. If you’d prefer, this step can also be done with the help of a professional.
There are several factors to account for when drawing up plans to build a greenhouse.
2. Build the Sidewalls (8-foot)
To keep things simple, it’s best to build most of the greenhouse off-site (in a garage for example) and then finish assembling it on the site you picked. When it comes to the frames, wood is the most budget-friendly option for a small greenhouse. Your standard 2x4s will do nicely for assembling a strong frame, and plywood cladding will help insulate the lower third of your greenhouse walls. The upper parts will of course be clad with transparent material, but more on that later. At this point you’re only building the walls, not putting them up. The beauty of this construction technique is that the most cutting you have to do is for the frames. This reduces waste and makes everything much simpler. Alternatively, you can also build a polycarbonate greenhouse using PVC instead of wood. While it is more expensive than wood, PVC is stronger, more durable, and better at creating the greenhouse effect you’re looking for. To top it all off, it is made of recycled material.
Building a greenhouse is simpler than it seems.
3. Put Up the Back and Front Walls (6-foot)
The process of building the back and front walls is quite similar. They will also need 2x4 planks and plywood cladding. The main difference is that your front wall will need to have space for a doorway. An average A-frame 6x8 greenhouse can accommodate any off-the-shelf screen or storm door. This means you will have to leave at least 7 feet of space in height to accommodate this. Ventilation is important, especially in a wooden greenhouse, so be sure that your back wall has space for a vent. You can also get a door with a vent built in for even more ventilation.
Make sure to account for ventilation when building your small greenhouse.
Tip: At this point, you should have all four walls of your small greenhouse complete. This means you can pre-assemble the walls to check that everything fits. Put the walls together with some clamps and make sure everything lines up perfectly. This way, you can spot any potential problems before you assemble everything permanently.
You’ll want everything to line up properly when putting up the walls of your greenhouse.
4. Assemble the Walls
Once you’ve made sure that everything fits perfectly, you can go ahead and assemble the roof frame by screwing it all together with the aid of a power drill. If you feel that the frame is a bit too flimsy, you can add some bracing by screwing some extra 2x4s diagonally. Be careful not to overdo it though, because you’ll be removing those braces once the entire thing has been put together. In most cases, one bracing plank per side is enough.
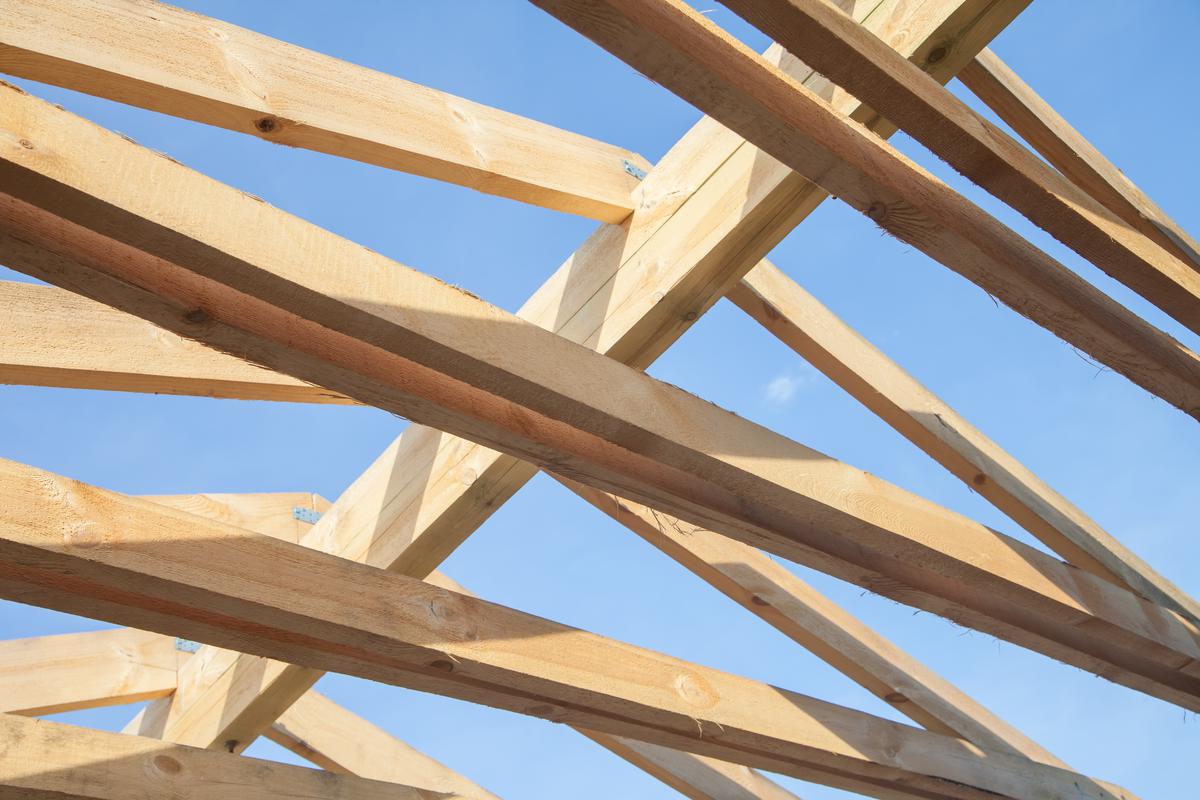
5. Lay Out Your Roof
A-framed small greenhouses use a roof design known as a gable roof design. In simple terms, that means that two planks of wood (known as gable rafters) are put together to form a 45-degree angle. Then, another plank of wood connects them horizontally. When looked at from one end, a gable roof will have a triangle-shaped frame with a base and two sloping rafters of equal length. As with your walls, you’ll want to lay all of this out before you put everything together. This way you can make sure that all your cuts were made correctly.
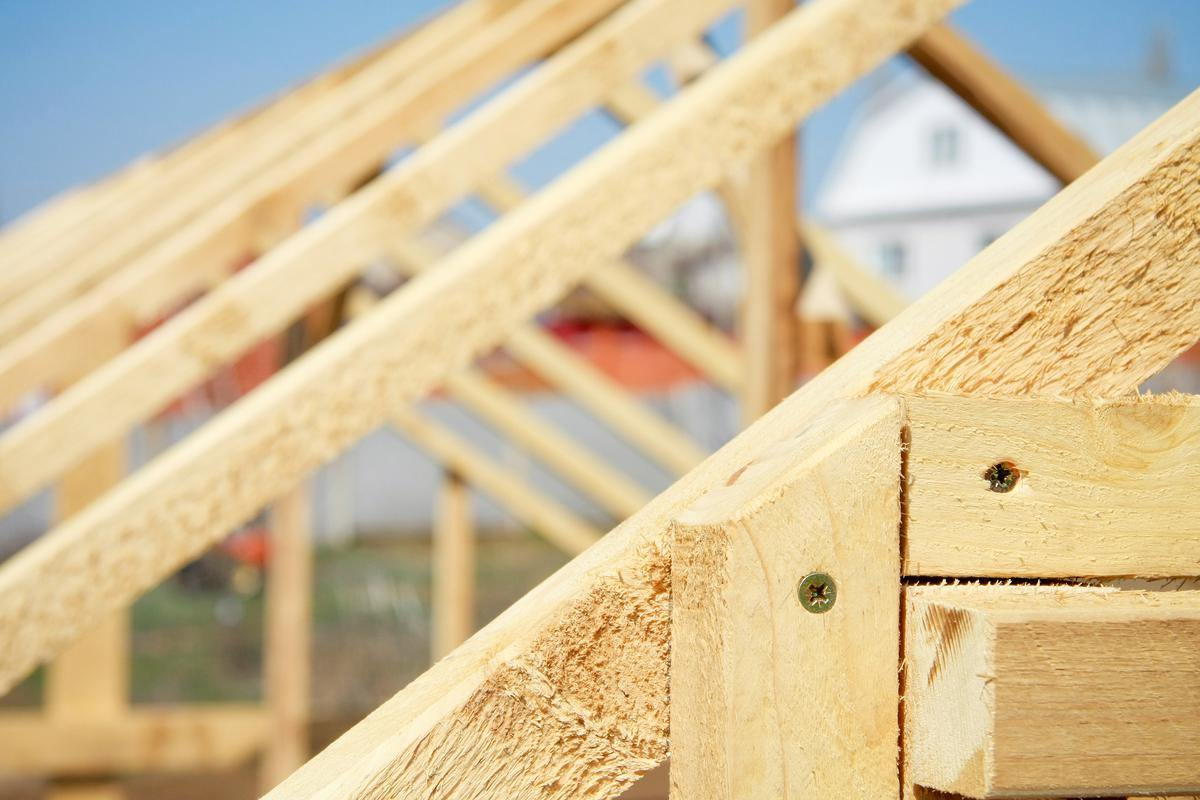
A gable roof can be an excellent choice for your greenhouse made from wood.
6. Back and Front Triangles
Your small greenhouse will have two of these triangles (truces), with one in front and one in the back. So, you need to repeat this process for the front and back parts of the roof. Once you’re confident everything fits together, you can begin to assemble your roof.
7. Assembling the Roof
After assembling the “triangle parts” of this structure, the two triangles need to be attached with rafters to complete the roof. The best way to do this is with a series of horizontal planks (known as purlins). Putting in the purlins horizontally is an easy one-man job. It also makes putting in the siding later a much simpler affair.
An ideal way to assemble the roof is with horizontal purlins.
8. Add the Siding
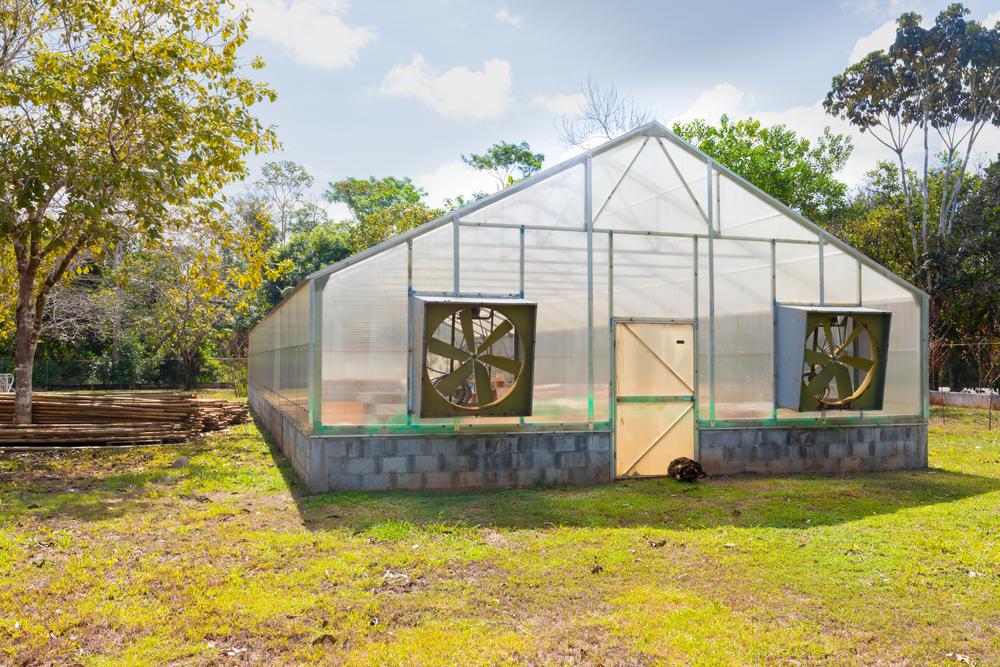
With the lower part of your wall cladding already installed, it's time to work on the upper cladding for your walls and roof. The distinctive trait of any greenhouse for the backyard is that most of its upper sections are clad with a transparent material that lets in the sun’s nourishing rays. The question is, which cladding is best for you? Thankfully, you don’t need to look further than your local big-box store for the answer. Most big hardware stores sell ready-made transparent corrugated plastic panels that are specifically for DIY greenhouses. They’re cheap, easy to install and last about a year or two. There are more durable options, with each one having its benefits and drawbacks.
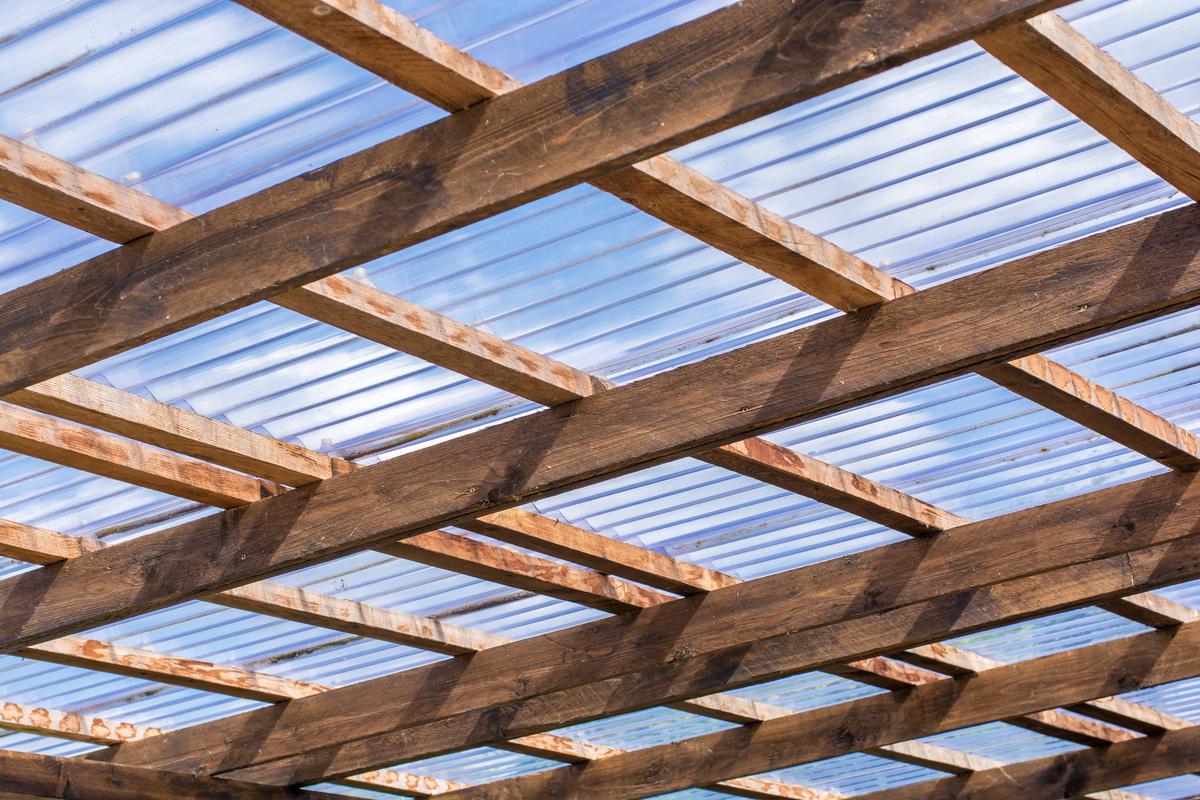
Corrugated plastic panels are a go-to choice for backyard greenhouses.
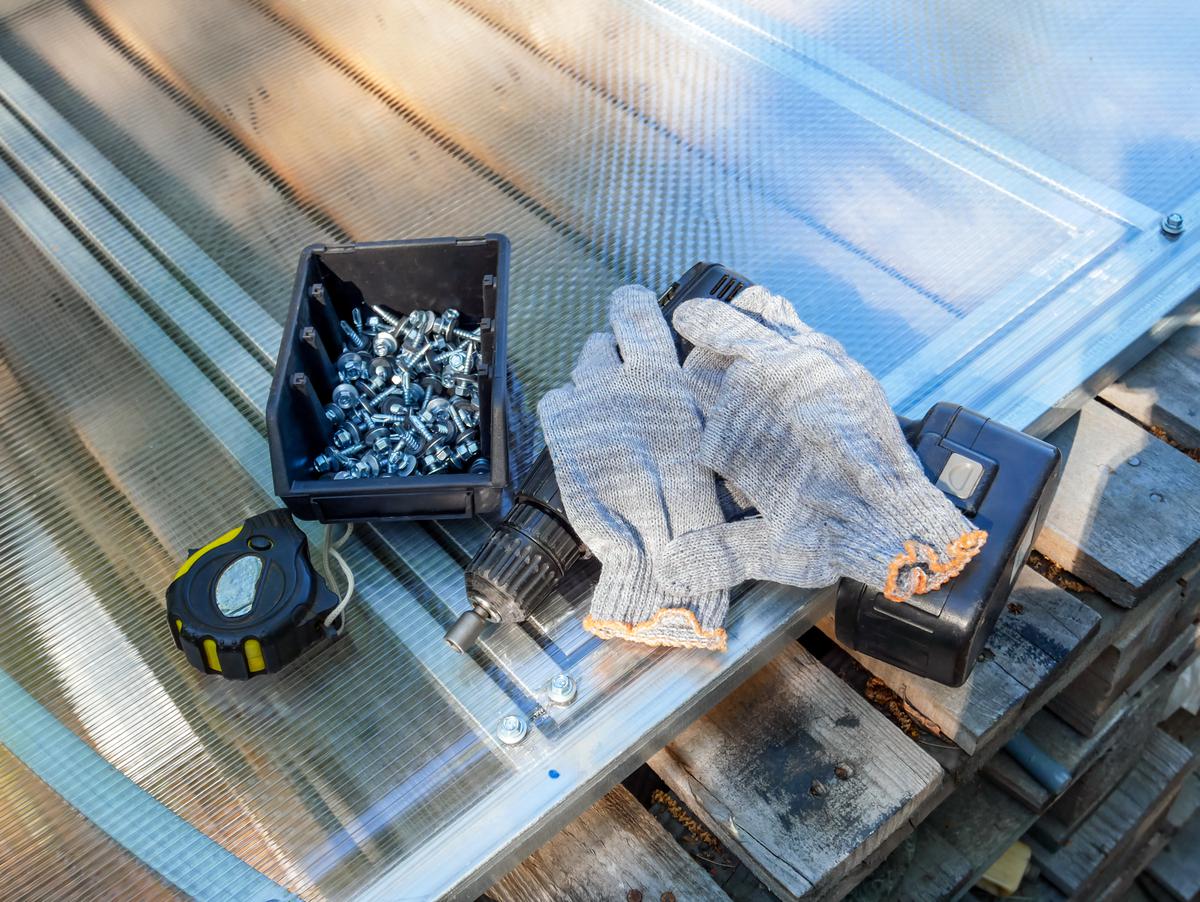
Tip: When installing your cladding, be sure to use rubber washers for your screws. These expand as the screw goes into the cladding, forming a water-tight seal. When installing the roof, adding foam closures will keep rain from going up and under your cladding. Also, if you put in any bracing, it will have to be removed before the cladding can be put in, so you might want to make cladding installation on the frame one of your last steps.
Don’t forget to account for rain when installing the siding on your greenhouse.
9. Final Assembly
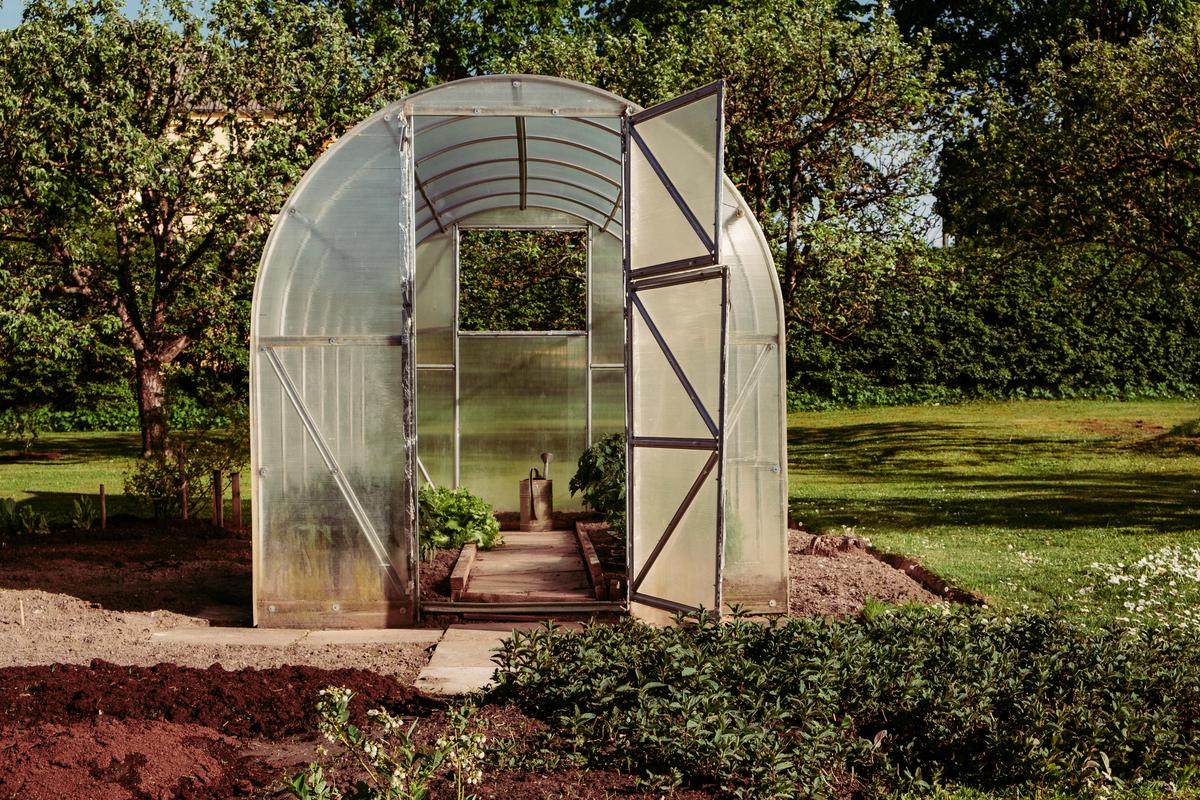
Now that you have a fully built and clad roof and frame, it's time for everything to come together. But first, to keep it from sinking, your small greenhouse will need a level foundation to stand on. This can be as simple as putting four cinder blocks, with one for each corner of the structure. Just make sure that these blocks sit level relative to one another, and you’re good to go. After placing the frame on top of these blocks, screw the roof to the frame. This will add a lot of structural rigidity. Then, it’s all down to the final touches. You can now put in the door and install some hinged portals for vents.
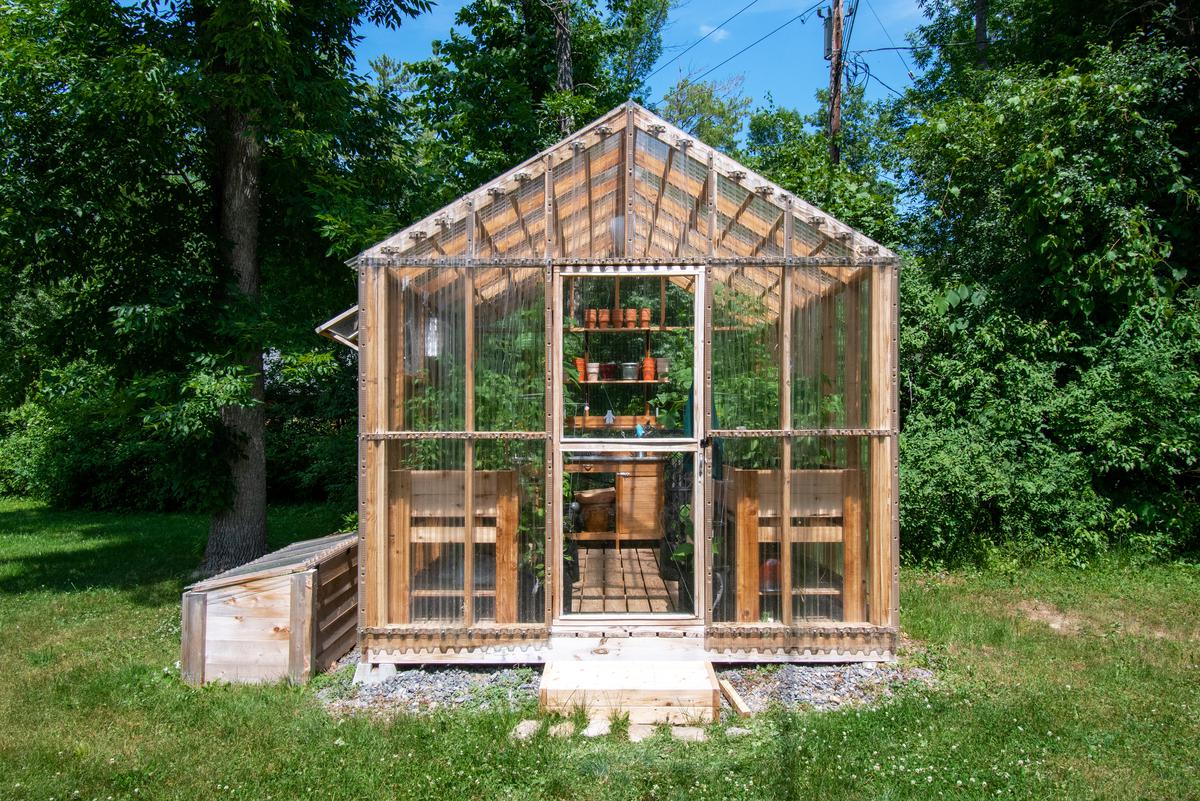
Building your own adorable greenhouse can be fun and rewarding.
TIP: If you plan to add some shelving to your greenhouse for even more storage convenience, you can do this once the final assembly is complete. Adding shelves is as easy as cutting some 2x4s to size and topping them with 1x4 slats — and makes for a charming vertical garden idea.
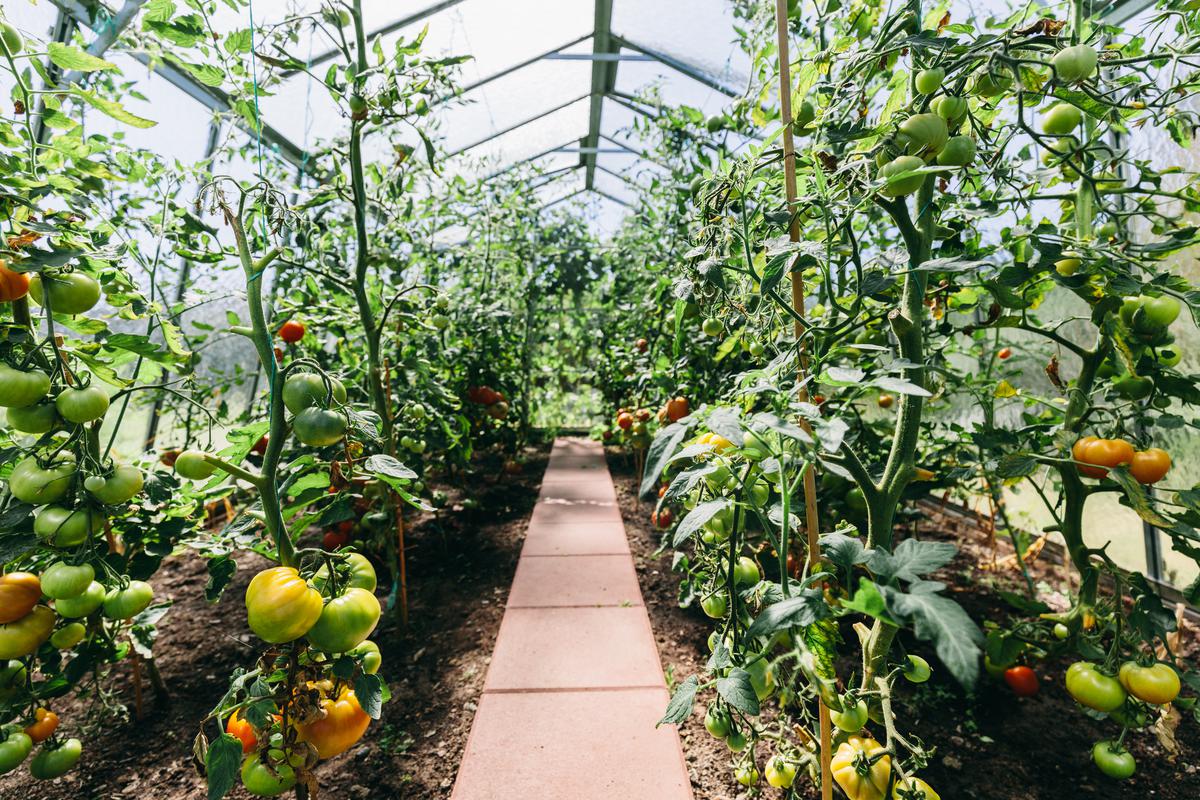
Now that your greenhouse is ready to go, you can finally start gardening. Consider planting herbs and vegetables that you would normally use in your daily cooking. Not only will you be saving a great deal of money on grocery shopping, but you’ll also be heading towards a sustainable lifestyle.

comments