Make the Most of Summer at Home with a DIY Screened In Porch

Make the Most of Summer at Home with a DIY Screened In Porch

Decks and Porches
Small Projects and Repairs
Outdoor and Gardening
Outdoor Additions
By Contractors.com Team June 01, 2021

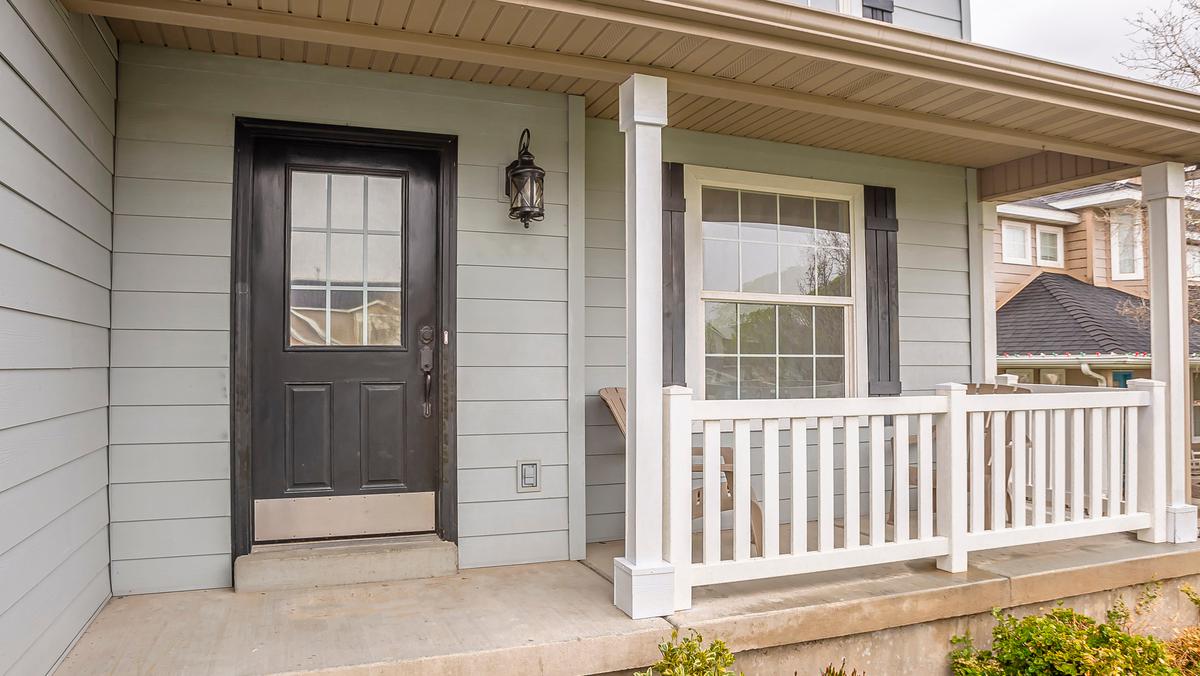
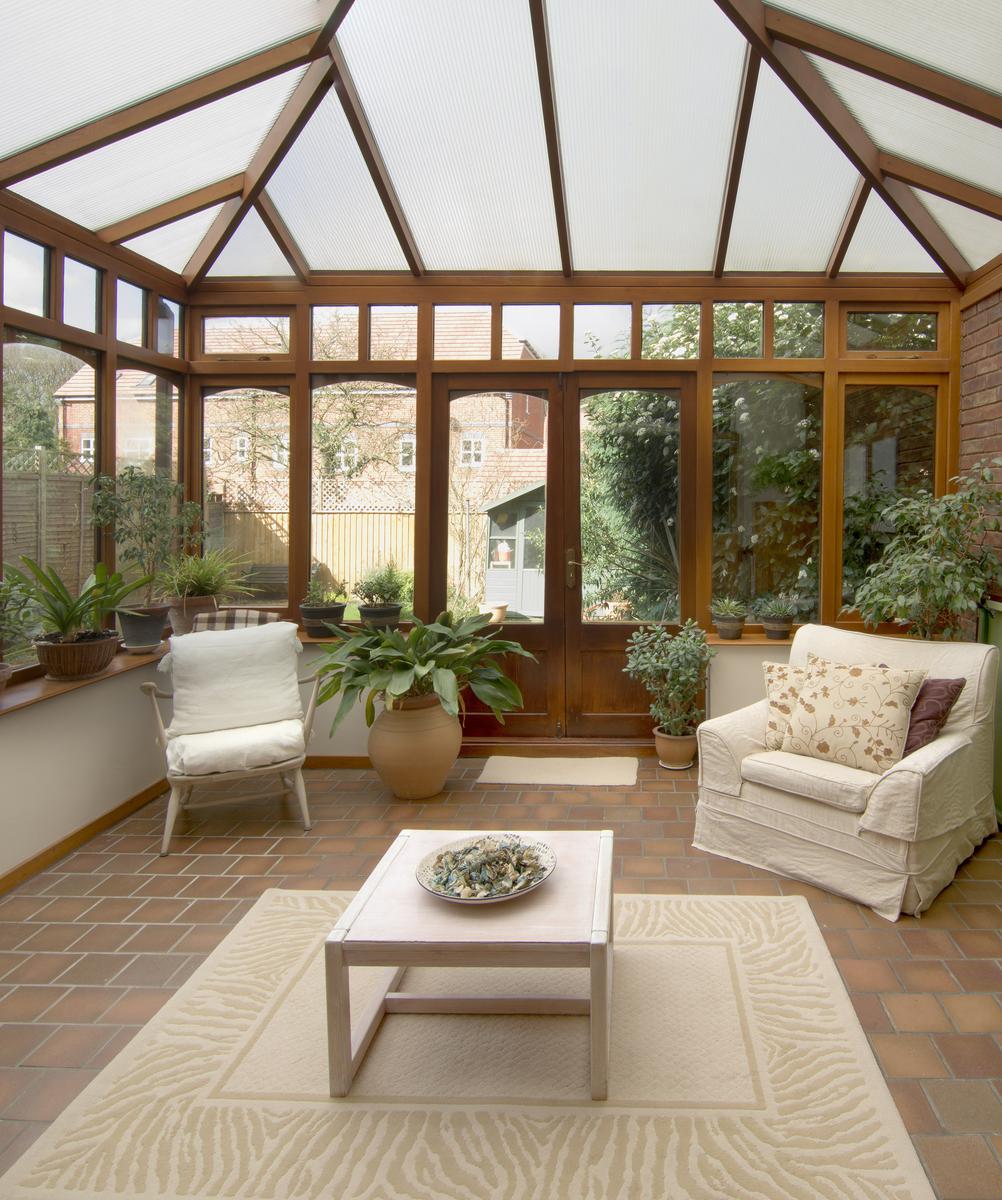
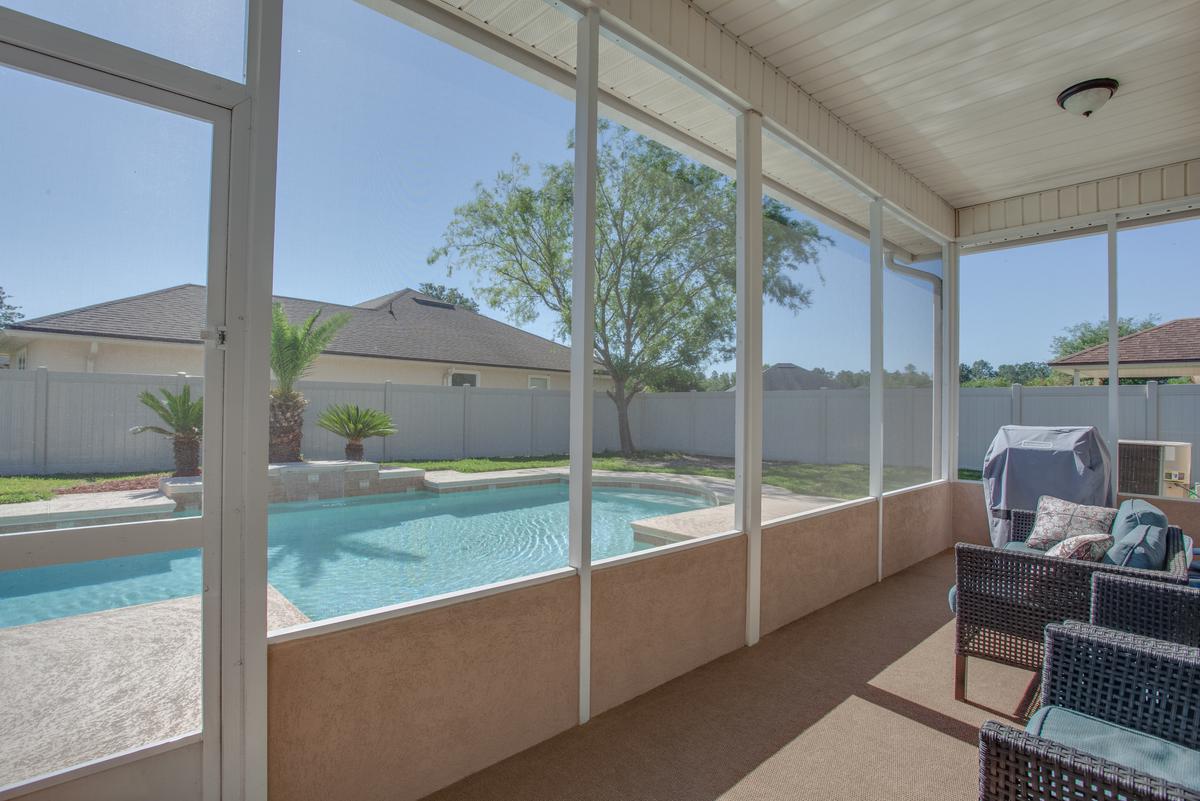
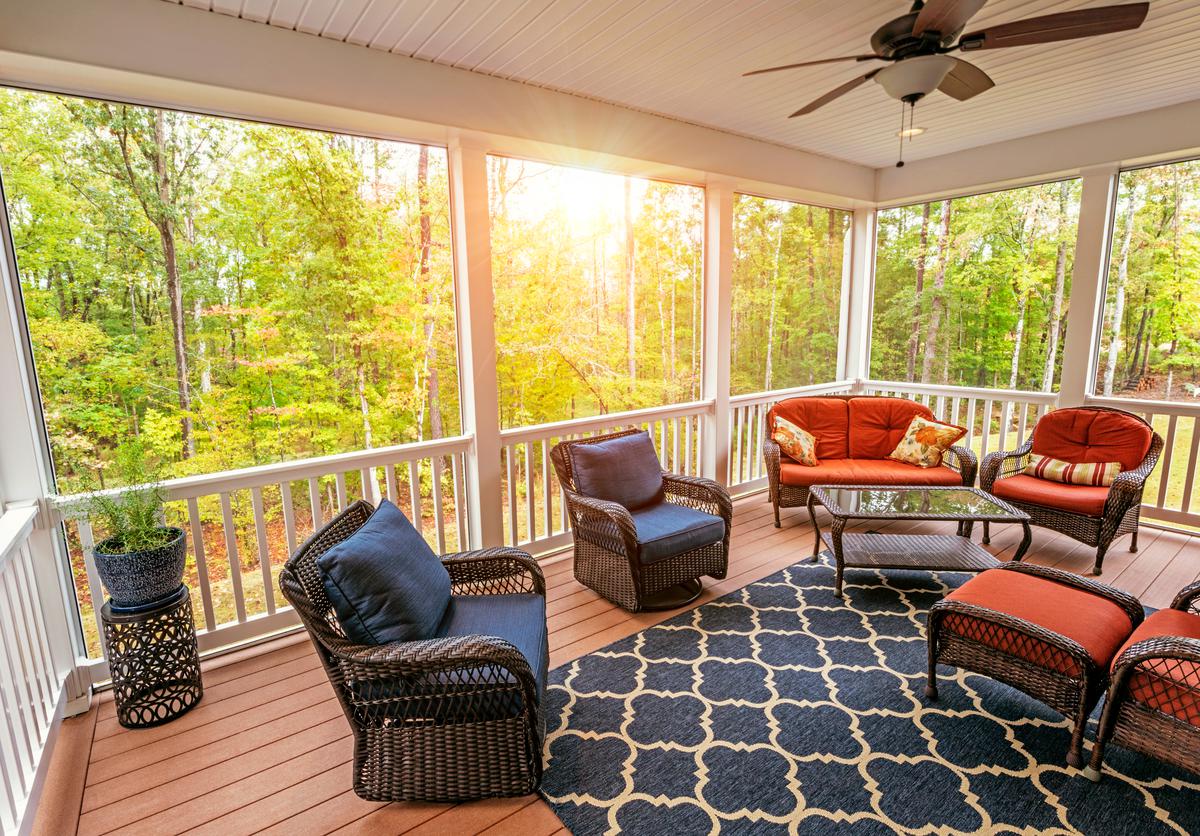
There's nothing quite like lounging on your porch on a hot summer day with a cool, refreshing drink and watching life go by. The dog days of summer are a great time to relax in the shade and take in the colors of life, especially during a time when lockdown keeps us from going outside very often. However, the warmer months are also a time for mosquitoes, flies, and other less pleasant visitors mother nature brings. But there is a solution: an enclosed porch. DIY screen-in porches are a cheap and simple way to keep the fresh air flowing but keep our buzzing friends out of our hair. As a bonus, a covered porch can also increase your home’s value. If only there was a guide on how to screen in your porch?    

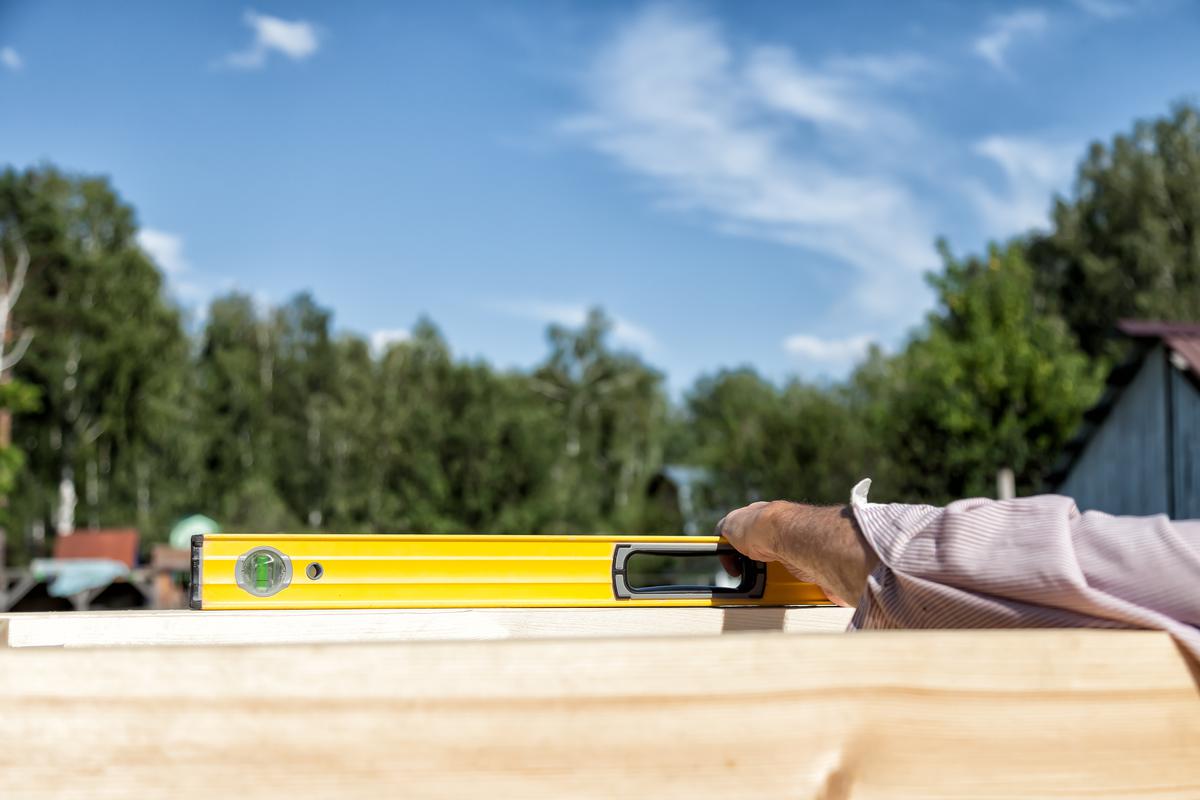
Building a screened-in porch is a good DIY weekend project, and in this article, we’ll show you how to do it step by step. This job can be done with simple tools — all you need is a saw, tape measure, mallet, spline roller, box cutter, and a power drill. 

How to Screen In Your Porch Yourself

1. Do Some Calculations 

How to Screen In Your Porch

How to Screen In Your Porch

The first order of business is to take some measurements so you can draw up your screened-in porch designs. First off, you’ll need to figure out what the height and width of the screen porch enclosures will be. Use these measurements to calculate the area of mesh required and add 10% more material to this calculation so that you have a good margin of error to work with. If you intend to build the screen frames yourself, these measurements will give you a guideline for the lengths of the frame that will need to be cut. When drafting your design, it pays to bear in mind that smaller privacy screens will be easier to install and simpler to maintain. Larger screens by contrast will be more expensive to repair and are easier to damage.   

Tip: If you want to simplify the process, you should consider using a porch framing kit. These range from $72 to around $350 and make building a screen-in porch much easier because they include a set of adjustable frames that allow you to quickly figure out the dimensions of your porch. Using a framing kit also has the added benefit of avoiding crookedly cut frames. 

2. Choose a Screen Material

Choosing a Screen for Your Porch

Choosing a Screen for Your Porch

In terms of materials for your privacy screens, you have several options. The most common and budget-friendly option is fiberglass. Fiberglass screens are also easier to install because they aren’t prone to creasing. While aluminum screens are more expensive and more likely to crease, they are more durable and tend to last longer than fiberglass. If you’re concerned about pets or kids damaging your porch screens, it would be a good idea to get pet-resistant screening. This type of screening may not look as visually appealing because it is more visible. Nevertheless, it is a lot stronger than other options, and therefore a better choice for those wanting something that can stand up to frisky pets and energetic tykes. Moreover, pet-resistant screening only has to be installed on the lower portion of your screened-in front porch to be effective

3. Install Base Strips

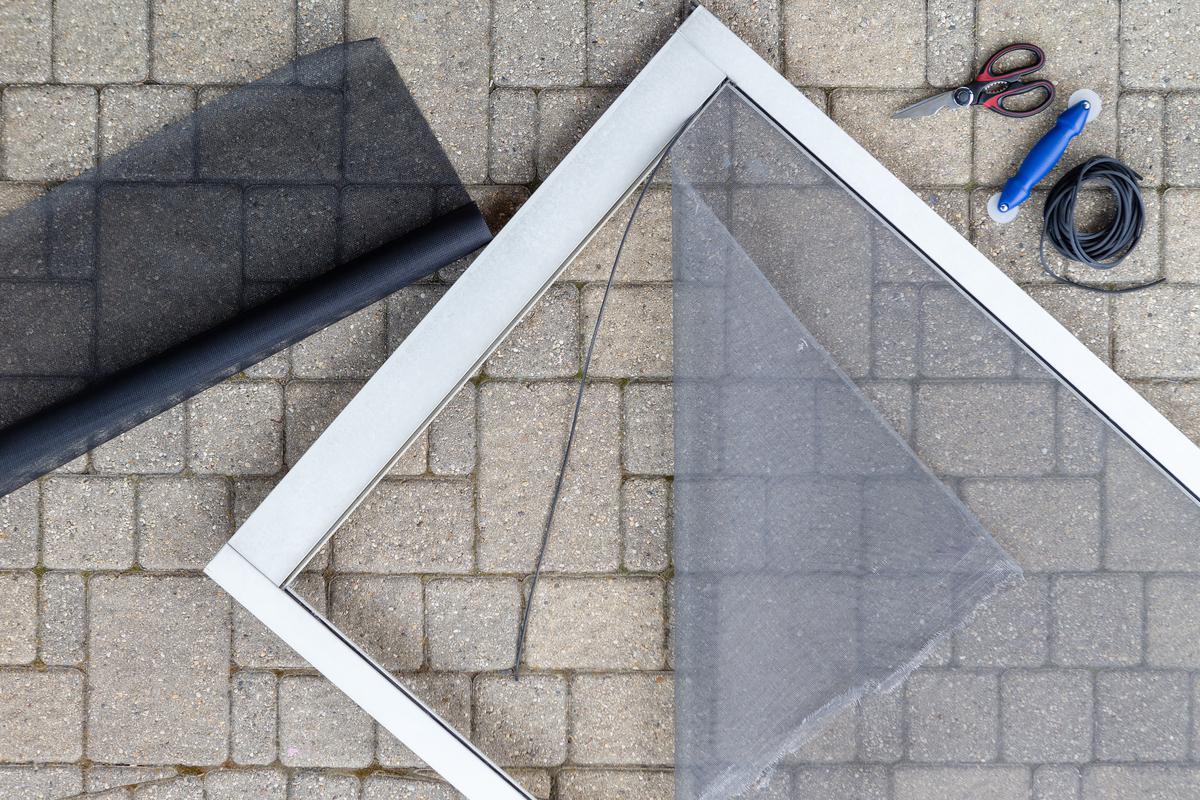
You can now begin the process of installing screens for your screen-in porch. If you had old screens already in place, this is the time to remove the old screening. Then, you’ll first need to put a frame in place to begin installing base strips. Base strips have grooves in them that secure the screen with the help of screen spline (a vinyl rubber cable). Attach the base strips to the frame itself and trim excess length after installation. 

Tip: Base strips are usually screwed in. You can do this with a power drill and a screwdriver drill bit, but avoid overtightening since this could cause the base strips to warp. 

Materials Needed to Screen In Your Porch

Materials Needed to Screen In Your Porch

4. Install Screen

Installing a Screen for Your Porch

Installing a Screen for Your Porch

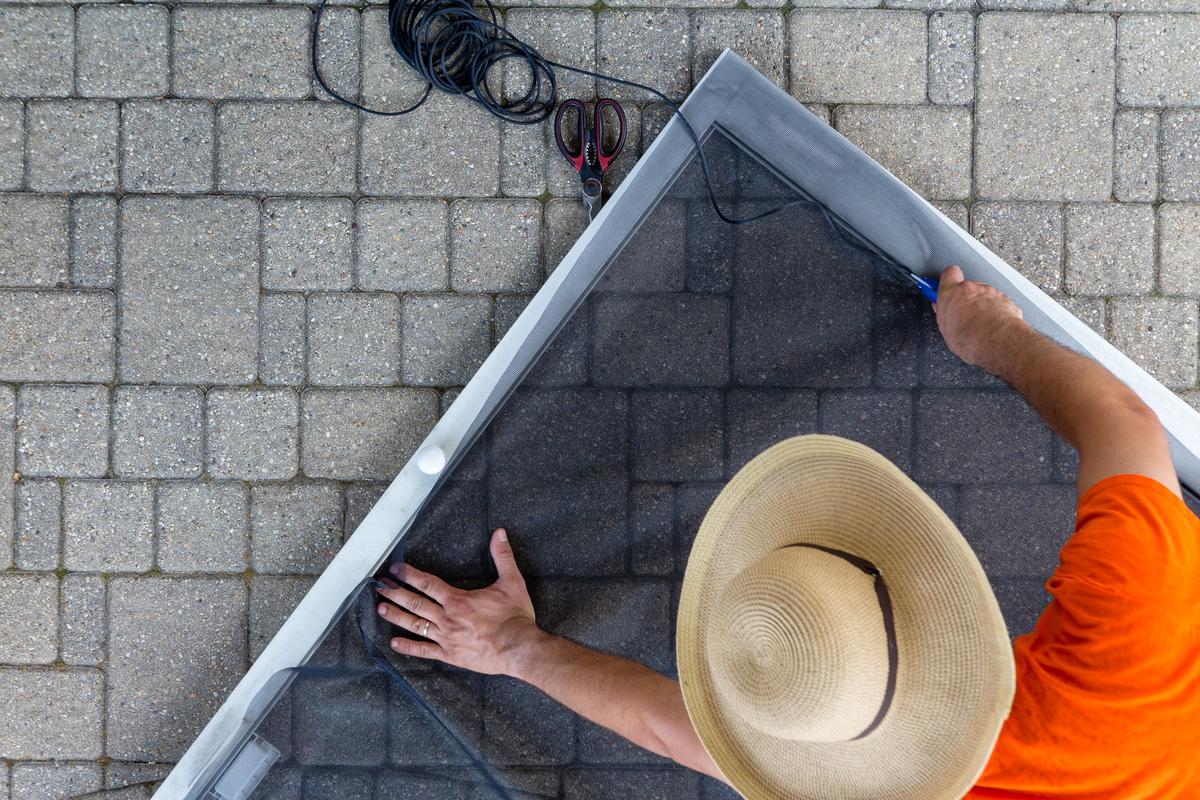
With the base strip installed, you can now install the screen. This is done with the help of screen spline and a roller. Once you have the screen centered in place and pulled tight, use the roller to push the spline into the grooves of the base strips. This will secure the screen to the base strips. The size of the screen spline varies depending on the material your privacy screen is made of, with weaker materials requiring a slightly larger diameter of screen splice.

Tip: You should roll the top of the screen into the groove first, followed by the left and right sides, and the bottom of the screen should be rolled last. This will make installation less challenging, and less time-consuming.   

5. Finishing Touches 

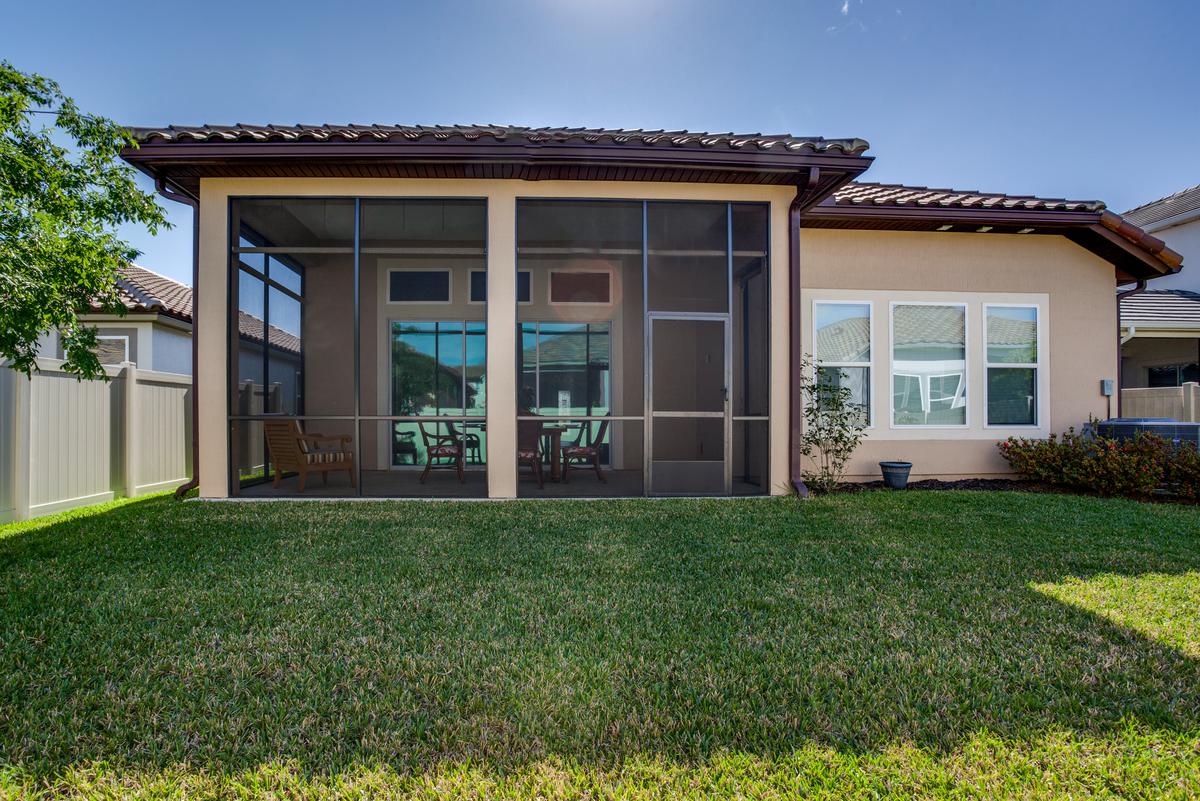
The Perfect Solution for Enjoying the Summer without Insects

The Perfect Solution for Enjoying the Summer without Insects

Your screen porch enclosure is now almost complete. All that’s left is to make it look good. Any excess spline should be trimmed with a box cutter. Likewise, any excess screen that goes over the base strip groove should be cut away. Finally, covering the frames of your covered porch with cap strips will help it blend in with your home’s aesthetic. You can buy cap strips at any major hardware store, and they usually go for around $4 for 96 inches. If you bought a framing kit, it should already come with cap strips. Cap strips are a practical way to make your screened-in porch look especially classy. They can be snapped into place with a rubber mallet, and if your privacy screens need maintenance in the future, cap strips are easy to take off with a screwdriver.    

How Much Will It Cost?

If you plan to convert your existing porch into a covered porch using fiberglass or aluminum screens and wood frames, the cost of your screened-in porch will be around $685 for a 100 sq. ft. porch. More durable materials can run you up to $5,000, even for a similarly sized porch. However, with whichever screen you choose, building a screened-in front porch without professional help can save you several hundreds of dollars in labor costs. 

Am I Stuck With the Screen Forever?

In a word, no. If you want to take them down in the winter to have a less obstructed view, you can. You can remove the screens completely with relatively little hassle by stripping out the spline. Removing base strips and framing may be more time-consuming, but is also relatively easy to do. In most cases, you can completely remove screening in a matter of days. If you end up not liking how your screened-in porch turned out, there are some things you can do to change it. An easy way to change how it looks is to simply put in new cap strips. These can be found with a variety of different colors and finishes and will allow you to quickly change up the look of your porch. 

DIY Screen Porch Panels 

If your porch doesn’t have existing panels to work with, you can build them with relative ease. All you need are some wooden planks (4x4s for example) and some basic hand tools. Measure the spaces for your panels and get to hammering. The most budget-friendly DIY porch panel project will cost around $300, but prices vary depending on the materials you use. More expensive materials can increase the cost to $3,000 or more. 
DIY Screen Porch Panels

DIY Screen Porch Panels

Screening In a Deck

If you don’t have a porch or if you’re simply happy with how your screened-in front porch project turned out, you might also want to screen in your patio or deck for fly-free fun in the backyard as well. The process for screening in these areas is somewhat similar to screening a porch. You’ll need to make the necessary measurements, do research on materials and styles that you want for your deck, determine how much of everything you will need, and how much it will all cost. 

Beautiful Ideas for a Screened In Deck

Beautiful Ideas for a Screened In Deck

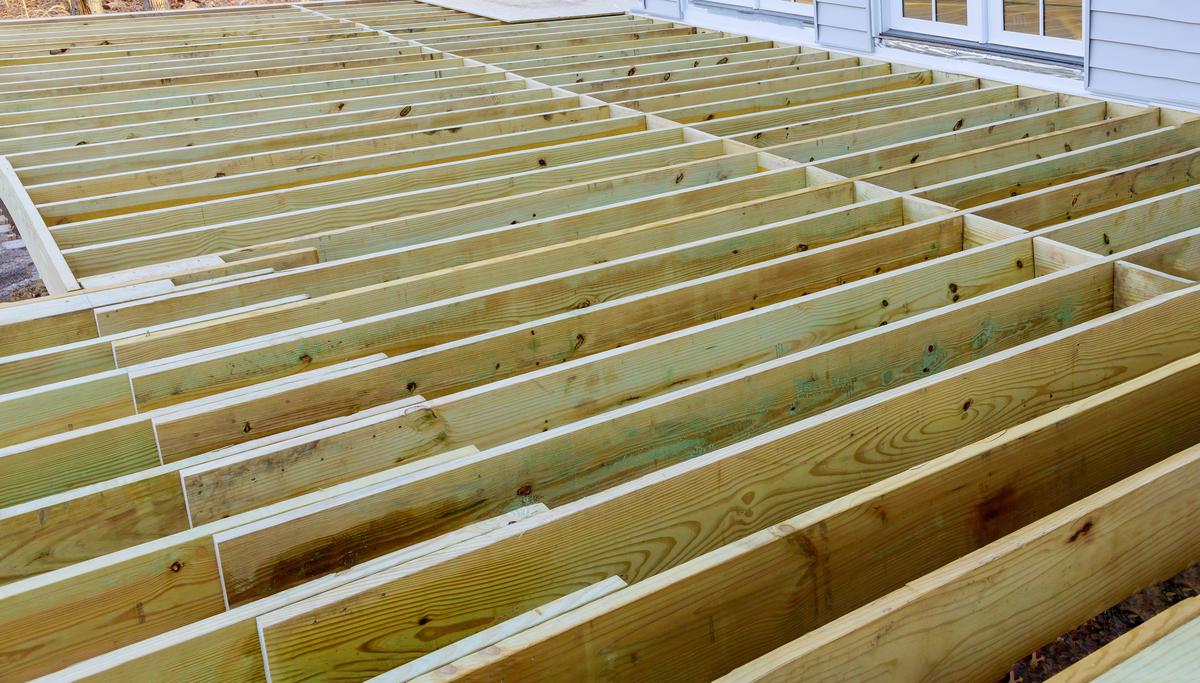
However, decks and patios also come with some more technical tasks which may be unsafe for you to do on your own unless you are well-versed in framing. For one, unlike most porches, decks, and patios usually don’t have roofs, which means that one will have to be built. For decks, building a roof will add some weight that your deck’s foundation will have to support. So, it is a good idea to inspect the foundations of your deck first and make repairs where necessary. For patios, a foundation will have to be built to support a roof using 6x6 timber. This may require you to remove paving stones so that the foundation can be installed. 

Building a Screened In Deck for Your Backyard

Building a Screened In Deck for Your Backyard

It is recommended that you hire a professional constructor for either of these jobs so that your roof is built safely and to last. Of course, building a roof adds cost to your no-longer DIY project, and can range from $5,000 to $20,000. You can keep the screened-in patio costs down by using alternative materials such as 6x6 pieces of timber and tarpaulin roofing material. Depending on where you live you may also have to purchase a permit to construct a roof for your deck or patio. Permits usually cost somewhere around $200, and the best way to be sure if a permit will be needed is to ask your municipal government.  

How to Make the Most of Your Porch

How to Make the Most of Your Porch

Porch Ideas Perfect for Summer

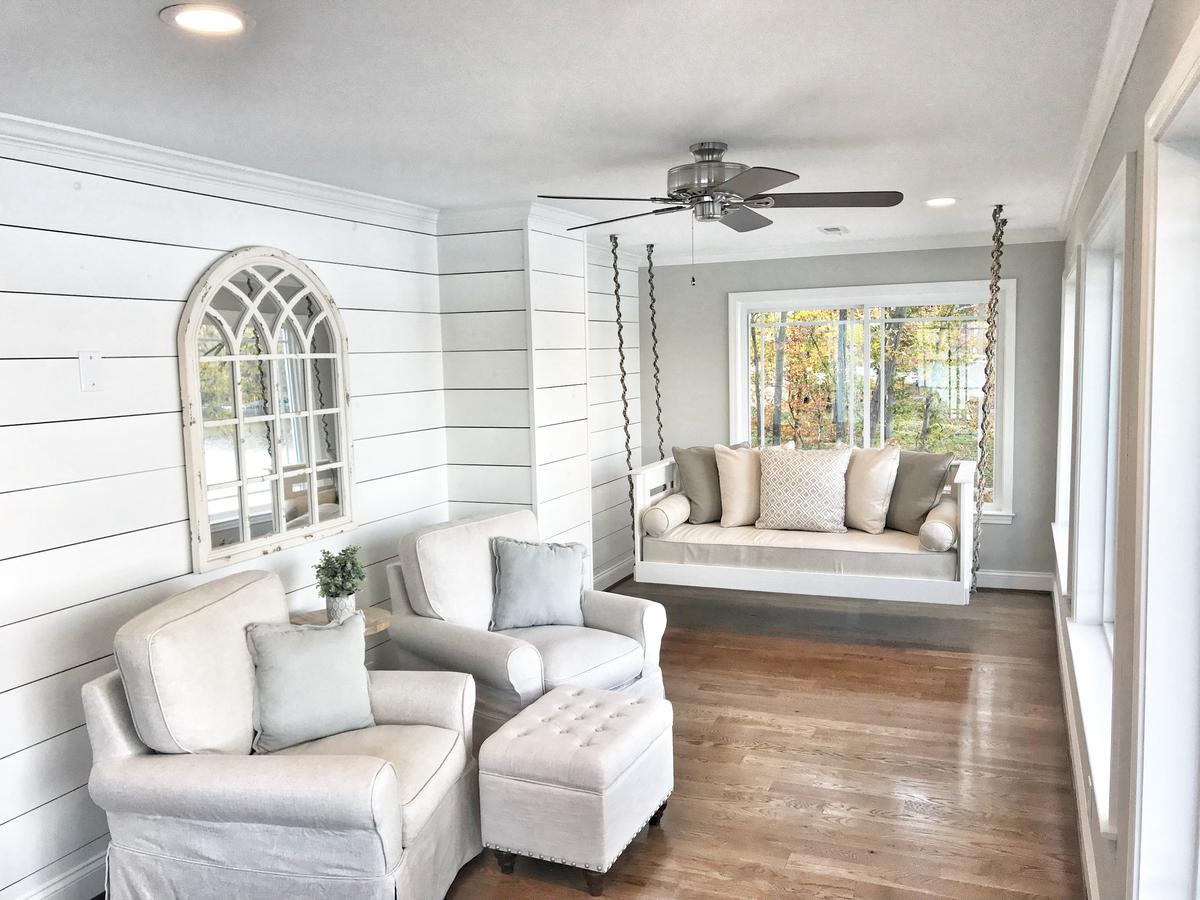
A Nap Porch

What better way to make a covered porch even more relaxing than to replace lawn chairs with beds? If there’s anything better than enjoying the summer breeze, it must be having a siesta while enjoying a summer breeze. Add some curtains to your porch and you’ll be able to use those beds at all times of the day without having to worry about the sun getting in your face.

Porch Ideas Perfect for Summer

Porch Ideas Perfect for Summer

Beauty Overhead

Make your porch look even more colorful this summer by putting hanging decor from your ceiling. Ferns, swinging chairs, colorful light fixtures, and handmade garlands all add character to any space You can spice up your porch even more by hanging things on your wall. From rustic garage sale finds to art pieces perfect for the outdoors, there are plenty of decorations to choose from. Adding some personal touches to your porch will go a long way towards making it a cozier place to spend time with your loved ones.   

Furniture Ideas for Your Porch

Furniture Ideas for Your Porch

Written by
Contractors.com Team

Written by Contractors.com Team

Welcome to the Contractors.com Team, a group of passionate individuals dedicated to helping homeowners achieve their dream home through the best-in-class service providers and inspiring content.


We believe that every homeowner deserves to have a home that they love, and we're committed to making that a reality. Whether you're looking to remodel your kitchen, renovate your bathroom, or build your dream home from scratch, we've got you covered.


When it comes to creating content, we take a multi-faceted approach. We gather insider tips from experts in the home service industry, and do our own thorough research to write informative and engaging articles that are tailored to our readers' needs. At the same time, we harness the power of A.I. and GPT-3 technologies to generate titles, headlines, and even entire articles that are optimized for SEO and designed to provide value to our readers.


We're committed to providing the best possible service to our readers, and we're always looking for ways to improve. Whether you're a homeowner looking for inspiration or a service provider looking to join our network, we're here to help you achieve your goals.

comments