How to Take Care of Your Hardwood Floors

How to Take Care of Your Hardwood Floors

Flooring
Cleaning
By Contractors.com Team September 03, 2021

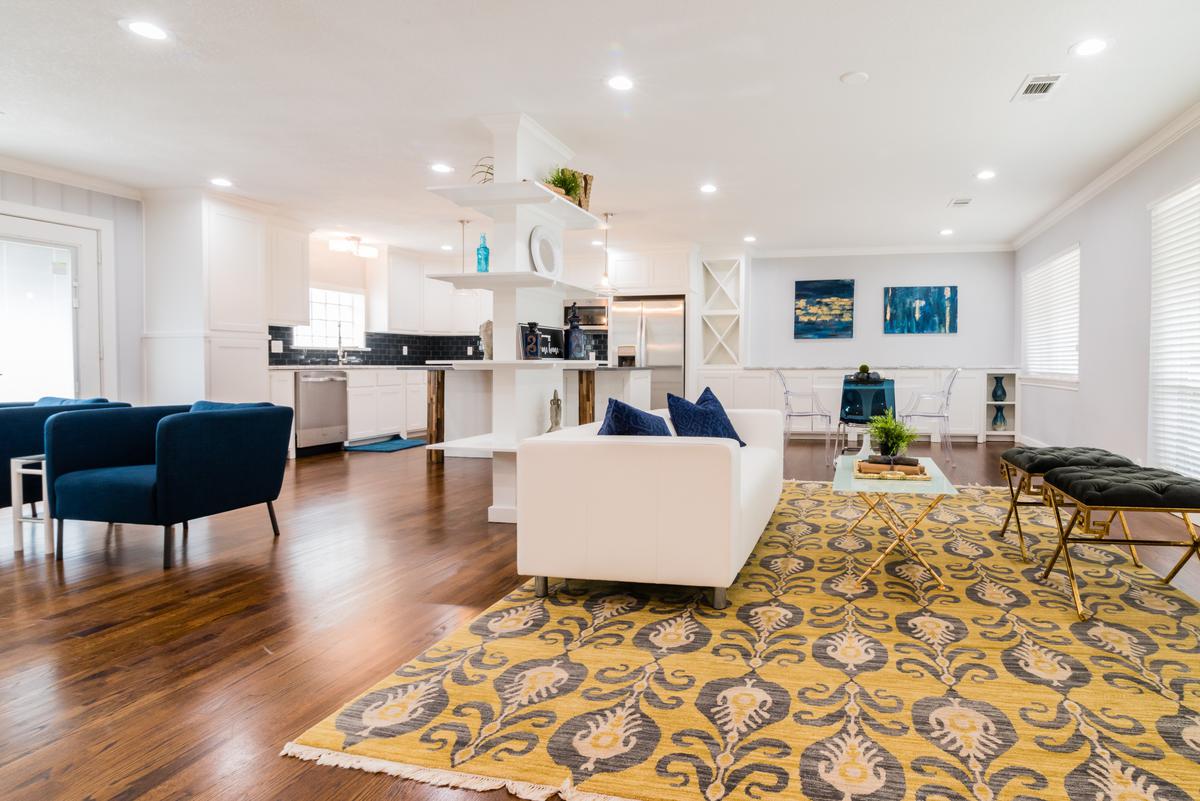
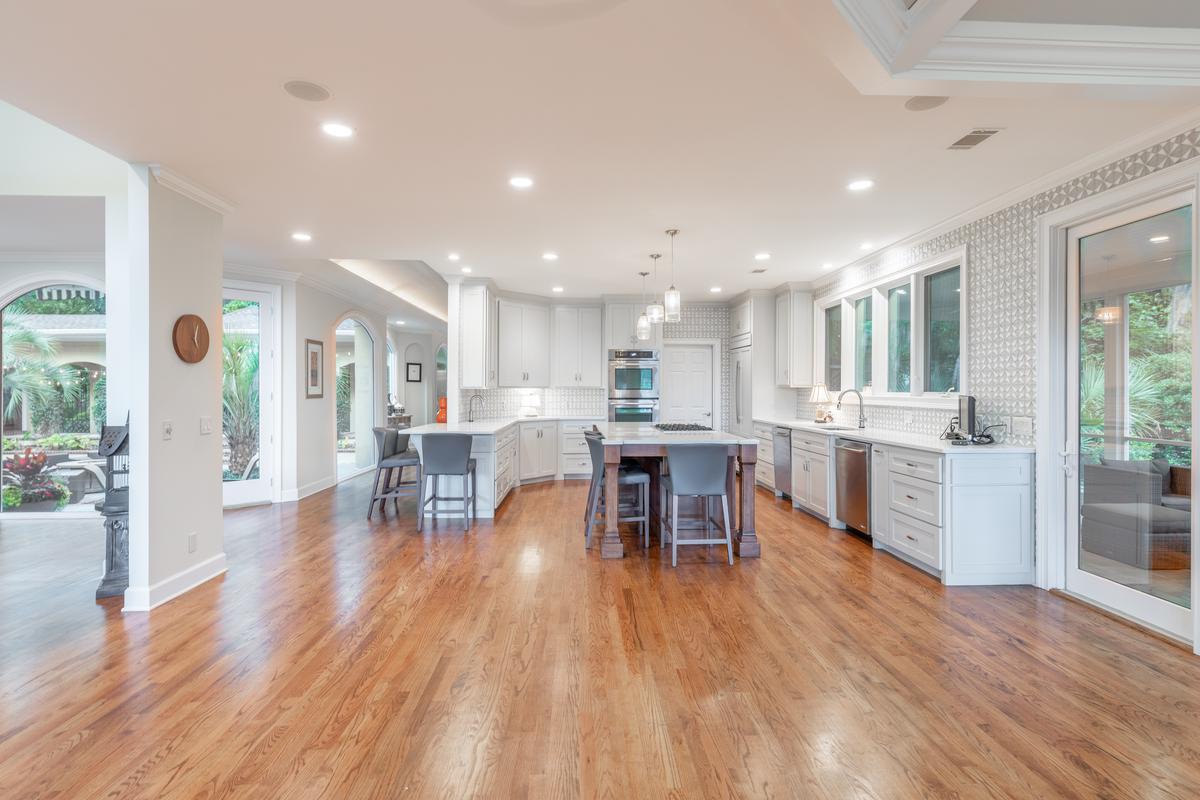
There are many sweet benefits of having hardwood flooring. It feels luxurious underfoot and it looks quite stylish and rustic. Solid hardwood flooring materials such as oak have nice aesthetic qualities and can impart a lot of warmth and character to a space. Most hardwood flooring is exceptionally strong and can last quite a long time given proper hardwood floor maintenance and care. Alas, hardwood has a reputation for being somewhat high-maintenance when compared to other floor materials. 

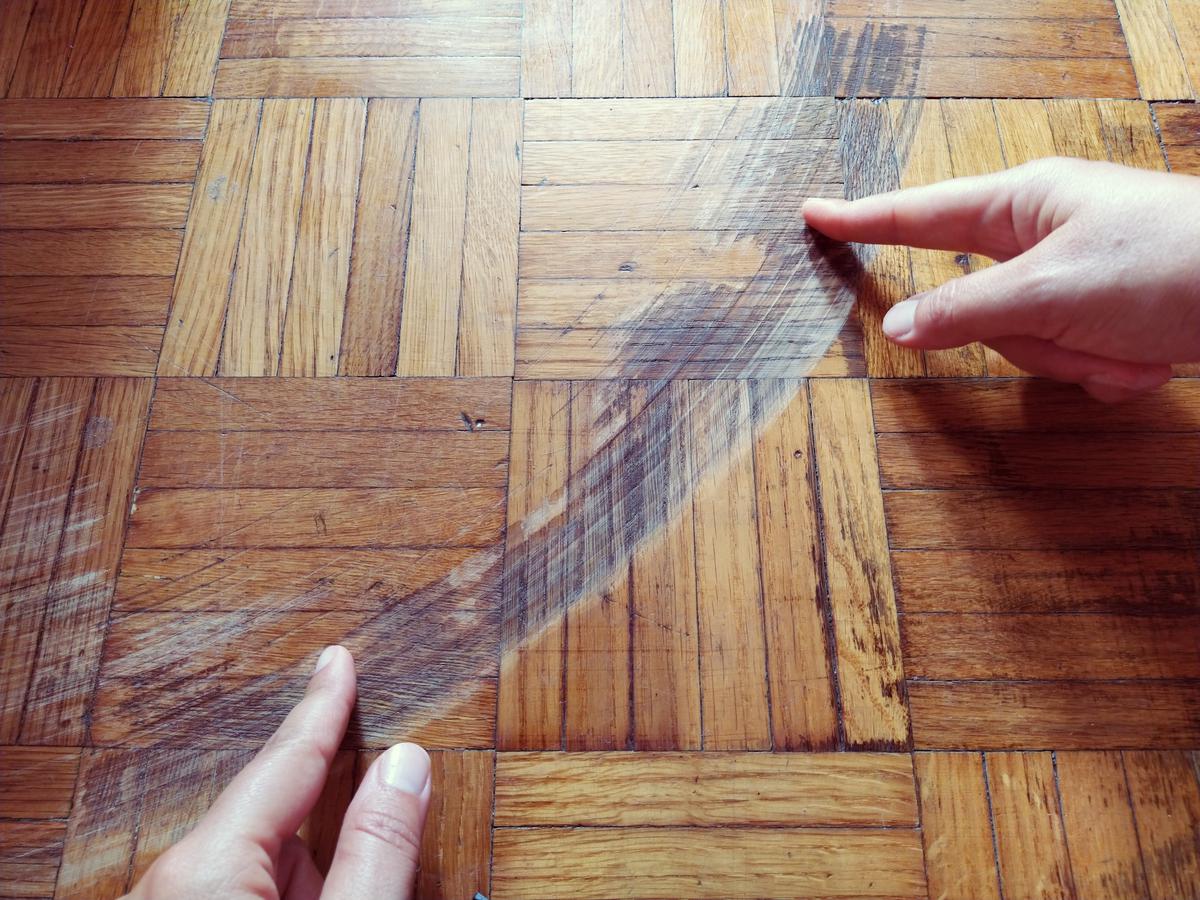
However, that doesn’t mean it is impossible to maintain. As long as you avoid damaging your hardwood and clean it regularly, a hardwood floor could even last a lifetime. Combating moisture, dirt, and scratches will prevent hardwood flooring from warping and will keep it damage-free. Even damaged hardwood flooring can be brought back to its former glory, and adequate hardwood maintenance can give it a long lifespan. Most steps involved in taking care of your hardwood floors are easy to do and don’t take much time. 
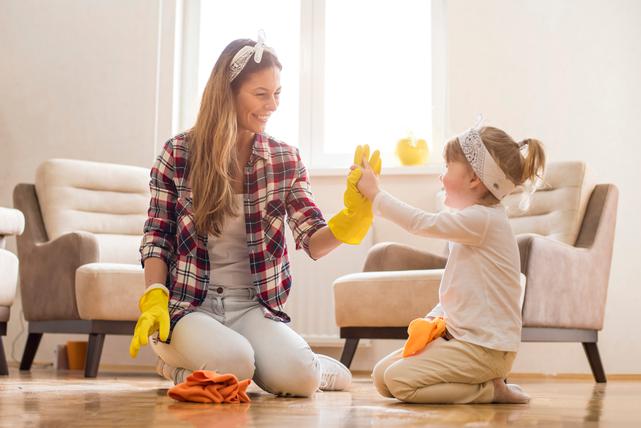
Clean Regularly

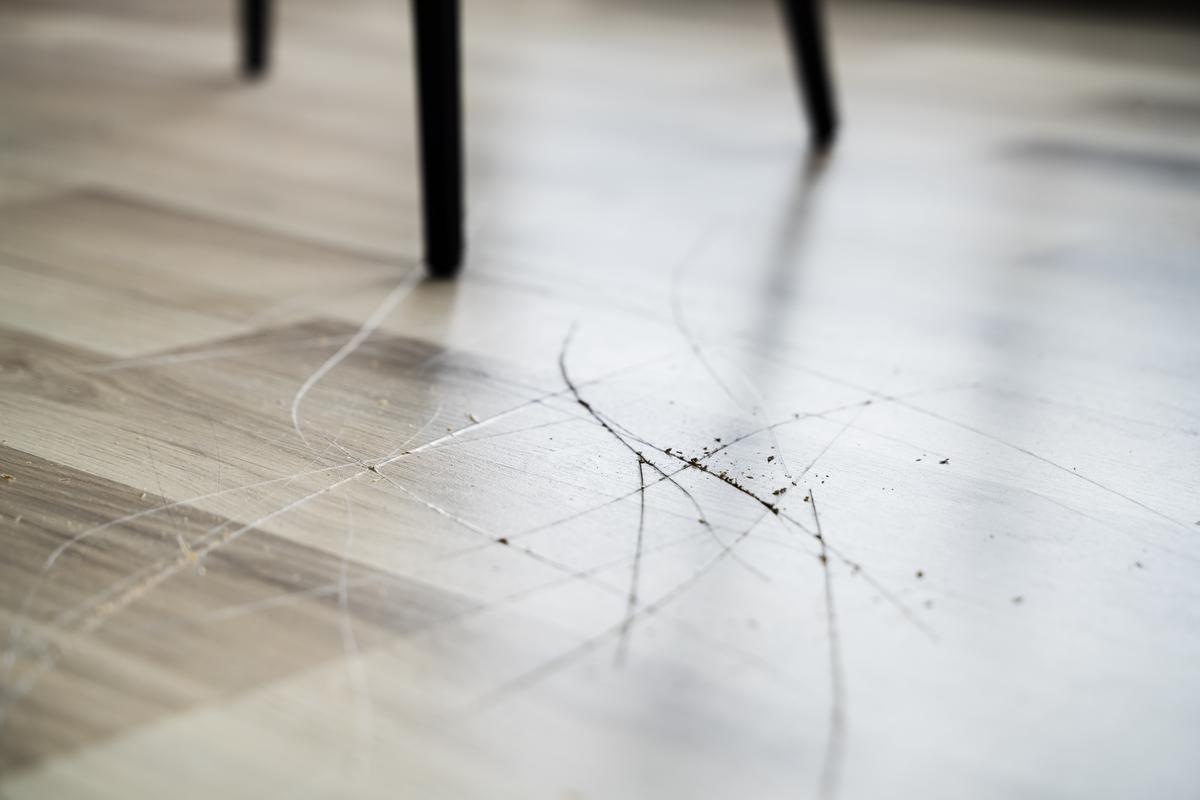
At a minimum, your hardwood floor needs to be swept regularly to keep it free from dust accumulation. This should be done with a fine-bristled broom to avoid leaving marks on the floor. Keeping your hardwood floor clean is an important part of keeping it in good condition. 

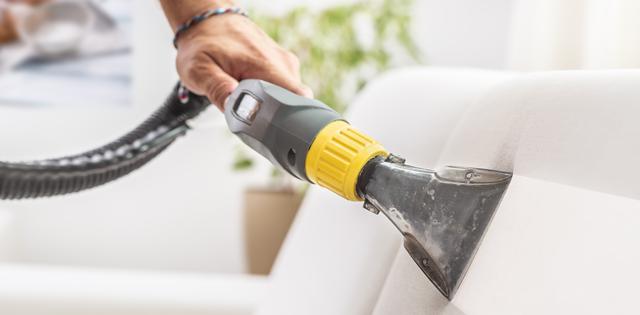
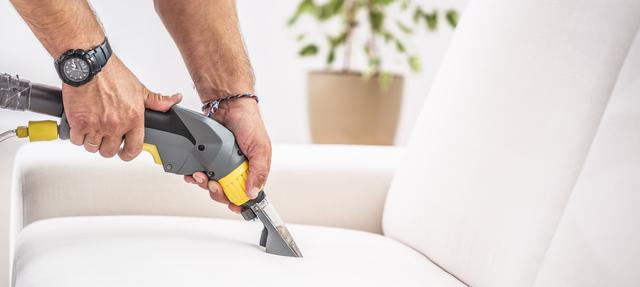
Hardwood floors should be vacuumed weekly as well to help get any dust out of cracks between the hardwood planks. This should be done using soft-bristled attachments on the vacuum cleaner to avoid scratching. Pay special attention to area rugs as these can accumulate dust which then filters down to the floor and damages the hardwood. Mopping a hardwood floor will also help give it back its sheen, but you should be sure to use purpose-made hardwood cleaning solutions and avoid getting the mop too wet.   
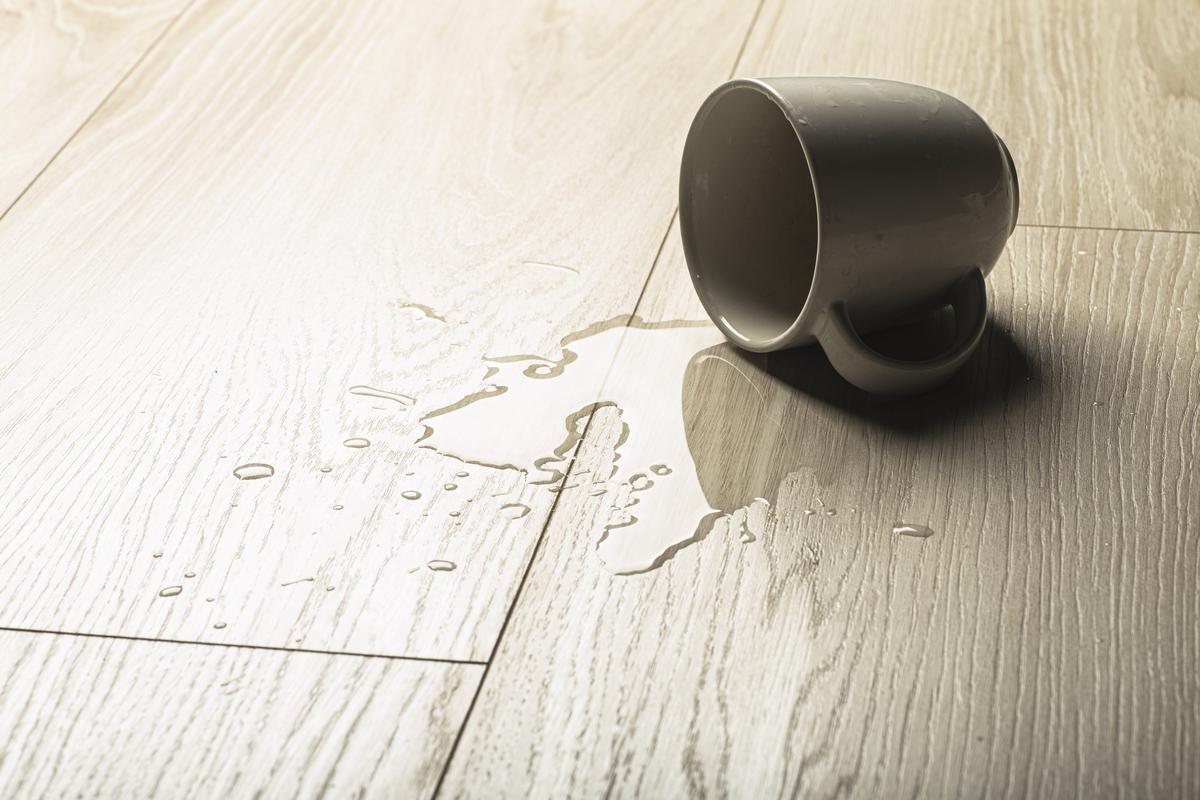
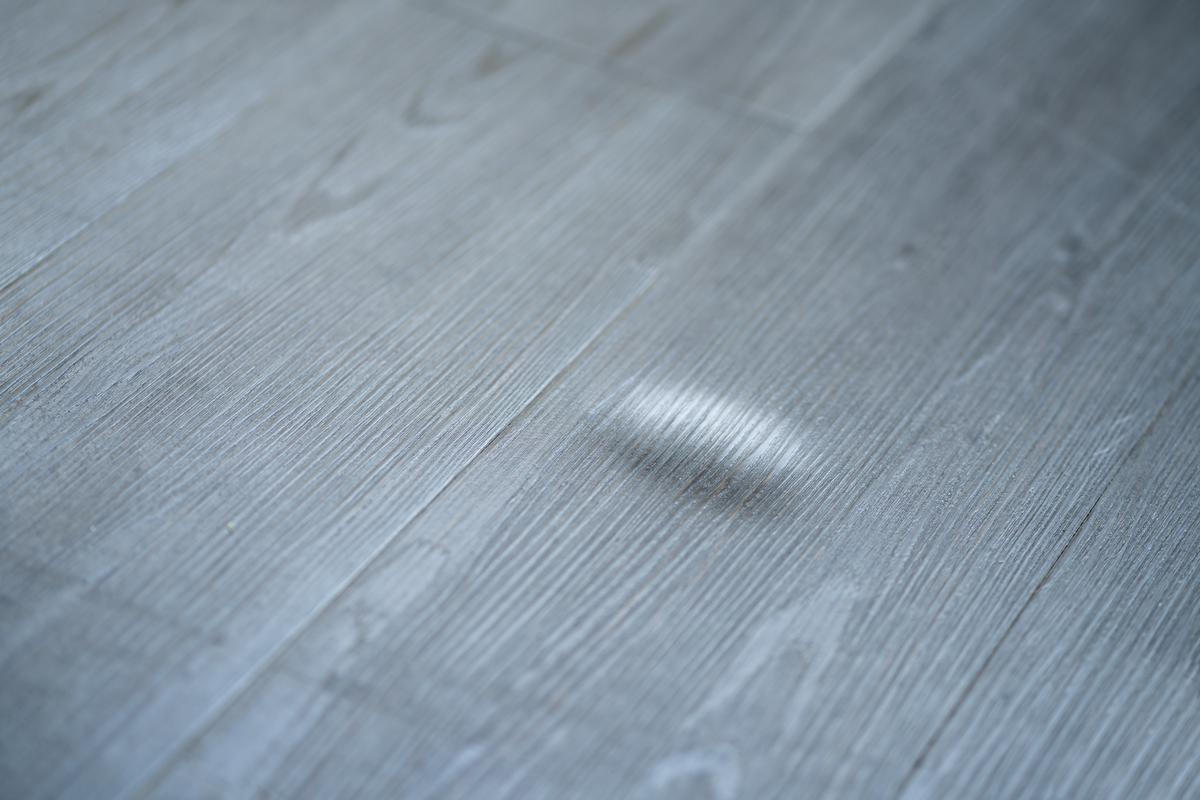
Fight Moisture 

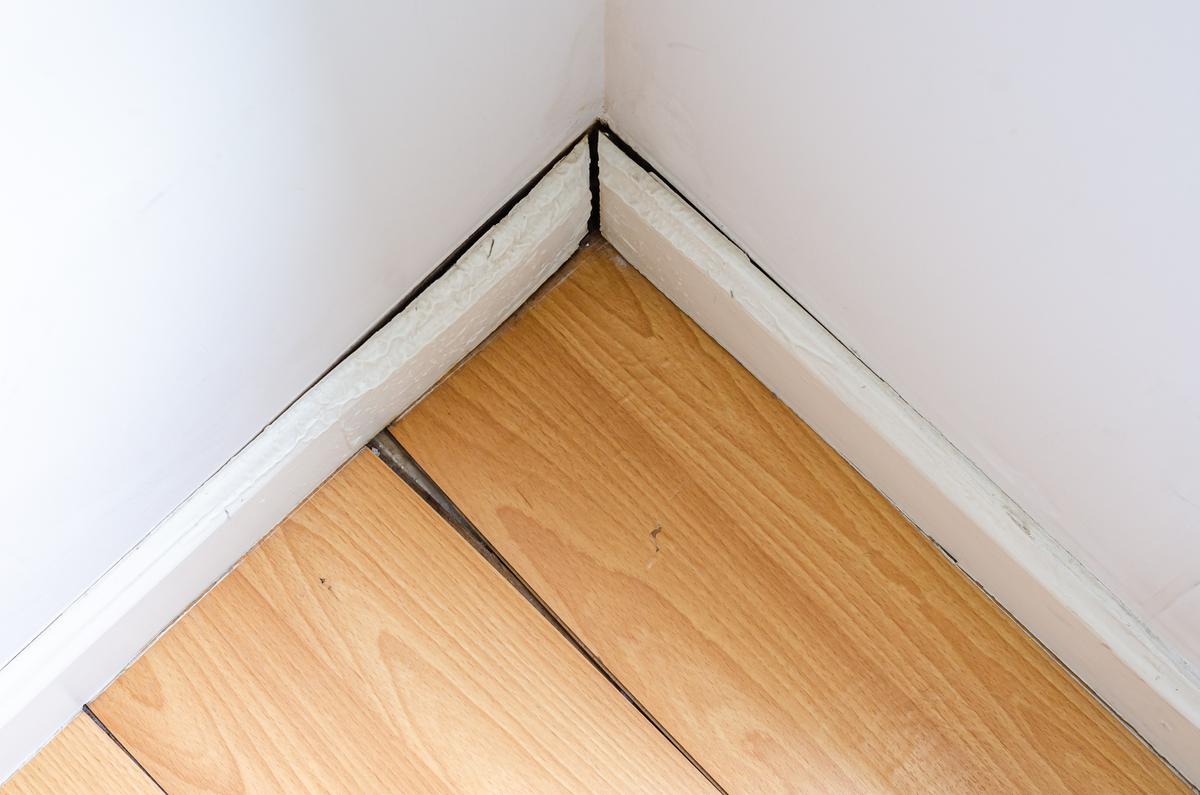
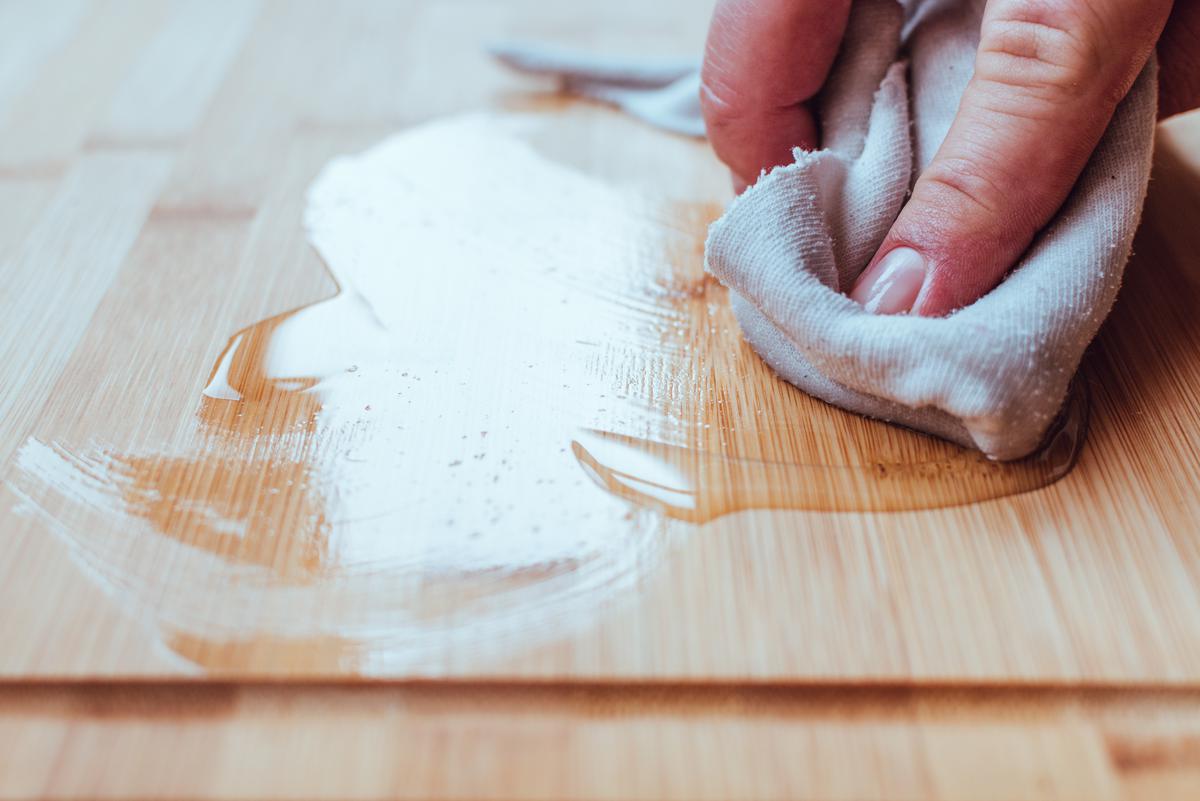
Moisture is one of the main enemies of hardwood flooring as it can cause wood planks to warp, discolor, rot, flake, and can even cause mold and mildew growth. So, it’s important to remove any moisture from hardwood as soon as you see it and prevent any liquids from spilling onto the floor. Any spills should be cleaned and dried quickly and thoroughly, and any leaks should be cleaned up and repaired. This will keep water from building up and causing any major damage.  

How You Can DIY Fix Hardwood Dents from Moisture

How You Can DIY Fix Hardwood Dents from Moisture

Watch Out For Warning Signs 

Wood is quite sensitive to humidity and temperature changes, so you’ll need to keep a weather eye out for any signs of trouble. These natural factors can be hard to control, but it is possible to spot problems before they become irreversible. If your hardwood floor is getting too much humidity from the environment, you may notice that your planks begin to cup. By contrast, a very dry environment might cause wood to split, crack, or gap. There are various ways to tackle these issues, but climate control is usually the most effective. 

Signs To Look Out for to Maintain Hardwood Floor Damage

Signs To Look Out for to Maintain Hardwood Floor Damage

HVAC systems are good at keeping both temperature and humidity at manageable levels, so be sure your HVAC is regularly maintained. If you feel like your air conditioning just isn’t cutting it, a dehumidifier can be used to pull moisture from the air and cut down on humidity. A humidifier can be used if the air is feeling a little too dry.  

Repair Scratches and Dents

From putting pads under your furniture legs to avoiding wearing high-heeled shoes, there are many ways of reducing the chance of scratching your floor. However, life happens and your hardwood floor will inevitably get a few scratches over its lifetime. Scratches shouldn’t cause too much distress, because they can be repaired with a few simple steps as long as they’re not too big. Most minor scratches can be erased with a stain marker from a wood-furniture touch-up kit. After just a few touches of stain marker, it will be as if those annoying scratches never happened.  

Minor Scratches On Your Hardwood You Can Take Care of Yourself

Minor Scratches On Your Hardwood You Can Take Care of Yourself

Deeper scratches will need some extra work to be removed. First, start by sanding the scratch with some sandpaper until the area is smoothed out. Once that’s done, fill the scratch with generous amounts of wood filler (it’s ok to put a little more than needed) which matches your hardwood’s color. Do not use wood putty since this may come out in a different color from the wood stain when it dries. When the wood filler dries after a day, sand it down so the repair is flush with the rest of the hardwood. Refinish your floor when the wood filler dries, and be sure to vacuum after each time you sand. 

The Kind of Hardwood Scratches that Entail Deeper TLC

The Kind of Hardwood Scratches that Entail Deeper TLC

For dents, a combination of heat and moisture can return hardwood flooring to its original shape. To do this, place a damp towel over the dent and alternate it with a hot iron. Once the dent is raised, the floor should be sanded to remove any uneven spots around the dent. This will only work with smaller dents as larger dents may not be possible to raise with this method.     

Area Rugs 

To prevent future scratches and wear, area rugs are an easy solution that adds texture to any space it is used. These area rugs will best serve their purpose (reducing the likelihood of scratching and discoloration) in places in your home with lots of foot traffic.

Who Knew Hardwood Maintenance Could Look So Grand

Who Knew Hardwood Maintenance Could Look So Grand

Repairing Water Damage

If the wet stuff causes damage to your hardwood, fear not, for there is a solution. The first order of business is to use a store vacuum to remove as much moisture as possible. Your hardwood flooring will readily absorb moisture, but it will keep it for a long time, and that will cause problems unless it is removed quickly. Once this is done, scrubbing the floor will free it of any mold causing crud and will remove dirt as well. Simply scrub the floor with a mix of clean water, disinfectant, and mild detergent. 

If you find mold, remove it by scrubbing in some TSP (trisodium phosphate). TSP can quickly kill mold and get rid of any discolorations. Then, be sure to dry the floor thoroughly before sanding any water-damaged areas to remove cupping or uneven areas. If the unevenness of your hardwood planks cannot be corrected by sanding, face-nail these planks so that they no longer stick out.

Water damage can also cause mold to grow under the paint of your wood flooring. This is a harder problem to tackle, but it can be fixed via refinishing. This is because the moisture has broken through the finish and has become trapped behind it, allowing mold to fester. So, the first thing to do is remove the finish via sanding. 

How to Treat Water Damaged Hardwood Yourself

How to Treat Water Damaged Hardwood Yourself

A TSP-water mixture can be used to scrub away this mold once this protective layer is removed. It's important to note that these solutions will not work for engineered hardwood since it is made up of many layers of wood glued together. Because of this, sanding engineered hardwood can cause irreparable damage since it will eventually scrape away the outer layer of the wood. 

Waxing, Buffing, Refinishing  

Most older hardwood floors need waxing and buffing regularly. This depends on the manufacturer, but expect to go through this process every two to five years. This can be easily done with a terry cloth, polishing brush, and a sponge mop. Just be sure to use the wax recommended by your hardwood floor’s manufacturer. 

Giving Your Hardwood Its Shine Back Every 3 - 5 Years

Giving Your Hardwood Its Shine Back Every 3 - 5 Years

For newer hardwood floors, refinishing is something that must be done every ten years or so to refresh its appearance. It will also greatly increase their lifespan and add many years of moisture and scratch protection. As a rule, you should avoid waxing hardwood that has been finished as this can interfere with the finishing compound. 

There are three types of finish to choose from: polyurethane, varnish, and penetrating sealer. Polyurethane has a plastic-looking finish which is good for high-traffic areas. Varnish gives a glossy finish that is quite durable, whereas sealer gives a more natural-looking finish that will show the wood’s natural grain. Although it is easier to repair than the other types, penetrating sealer is the least durable finish. 

Deciding Whether to Refinish, Refurbish, Or Wax Hardwood Floors

Deciding Whether to Refinish, Refurbish, Or Wax Hardwood Floors

Written by
Contractors.com Team

Written by Contractors.com Team

Welcome to the Contractors.com Team, a group of passionate individuals dedicated to helping homeowners achieve their dream home through the best-in-class service providers and inspiring content.


We believe that every homeowner deserves to have a home that they love, and we're committed to making that a reality. Whether you're looking to remodel your kitchen, renovate your bathroom, or build your dream home from scratch, we've got you covered.


When it comes to creating content, we take a multi-faceted approach. We gather insider tips from experts in the home service industry, and do our own thorough research to write informative and engaging articles that are tailored to our readers' needs. At the same time, we harness the power of A.I. and GPT-3 technologies to generate titles, headlines, and even entire articles that are optimized for SEO and designed to provide value to our readers.


We're committed to providing the best possible service to our readers, and we're always looking for ways to improve. Whether you're a homeowner looking for inspiration or a service provider looking to join our network, we're here to help you achieve your goals.

comments