Step 1: Identify the Source
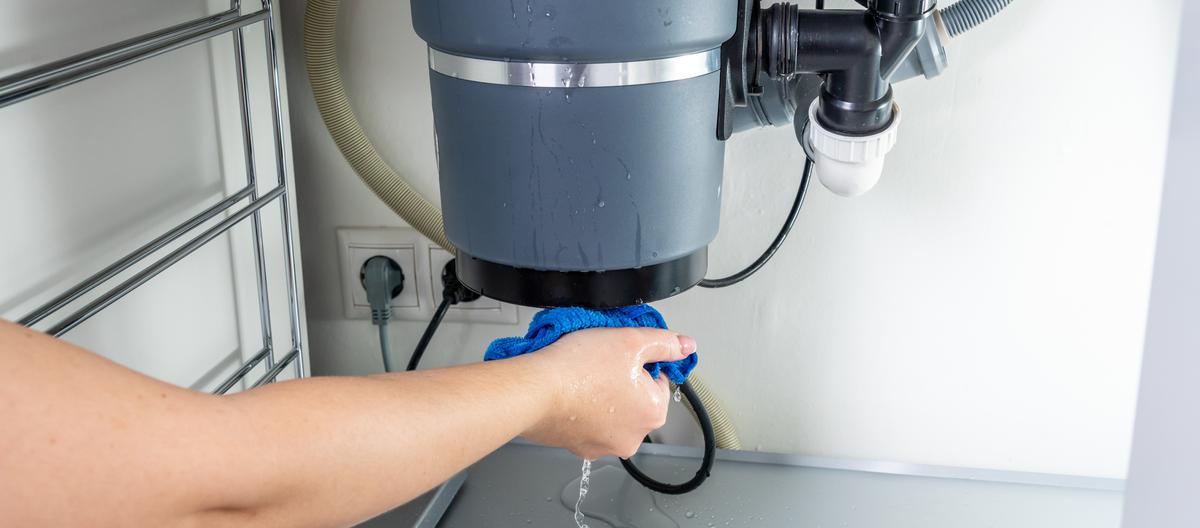
The first step in addressing a leak is to identify its source. Check all the connections, seals, and the unit itself to pinpoint where the water is coming from. This will give you a clear idea of what needs to be fixed.
Step 2: Tighten the Connections
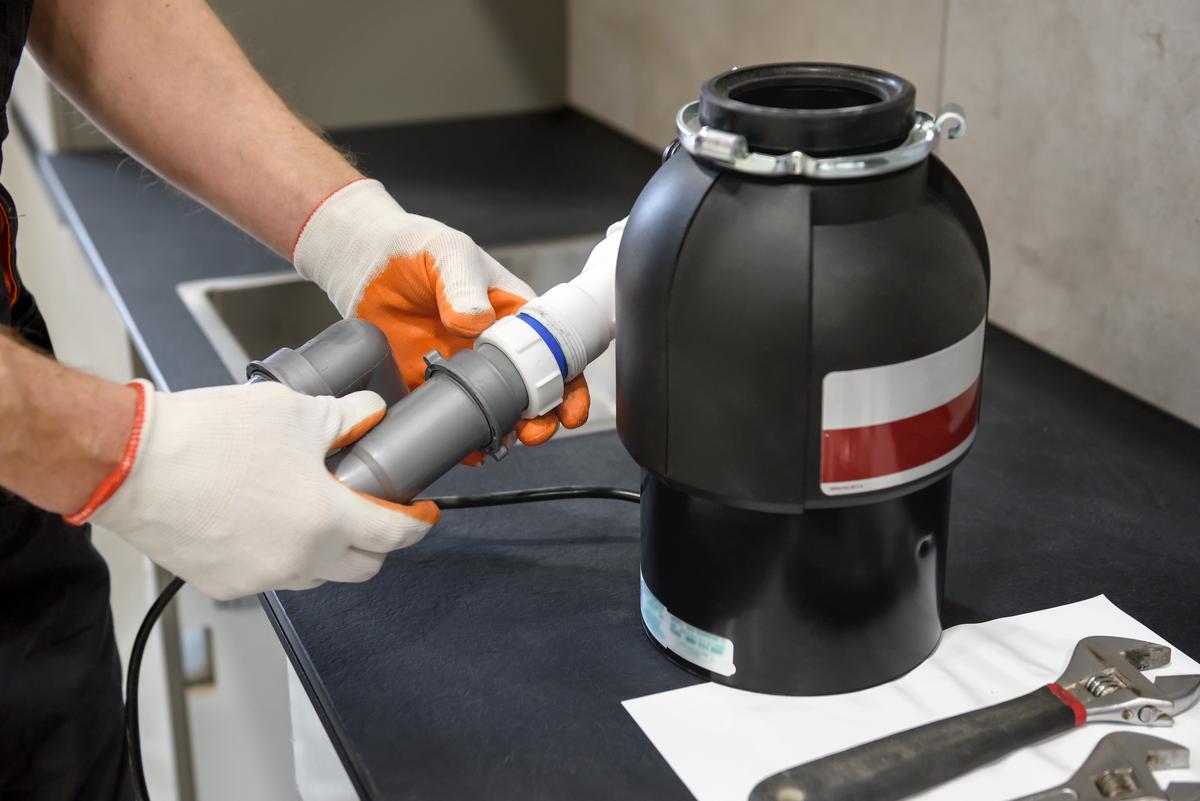
If the source of the leak is a loose connection, all it might need is a good tightening. Grab a wrench and tighten all the connections to ensure no water escapes through the gaps.
Step 3: Replace Damaged Parts
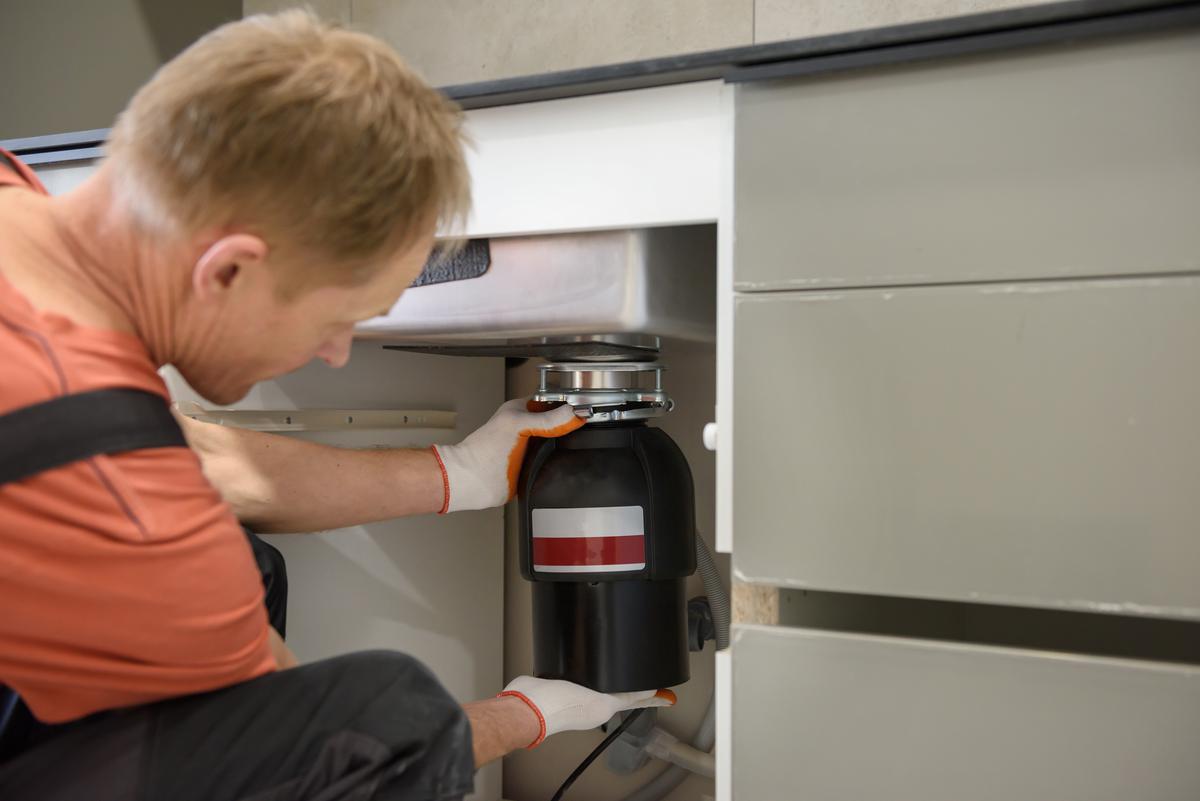
If you find that the leak is due to damaged parts such as a degraded seal or a cracked unit, it’s time to replace those parts. This might be a good time to call in a professional to ensure the job is done right.
Step 4: Seek Professional Assistance
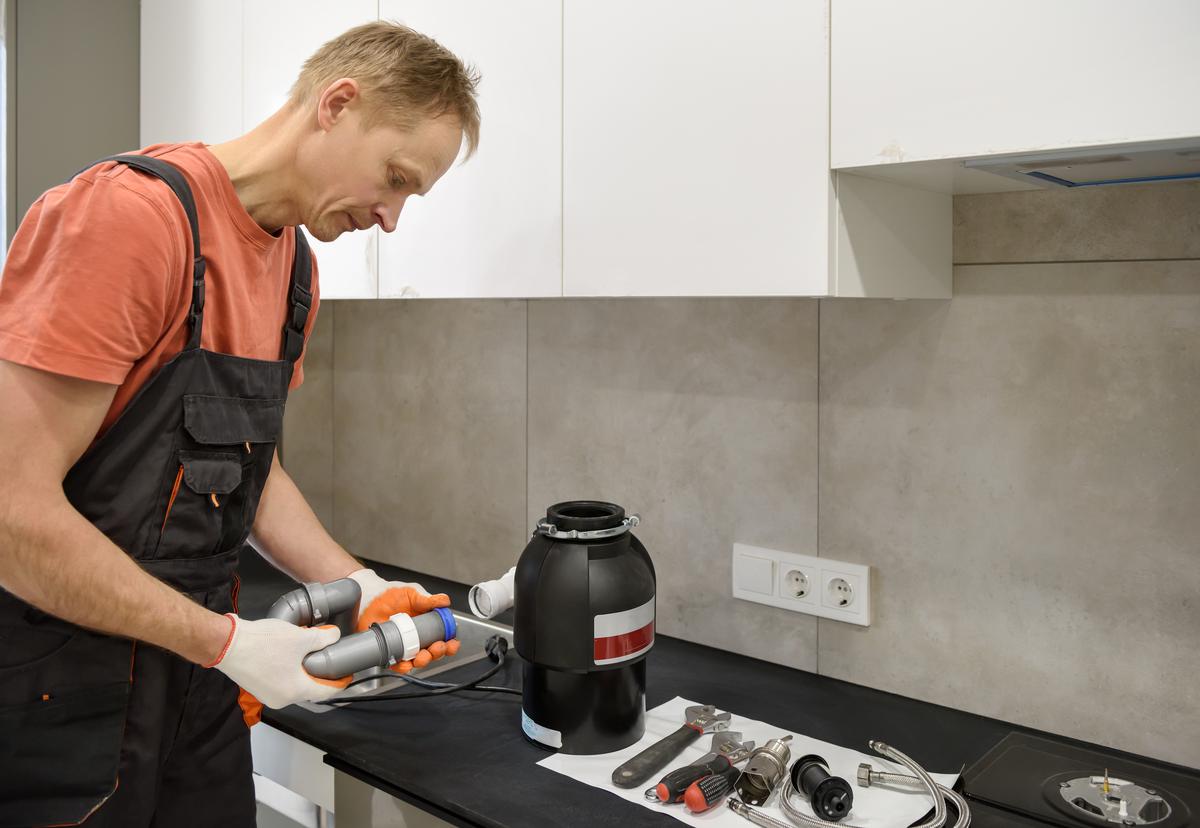
Sometimes, despite your best efforts, you might not be able to fix the leak on your own. In such cases, it's always best to consult with a professional plumber who can accurately identify and fix the problem for you.
Wrapping It Up
Leaks in the garbage disposal can indeed be upsetting, but knowing the causes and having a handy guide to address the issue can make it much less daunting. Remember, a well-maintained garbage disposal unit is less likely to leak, saving you from unexpected troubles. Be proactive in your approach to maintaining your unit, and don't hesitate to seek professional help when needed. With the tips shared in this article, you are now well-equipped to handle garbage disposal leaking issues like a pro. Happy fixing!




comments