Material Considerations
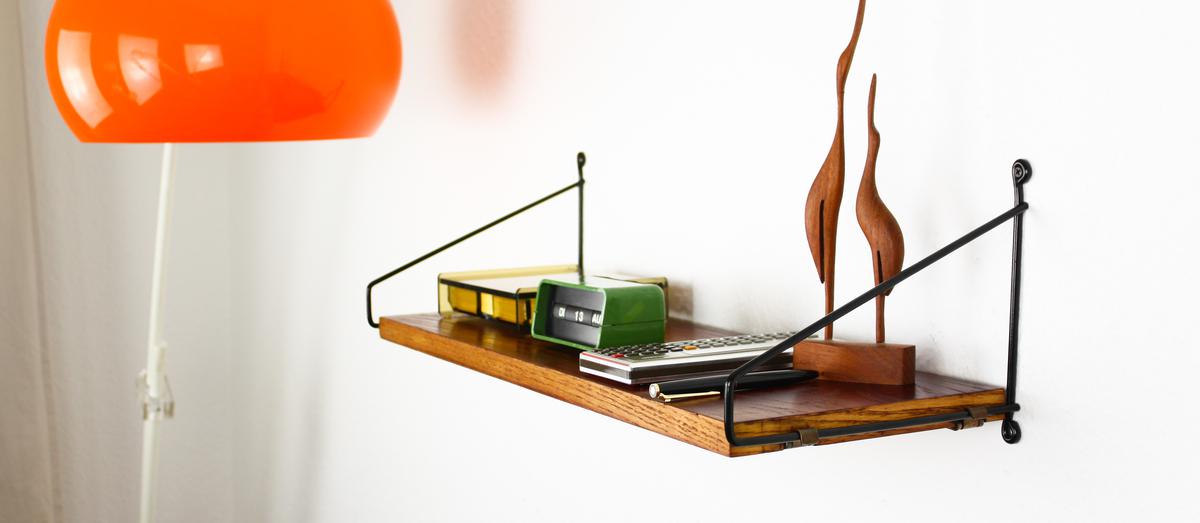
The material of your floating shelves will affect the overall look of your space and the durability of your shelves. Some popular materials include wood, metal, and glass. Wood shelves are a classic choice that can add warmth and texture to a room.
Metal shelves can add an industrial or modern feel, while glass shelves can create a sleek and minimalist look. Consider the style of your space and the weight of the items you'll be placing on your shelves when choosing the material.
Weight Capacity
The weight capacity of your floating shelves is an important consideration, especially if you plan to store heavy items such as books or electronics. Make sure to choose shelves that can support the weight of your items. Some floating shelves have weight limits as low as 10 pounds, while others can hold up to 100 pounds or more. Check the weight capacity of your shelves before making a purchase.
Size and Shape
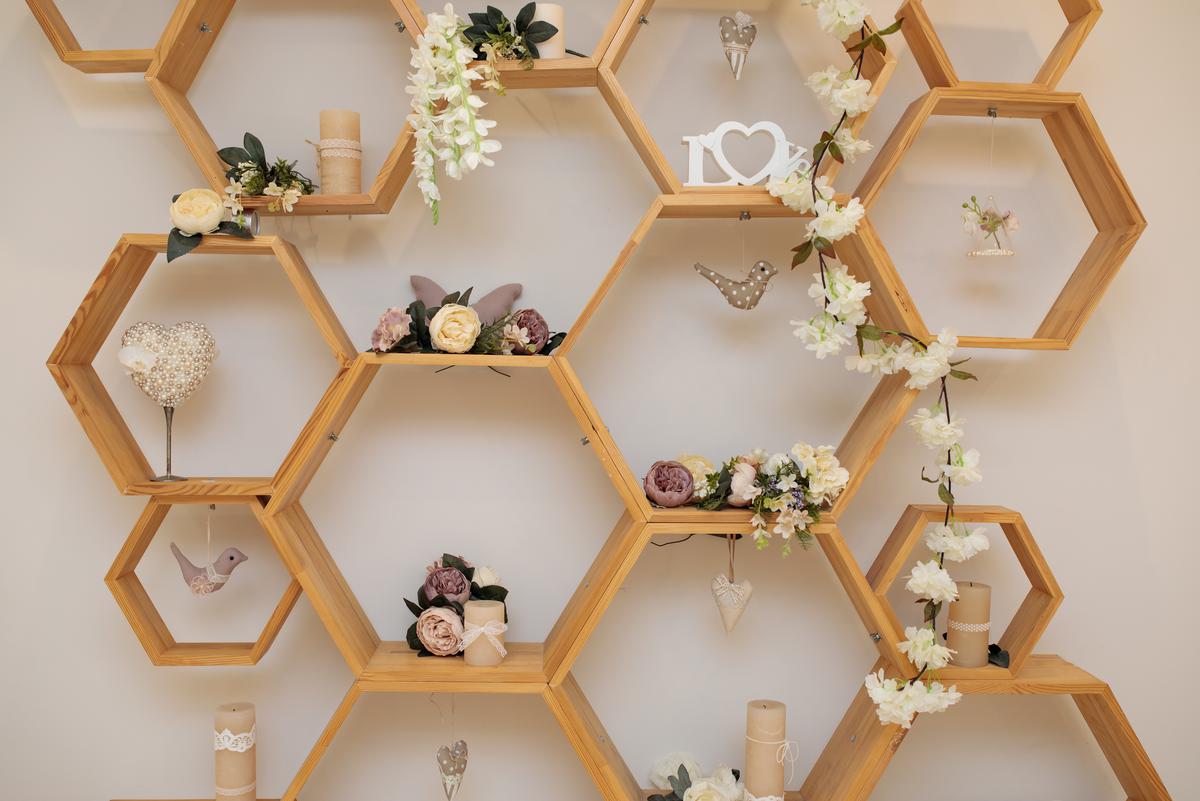
The size and shape of your floating shelves will depend on the space you have available and the items you plan to store on them. Consider the depth and width of your shelves to ensure they can accommodate your items. Some floating shelves are available in standard sizes, while others can be custom-made to fit your space. Additionally, consider the shape of your shelves. Some options include straight or curved edges, as well as hexagonal or triangular shapes.
Installation Guide
Required Tools
Before you start installing your floating shelves, you will need the following tools:
- Stud finder
- Level
- Measuring tape
- Pencil
- Drill
- Screws
- Wall anchors (if necessary)
Make sure you have all the required tools before starting the installation process.
Step-by-Step Installation
- Determine the location of the studs in the wall using a stud finder. Mark the location of the studs with a pencil.
- Measure and mark the desired location of the shelf on the wall using a measuring tape and pencil. Use a level to ensure the marks are straight.
- Place the mounting bracket on the wall, making sure that at least one of the screws will be secured to a stud. Use a level to ensure the bracket is straight.
- Drill pilot holes into the wall at the marked locations.
- Secure the mounting bracket to the wall using screws and a drill. Make sure the bracket is level and secure.
- Place the shelf on top of the mounting bracket and secure it in place using screws and a drill. Make sure the shelf is level and secure.
If you are not able to secure the mounting bracket to a stud, use wall anchors to ensure the shelf is securely attached to the wall. Make sure to follow the manufacturer's instructions for using wall anchors.
Remember always to use caution when installing floating shelves and follow all safety guidelines. With the right tools and a little patience, you can easily install your own floating shelves and add a stylish and functional element to any room in your home.
Styling Tips
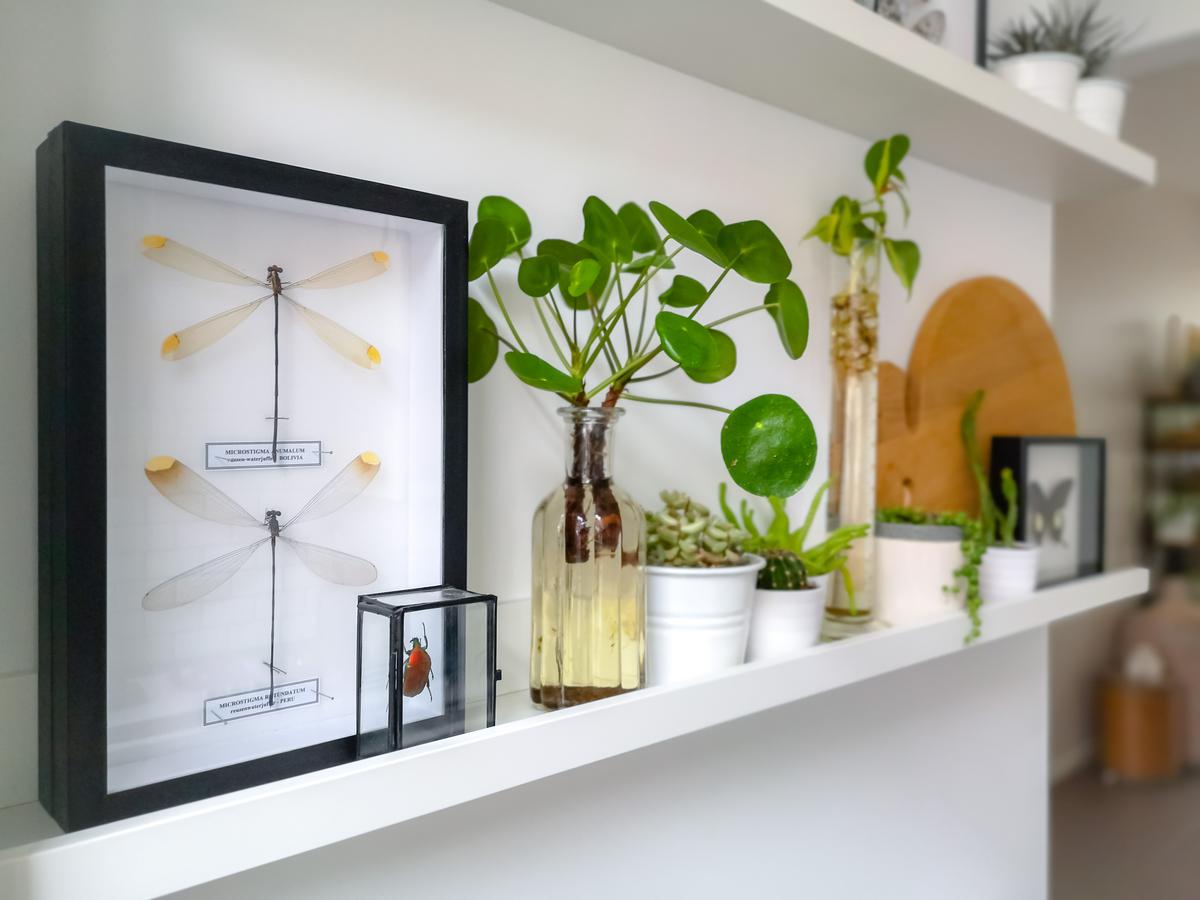
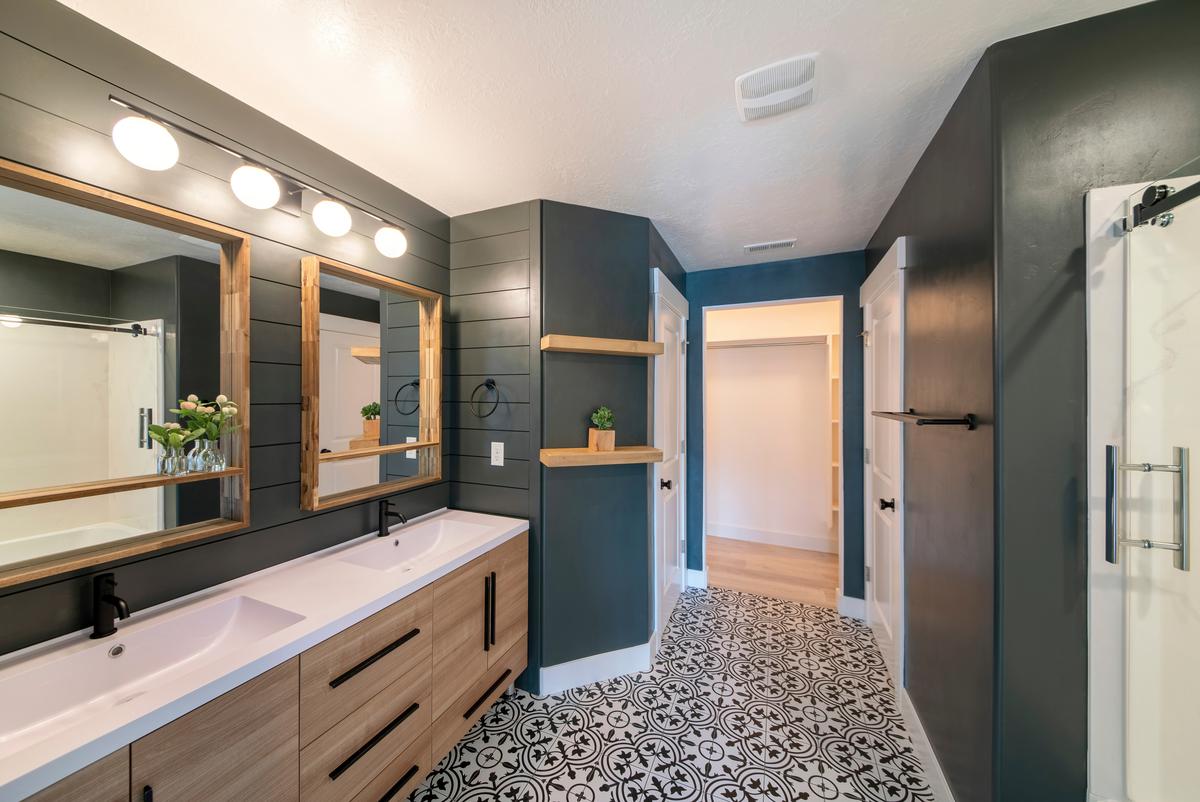
When it comes to styling your floating shelves, there are a few things to keep in mind to ensure that they look great and serve a functional purpose in your space. Here are some tips to help you style your floating shelves like a pro.



comments