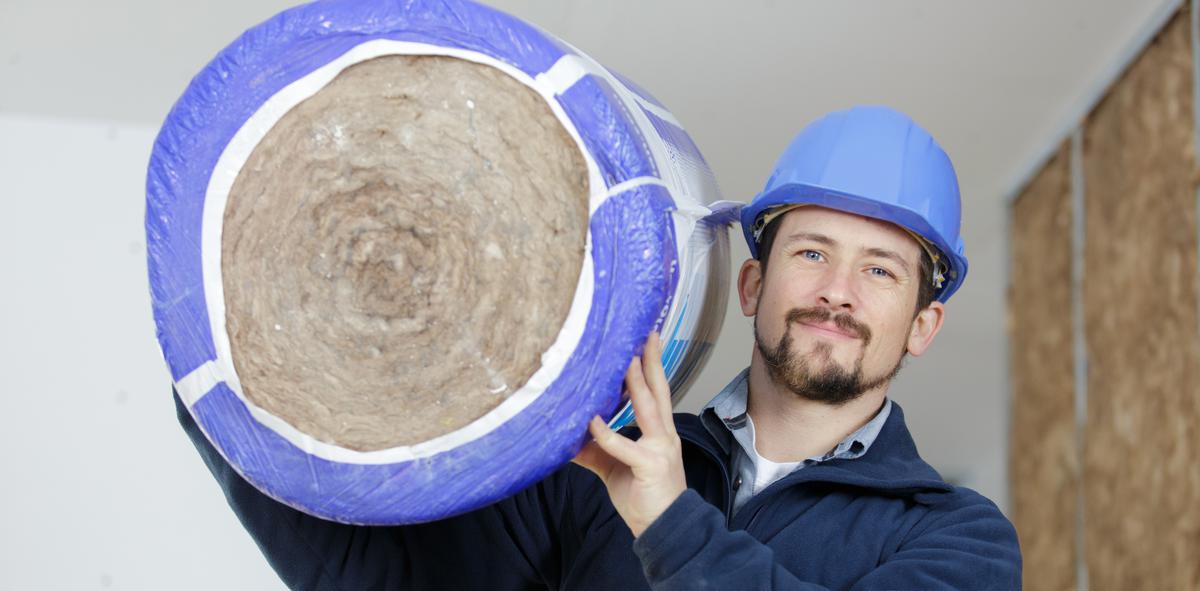
Insulating your home is one of the most effective ways to save on energy bills, maintain a comfortable temperature, and reduce noise pollution. Installing batt or rolled insulation is a cost-effective and efficient way to insulate your walls, floors, and ceilings. In this article, we'll discuss the materials needed for installing batt or rolled insulation in your home.
Insulation Materials
Before diving into the installation process, you need to choose the right insulation material for your home. Fiberglass, mineral wool, and cellulose are the most commonly used insulation materials. Fiberglass is the most popular insulation material, made of tiny glass fibers. Mineral wool is made of stone or ceramic fibers and has excellent soundproofing capabilities. Cellulose insulation is made from recycled paper, and it is more environmentally friendly than fiberglass or mineral wool.
Insulation R-Value
The R-value is the measure of the insulation's resistance to heat flow. The higher the R-value, the more effective the insulation is. The R-value you need for your home depends on the climate zone and the area you're insulating. Consult with a professional or check your local building codes to determine the R-value you need.
Tools Needed
To install batt or rolled insulation, you'll need a few essential tools, including:
- A utility knife or insulation knife to cut the insulation material
- A straightedge for cutting insulation straight
- A tape measure to measure the insulation length accurately
- Safety goggles, gloves, and a mask to protect yourself from fiberglass or other insulation materials.
Materials Needed
Apart from the insulation material, you'll need other materials to complete the insulation installation process. These materials include:
- Insulation supports, also known as wire hangers, to hold the insulation in place between the wall studs or floor joists.
- Vapor retarder, also known as a moisture barrier, to prevent moisture from penetrating the insulation.
- Adhesive spray to hold the vapor retarder in place.
- Caulking gun to seal any gaps between the insulation and wall studs or floor joists.
- Duct tape to seal any gaps between insulation sheets or vapor retarders.
Installation Process
Now that you have all the necessary materials and tools, it's time to start the installation process. First, measure the insulation material to fit the space you're insulating, leaving an extra inch or two around the edges to ensure a snug fit. Cut the insulation material using an insulation knife and a straightedge. Next, secure the insulation supports between the wall studs or floor joists, depending on where you're installing the insulation.
If you're installing a vapor retarder, spray adhesive on the insulation material's backside and place the vapor retarder over it. Use a caulking gun to seal any gaps between the insulation and wall studs or floor joists.
Finally, seal any gaps between insulation sheets or vapor retarders using duct tape. Repeat the process until you've covered the entire area you're insulating.
Installing batt or rolled insulation is a relatively easy DIY project that can save you money on energy bills and make your home more comfortable. With the right materials and tools, you can complete the project in a day or two. Remember to follow all safety precautions when working with insulation materials, and consult with a professional if you have any questions or concerns.


comments