Step 1: Sketch Out the Design
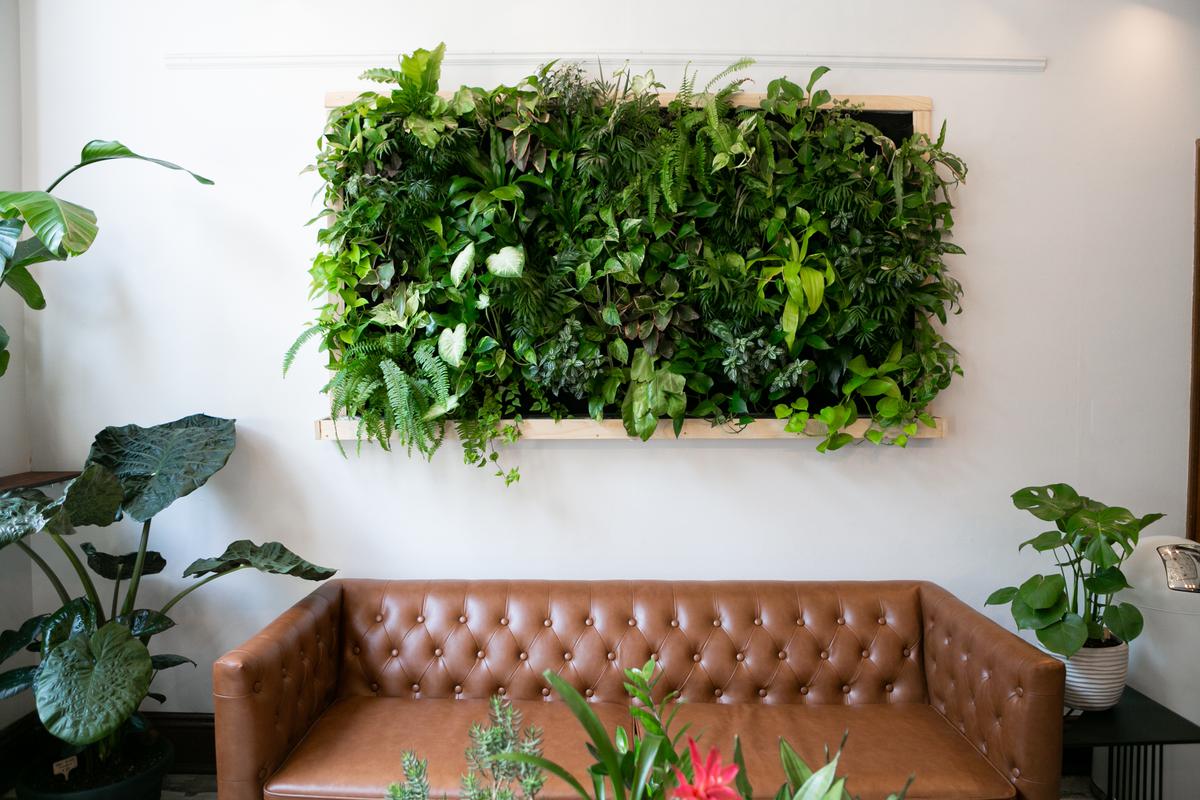
Start by sketching out the size, shape, and layout you have in mind. This will give you an idea of the materials you’ll need for your DIY living wall. Besides the frame, the backing, and the moss, you can also go for hardscaping elements such as rocks and preserved twigs to add dimension.
Step 2: Assemble the Frame
Next, you’ll want to assemble a frame to house the living moss. You can make this from wood, metal, or plastic — and in any shape you like. Once the frame is ready, form the backing of the DIY moss wall with a piece of plywood.
Step 3: Add Glue to the Backing
Apply glue to the backing of the frame and spread it evenly across the surface. Make sure to use floral glue, as the regular type can kill the moss. Before you go about this step, you may want to stick masking tape around the frame’s edges to keep everything neat.
Step 4: Arrange the Moss Pieces
With the structure ready, you can now arrange the moss clumps onto the backing per your design. Start with the largest pieces — in addition to any hardscaping elements — and move on to smaller bits. Let it all set overnight before hanging up your DIY living wall.
Step 5: Hang Up the Frame
Gently and carefully nudging the moss pieces will ensure they are secured. If all seems well, then your indoor green wall is ready.
Maintenance
Much like indoor gardening, a living moss wall requires its fair share of maintenance to retain its fresh and verdant appearance. This includes:
- Misting the moss wall on a daily basis
- Trimming back any excess growth
- Checking for any loose pieces and gluing them back if necessary
- Applying pesticides to keep insects at bay
- Regularly dusting the DIY living wall with a can of compressed air
- Frequently checking for and getting rid of any dead debris
- Keeping the moss wall away from direct sunlight and sources of heat
- Placing a humidifier nearby if you notice that the moss feels dry and crunchy
Popular Types of Moss for a Living Wall


comments