Building Your Own Koi Pond Made Easy

Building Your Own Koi Pond Made Easy

Outdoor Additions
Additions and Remodels
Outdoor and Gardening
By Dikran Seferian July 23, 2021

Since the advent of the Covid-19 pandemic, people have been spending a lot more time at home. The time they used to spend commuting between work and home could now be spent on leisure; and what better way to spend free time than on an exciting DIY project that will create a whole new opportunity for leisure at home.

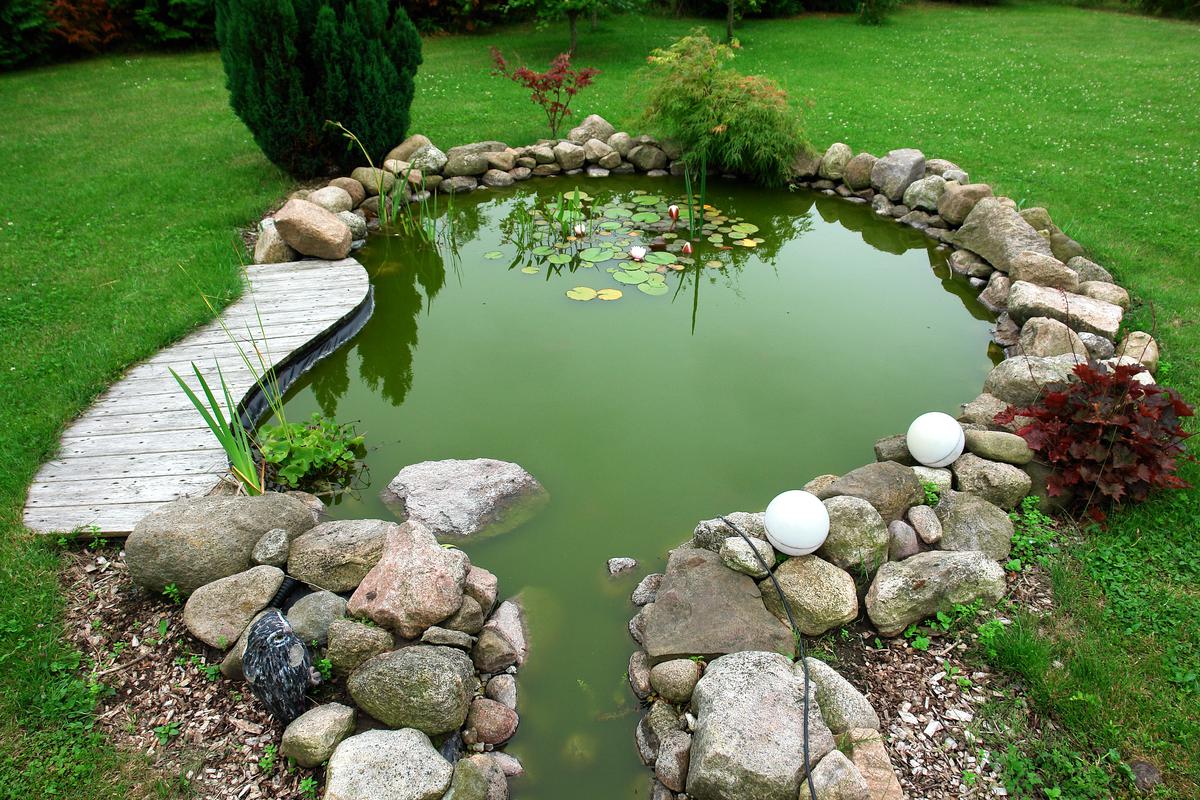
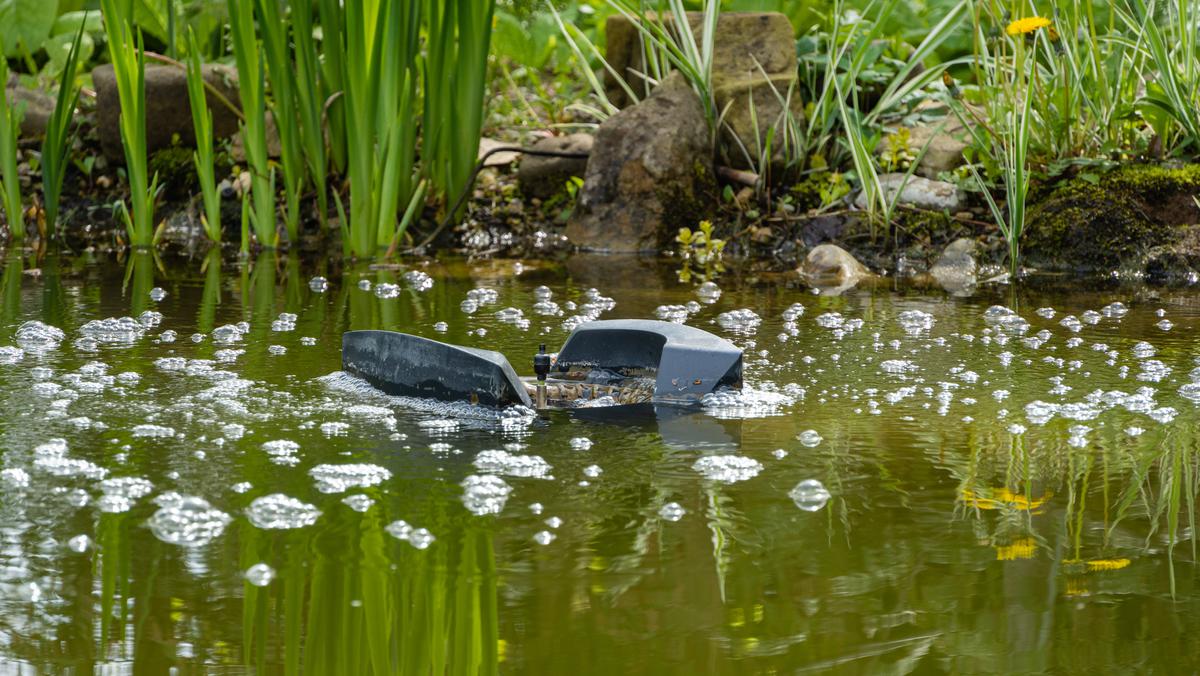
Backyard leisure is often viewed as a seasonal activity, but there are a few installations that can be enjoyed all year long, and a koi pond is one of them. You can be the envy of the neighborhood and build your very own koi pond and bask in the exotic beauty of the koi. It can be a major conversation starter, since people are naturally fascinated by its sheer looks; and let’s be honest, the main reason anyone would want to build a koi fish pond in their backyard is for the bragging rights.

Why koi? Besides their interesting colors and unique patterns, koi fish are actually quite intelligent and inquisitive creatures. They are known to be loyal to their caretakers, and with some patience, you can even train them to eat out of your hand. In the end, you’d also simply have a pond in your backyard, which is an exciting step towards a truly biophilic escape right at home. Pond-side refreshments, reads, and chats are just a few days and basic tools away.

Building Your Koi Pond in 11 Simple Steps

1. Set the Size for Your Pond

Determine how big you want your pond to be. Bear in mind that it should be wide enough for the fish to have ample space to swim in; but not too big that it takes up the entire backyard. Koi fish require at least 50 gallons of water each, so a minimum width of ten feet by twelve would be ideal. As for the depth, allow at least 3 feet so the water doesn’t freeze completely during the winter.

2. Choose the Location of Your Basin

Choose where you want to build your fish pond. Make sure the location is easy to access, and that there’s practical space for you to work in. You might also want to choose a spot where it’s visible from your window so that you can keep an eye on it every now and then. Most importantly, like any ecosystem, your pond should have access to sunlight.

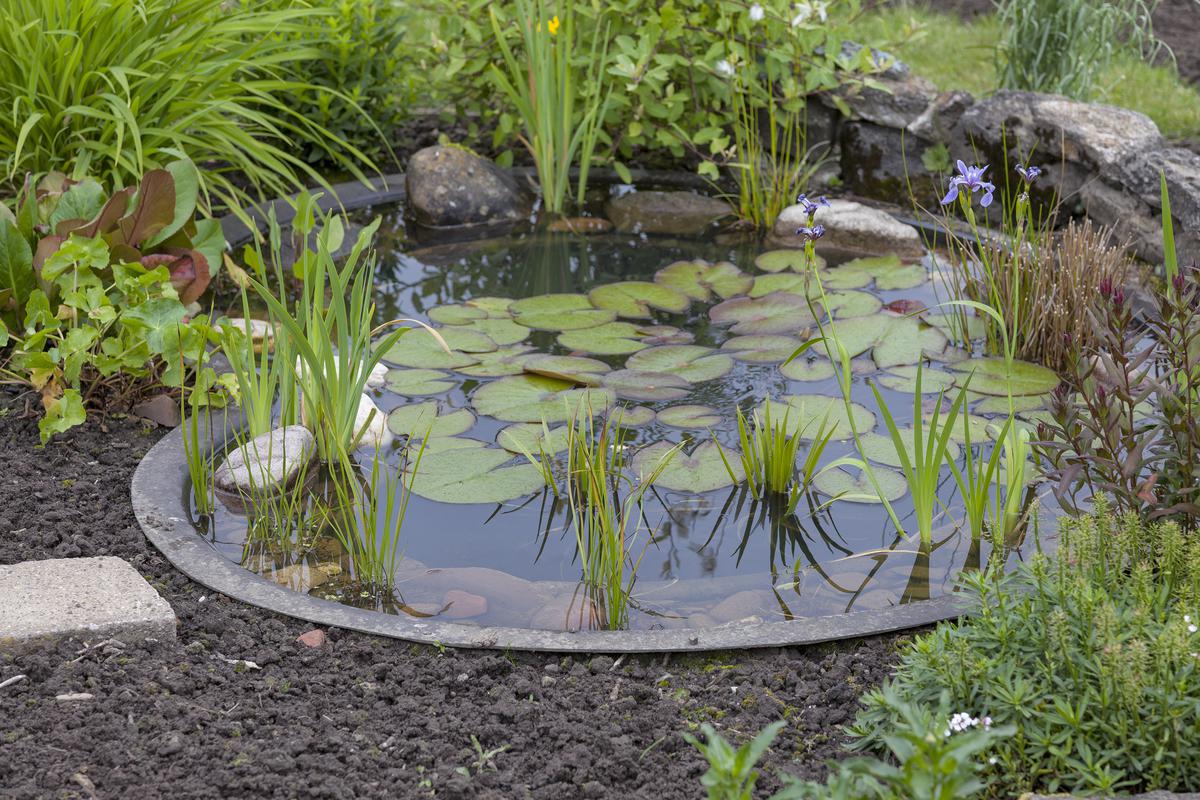
3. Determine the Shape of Your Koi Pond

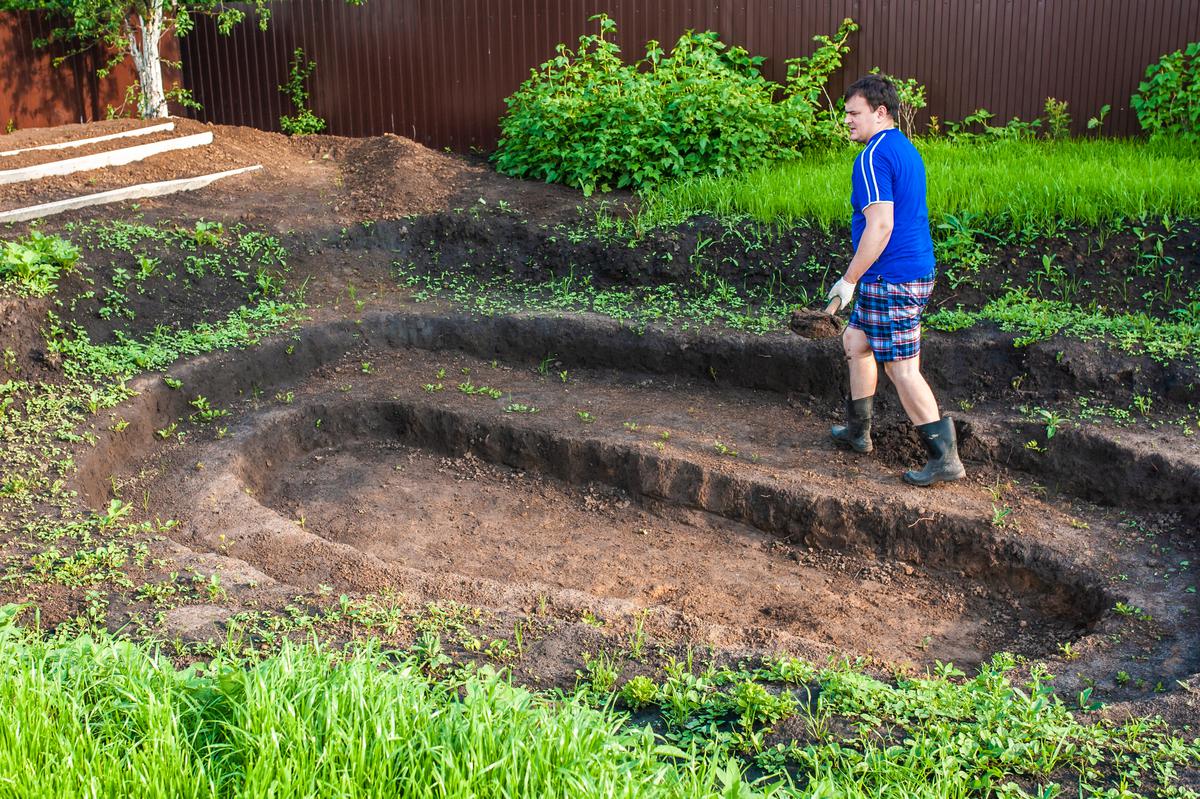
Decide on a shape for your DIY pond, and mark an outline on the location. For a natural look, go for irregular shapes, which are more common for organic ponds. Unless you’re a modernist, then perhaps an L-shaped pond might interest you. When you’re done marking the site, remove anything like stones and shrubs that are within the outline; this will also make the digging part a whole lot easier.

How to Measure Out Your Koi Pond Dimensions

How to Measure Out Your Koi Pond Dimensions

4. Excavate

Once the site is clear, grab yourself a shovel and start digging. An extra pair of hands would get the job done faster so don’t hesitate to ask someone for help. As an option, you can make tiers and shelves as you dig. Remember that the pond should be at least three feet deep, preferably four. 

Typically, the surface of the pond is wider than the bottom; so you’d want to dig the sides in a way that it slopes downwards. Next, to prevent damaging the pond liner that you will cover your basin with, make sure to remove rocks and sharp objects that are in the basin.

Tips On Excavating Your Landscape Quickly and Safely

Tips On Excavating Your Landscape Quickly and Safely

5. Level the Pond

Extend a longboard across the width of the pond and place a level on its center. This crucial step will ensure that the pond isn’t tilted. Make adjustments if necessary.

Important Measurements for Building a Koi Pond

Important Measurements for Building a Koi Pond

Next, line the pond with the help of a friend according to the instruction manual that will normally come with it. Allow for a three-foot overlap around the edges to secure the liner in place. An extra layer is recommended but not necessary. 

6. Place the Stone Edging of Your Pond

Place stones on the overlapped liner around the edges of the pond and on the tiers, if any. Start with large ones, and fill the spaces in between them with smaller ones. Alternatively, you can use slabs of granite or sandstone, among other options. Make sure the stone edging is heavy enough to hold the liner in place. Digging a small ridge around the stones would prevent elements like soil from seeping into the pond.

Why You Should Build a Koi Pond In Your Garden

Why You Should Build a Koi Pond In Your Garden

7. Fill It Up 

Once the liner is secured, fill the pond with water using a hose. Unless it’s fresh or spring water, you may have to treat it with a dechlorinator as chlorine is toxic to fish. 

8. Install the Equipment 

Now that the pond is full, you can start installing the equipment. Plant the filter halfway into the ground near the pond. Place the pump in the water and the outlet over the edge. The water will go through the pond pump to the filter, and then back into the pond from the outlet. For aesthetic purposes, hide the piping from plain sight with stones and plants. As for the electrics, use weather-proof wiring for obvious reasons.

Next, install the skimmer (also known as the settling chamber) as per the manual. While the filter takes care of mechanical and biological filtration, the skimmer clears the pond of larger debris. Other equipment include the aerator and the heater. An aerator might not be necessary if your filter’s outlet creates a fountain effect; the water is aerated as long as there is surface tension. As for the heater, you might not need it since koi fish thrive in temperatures as low as 35 °F. However, depending on where you live, you might want to invest in a heater just in case.

Pro Tips On Maintaining Your Koi Pond

Pro Tips On Maintaining Your Koi Pond

9. Introduce the Plantlife 

Optionally plant some shrubs in and around the pond to give it a more natural look and to hide the equipment. Bamboo palms, water lilies, water lotuses, verbena, and taro are all suitable plants for pondscaping. If you decide on water lilies or lotuses, plant them in pots that you can put in the water; doing so would make future maintenance much easier. For underwater pots, use clay soil covered with a layer of gravel to hold the soil in place.

Best Plants to Grow Around a Koi Pond

Best Plants to Grow Around a Koi Pond

10. Cycle the Nitrogen through Your Pond

When the pond is decorated and ready for action, turn on the equipment, and run a nitrogen cycle for a week. Many people might not be patient enough to see this step through, however, it’s very important for the well-being of the fish. Running a nitrogen cycle essentially allows the biological filtration to turn harmful ammonia into nitrite, then to nitrate.

11. Bring In the Fish 

Once the water is cycled for about a week, you may finally introduce your newly acquired water companions. Acclimate the fish to the water by putting them in the pond with the bags you bought them in. Wait for at least 10 minutes and pour some pond water into the bags; wait a few more minutes before releasing the fish into the pond. Make sure to do this when there is no direct sunlight to prevent the koi from overheating. 

Healthy Habits for Your Living Koi Pond

Healthy Habits for Your Living Koi Pond

Maintaining Your Koi Pond

Now that the pond is booming with life, all you need to do is maintain it. Remove any dead leaves from the surface with a net; decaying leaves affect the water quality. Try making a habit of carrying out partial water changes on a weekly basis in order to keep the pond water fresh. With a bucket, scoop out 15 percent of the water and replace it with a fresh load. Make sure to turn off all the equipment before the process. Every now and then, you’ll need to clean out the accumulated contents of the filter. 

Another thing to watch out for is the water parameters. Try to maintain a pH of seven to eight, and an ammonia level of zero. You can find parameter test kits at most aquarium stores. Don’t hesitate to contact an expert for advice.

Feed the fish on a daily basis, but not more than once a day. Opt for floating pellets so you can easily remove any uneaten food afterwards. 

Things to Consider

Before deciding to take on a DIY koi pond project, there are some factors that you need to take into account. To determine whether a fish pond is suitable for your backyard, ask yourself these questions:

  • Considering the size requirements for a koi pond, is your backyard big enough to accommodate one?
  • Will your budget match all the costs involved? (We're looking at an average of $5000 for building the pond, and nearly $2000 a year for maintaining it.)
  • With the amount of maintenance involved, do you have the time for it?
Everything You'll Need to Build a DIY Koi Pond

Everything You'll Need to Build a DIY Koi Pond

DS

Written by
Dikran Seferian

Written by Dikran Seferian

comments